

Screenshots for the iPad are shown on this page.
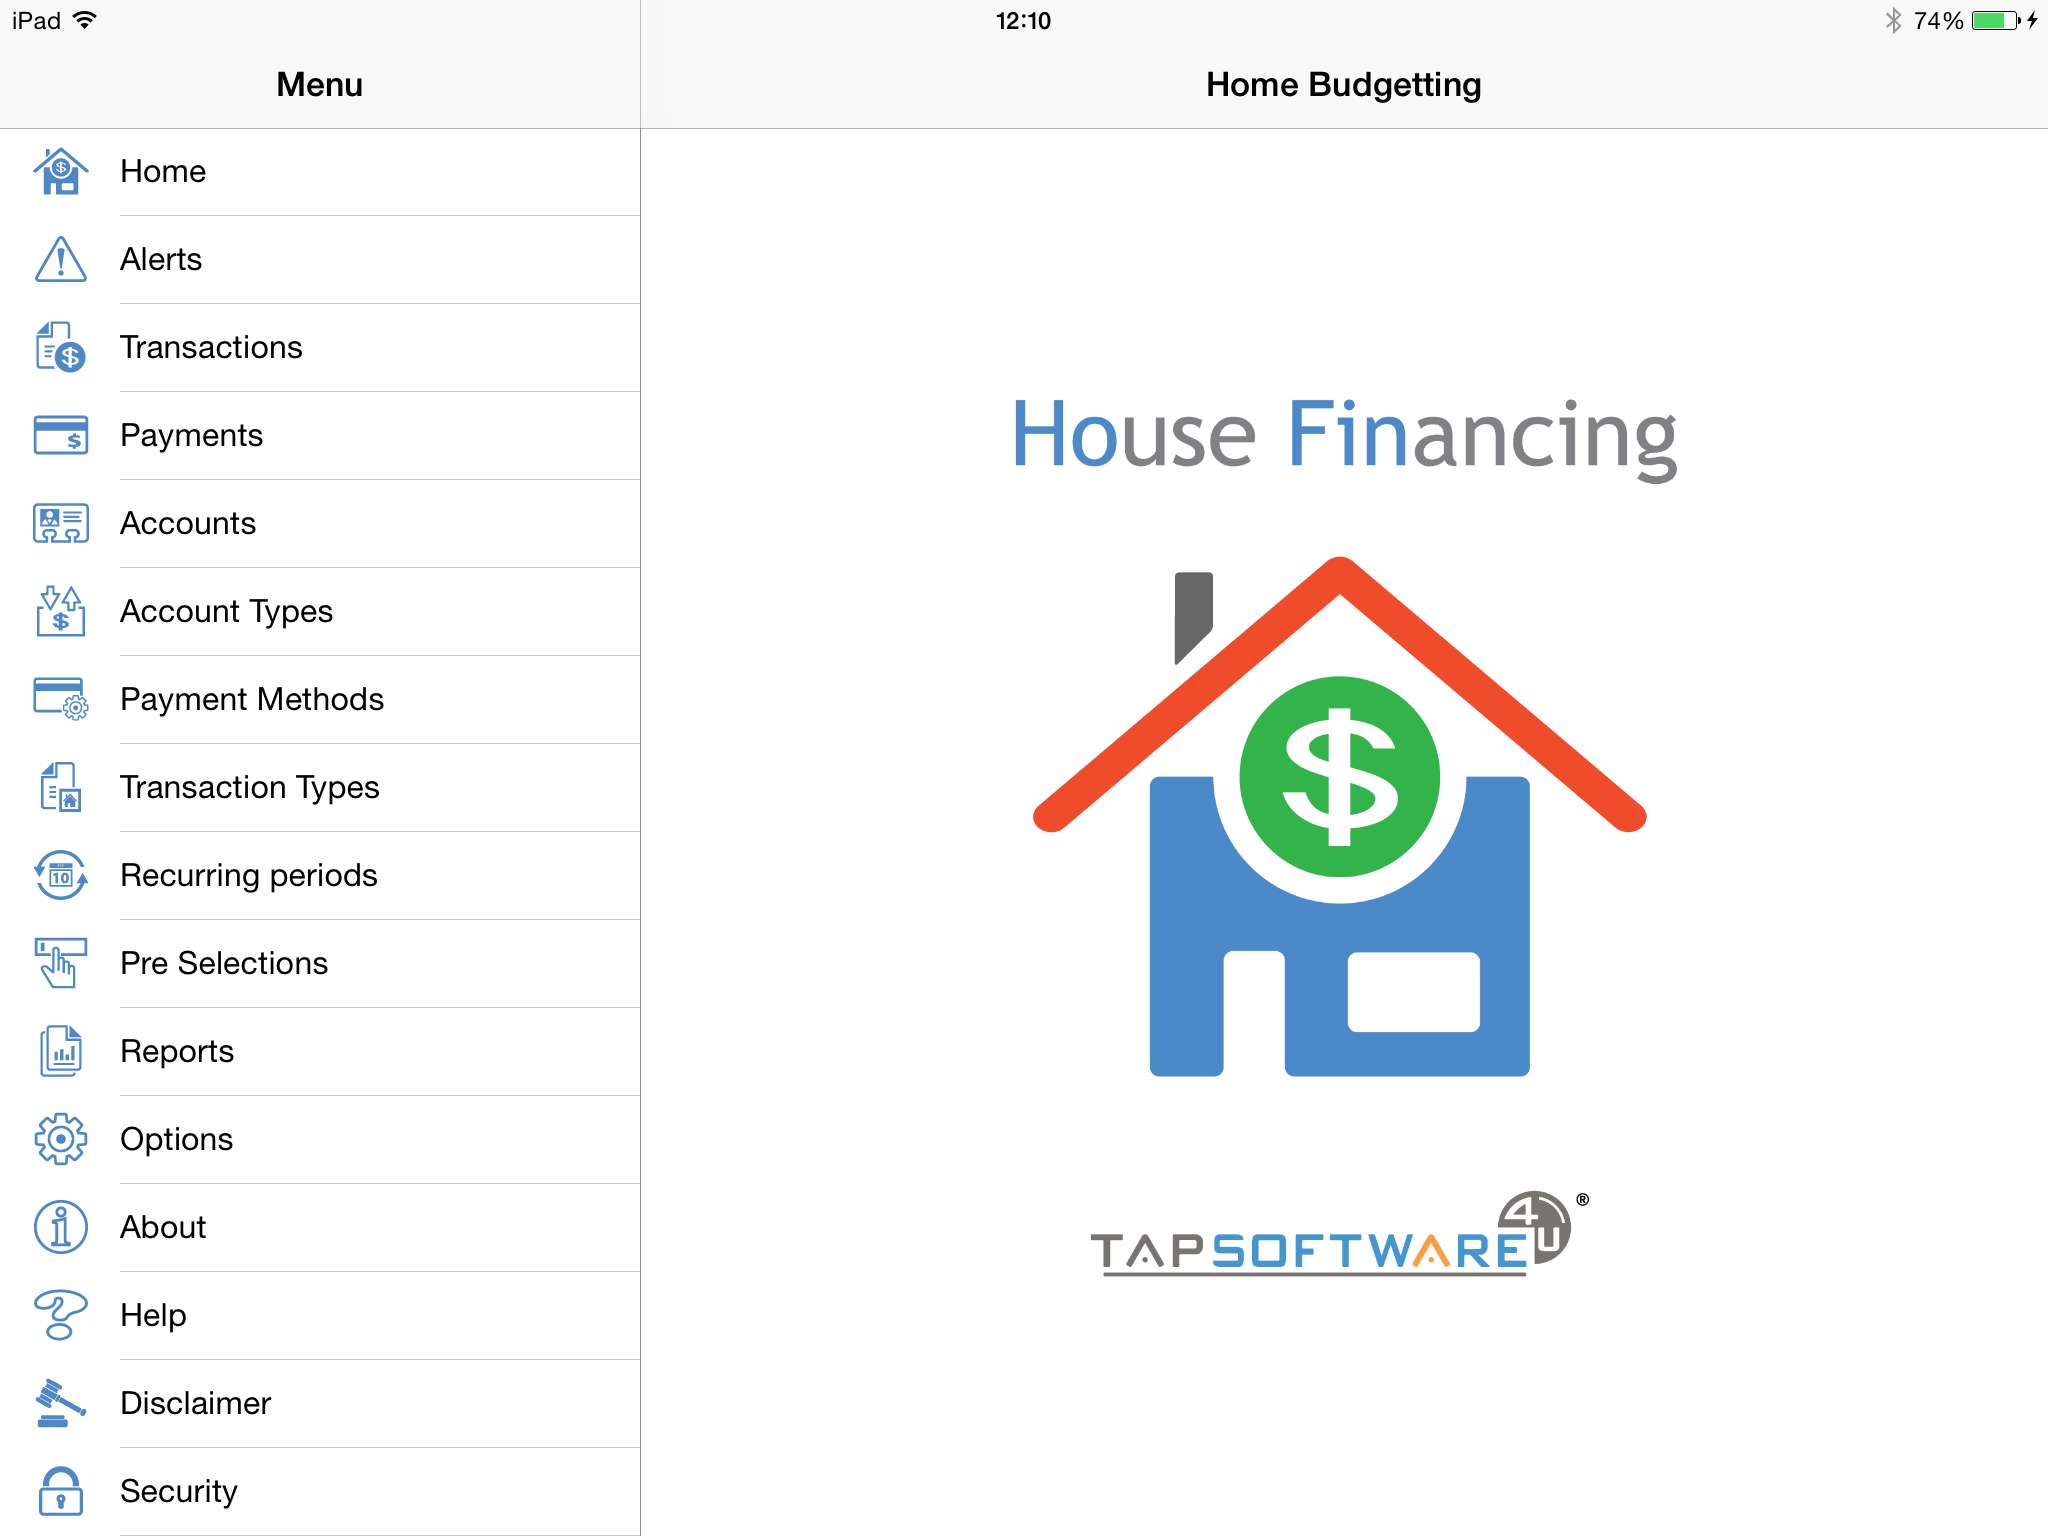
This is the main view when the app is started.
On the left is the main menu which is always visible in landscape mode.
In portrait mode the menu disappears from the view. With a swipe action to the right the menu will appear again.
This app does not pretend to be an accountancy program. However if you add your invoices and bills and dockets in this app as transactions with the payments you make, you will be able to get some valuable information out of this app. Information that can help you set a budget or monitor your expenses. Information that might be helpful when it comes to tax time when for instance you need to supply your accountant with the costs you made. Through the reporting facility a lot of this information can be generated.
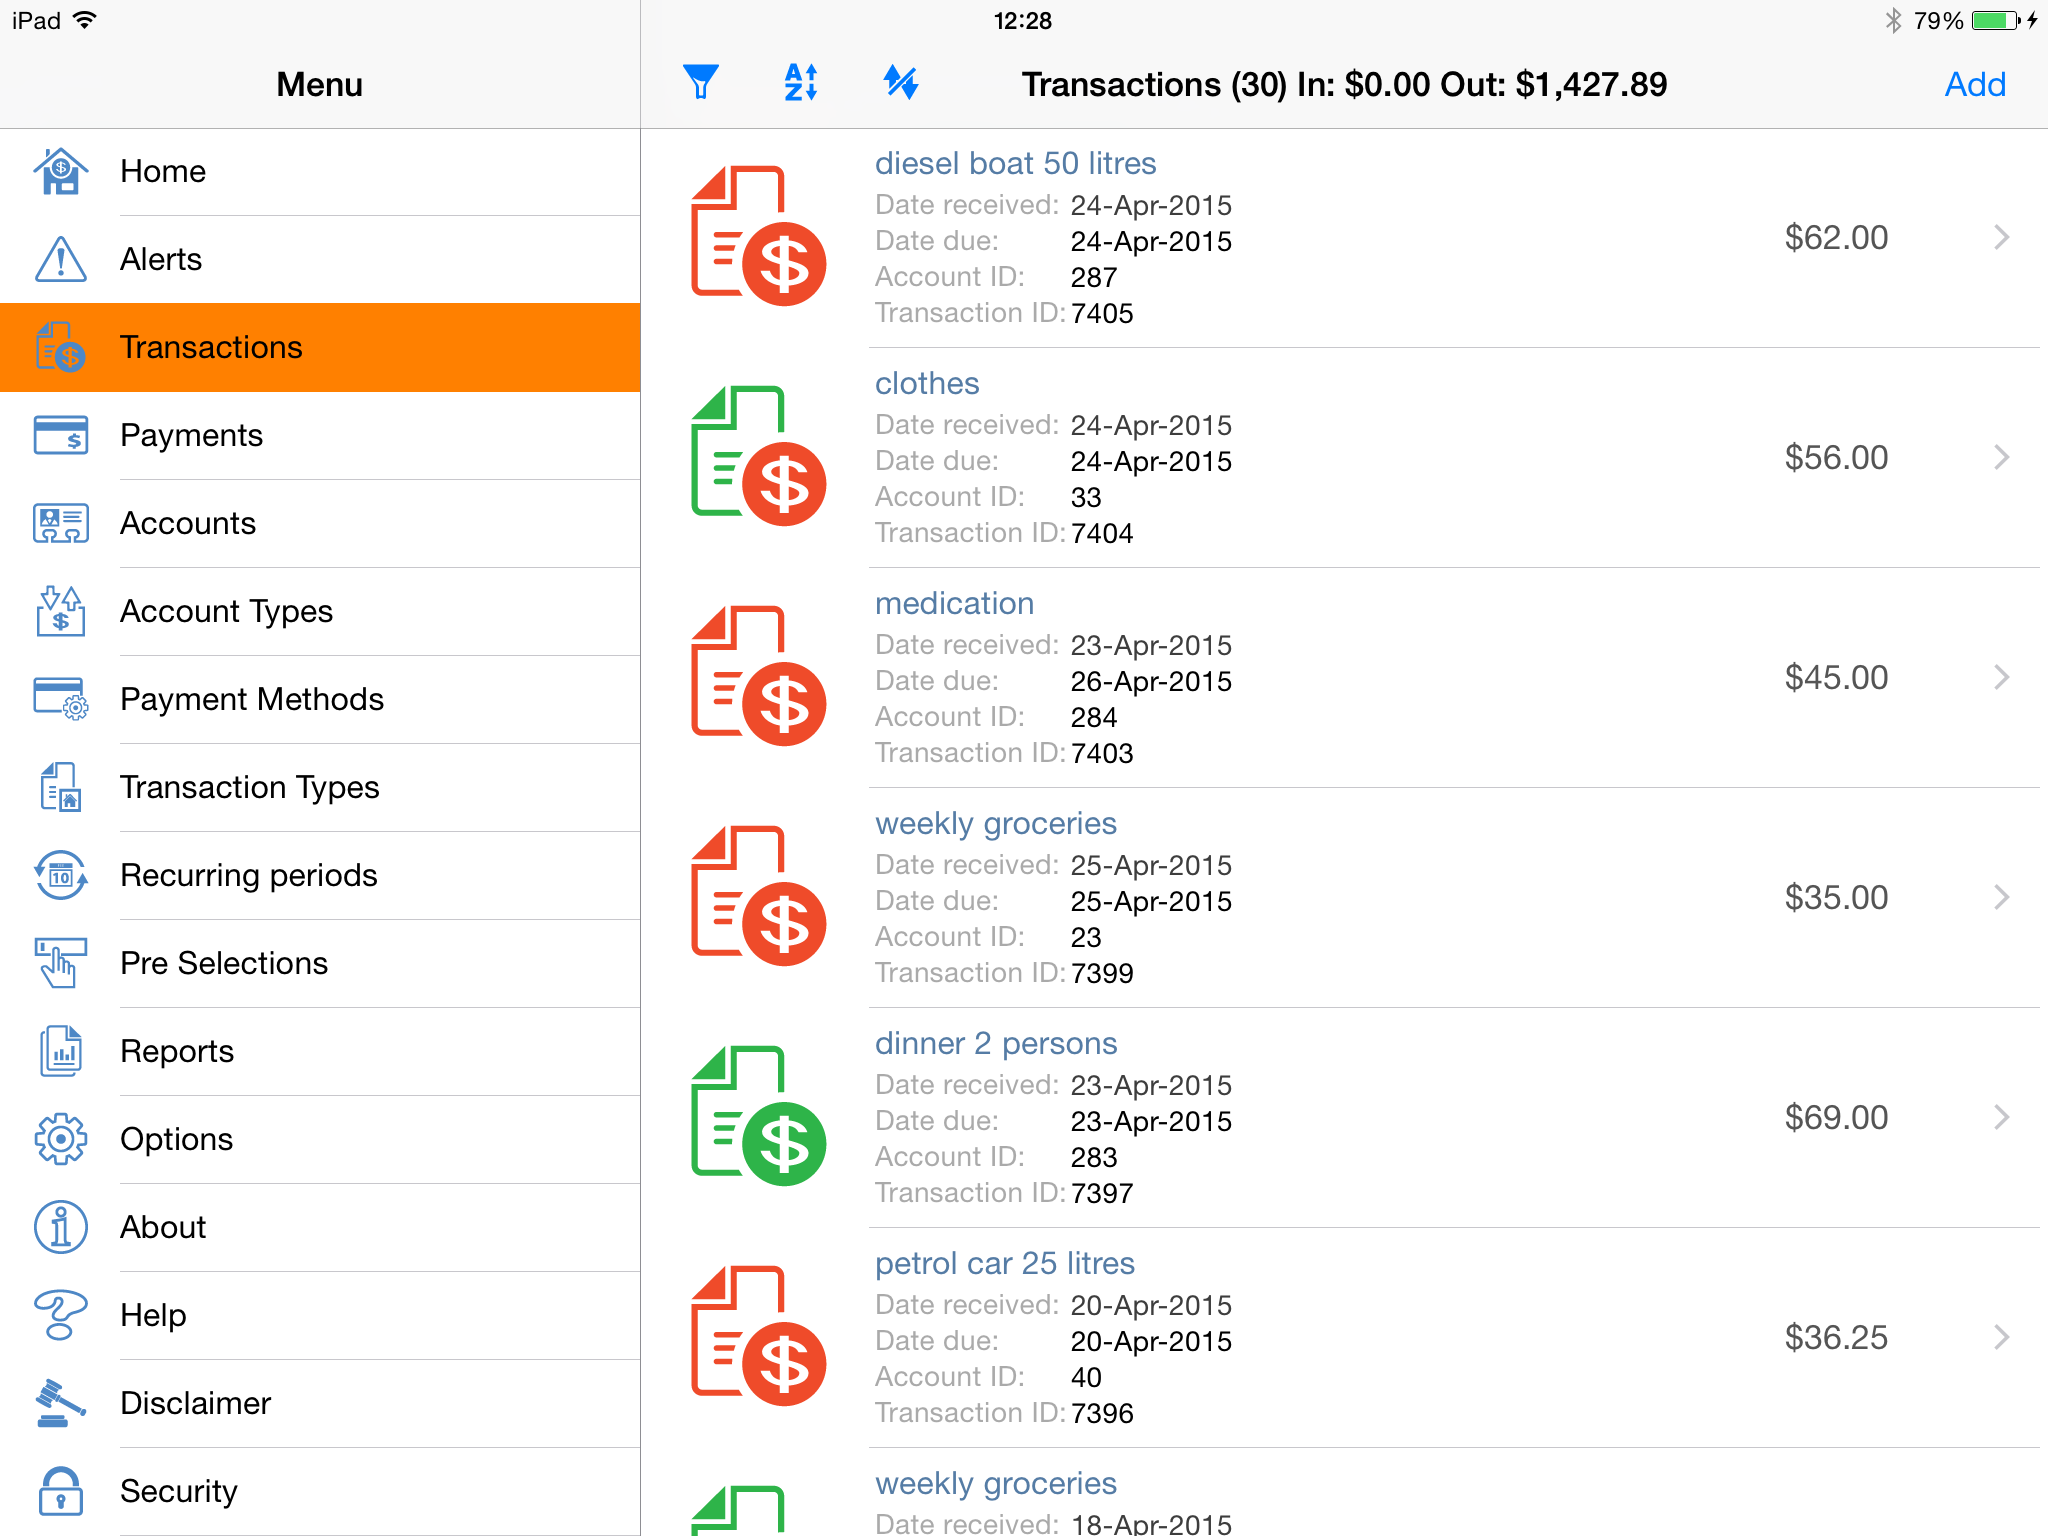
Transaction are color coded by their icons.
Full red icons mean the transaction has not been paid.
Half red / half green icons mean the transaction has been partly paid.
Full green means the transaction has been fully paid.
Black icons means that too much has been paid for the transaction.
Important: This app does not make any real time payments or receive real time payments. It is up to you to record your payments against the transactions.
The title shows that currently 30 transactions are found in the database (this value depends on the filters set).
In: means transactions where you received money (account type is receivable).
Out: means transactions that you have to pay (account type is payable).
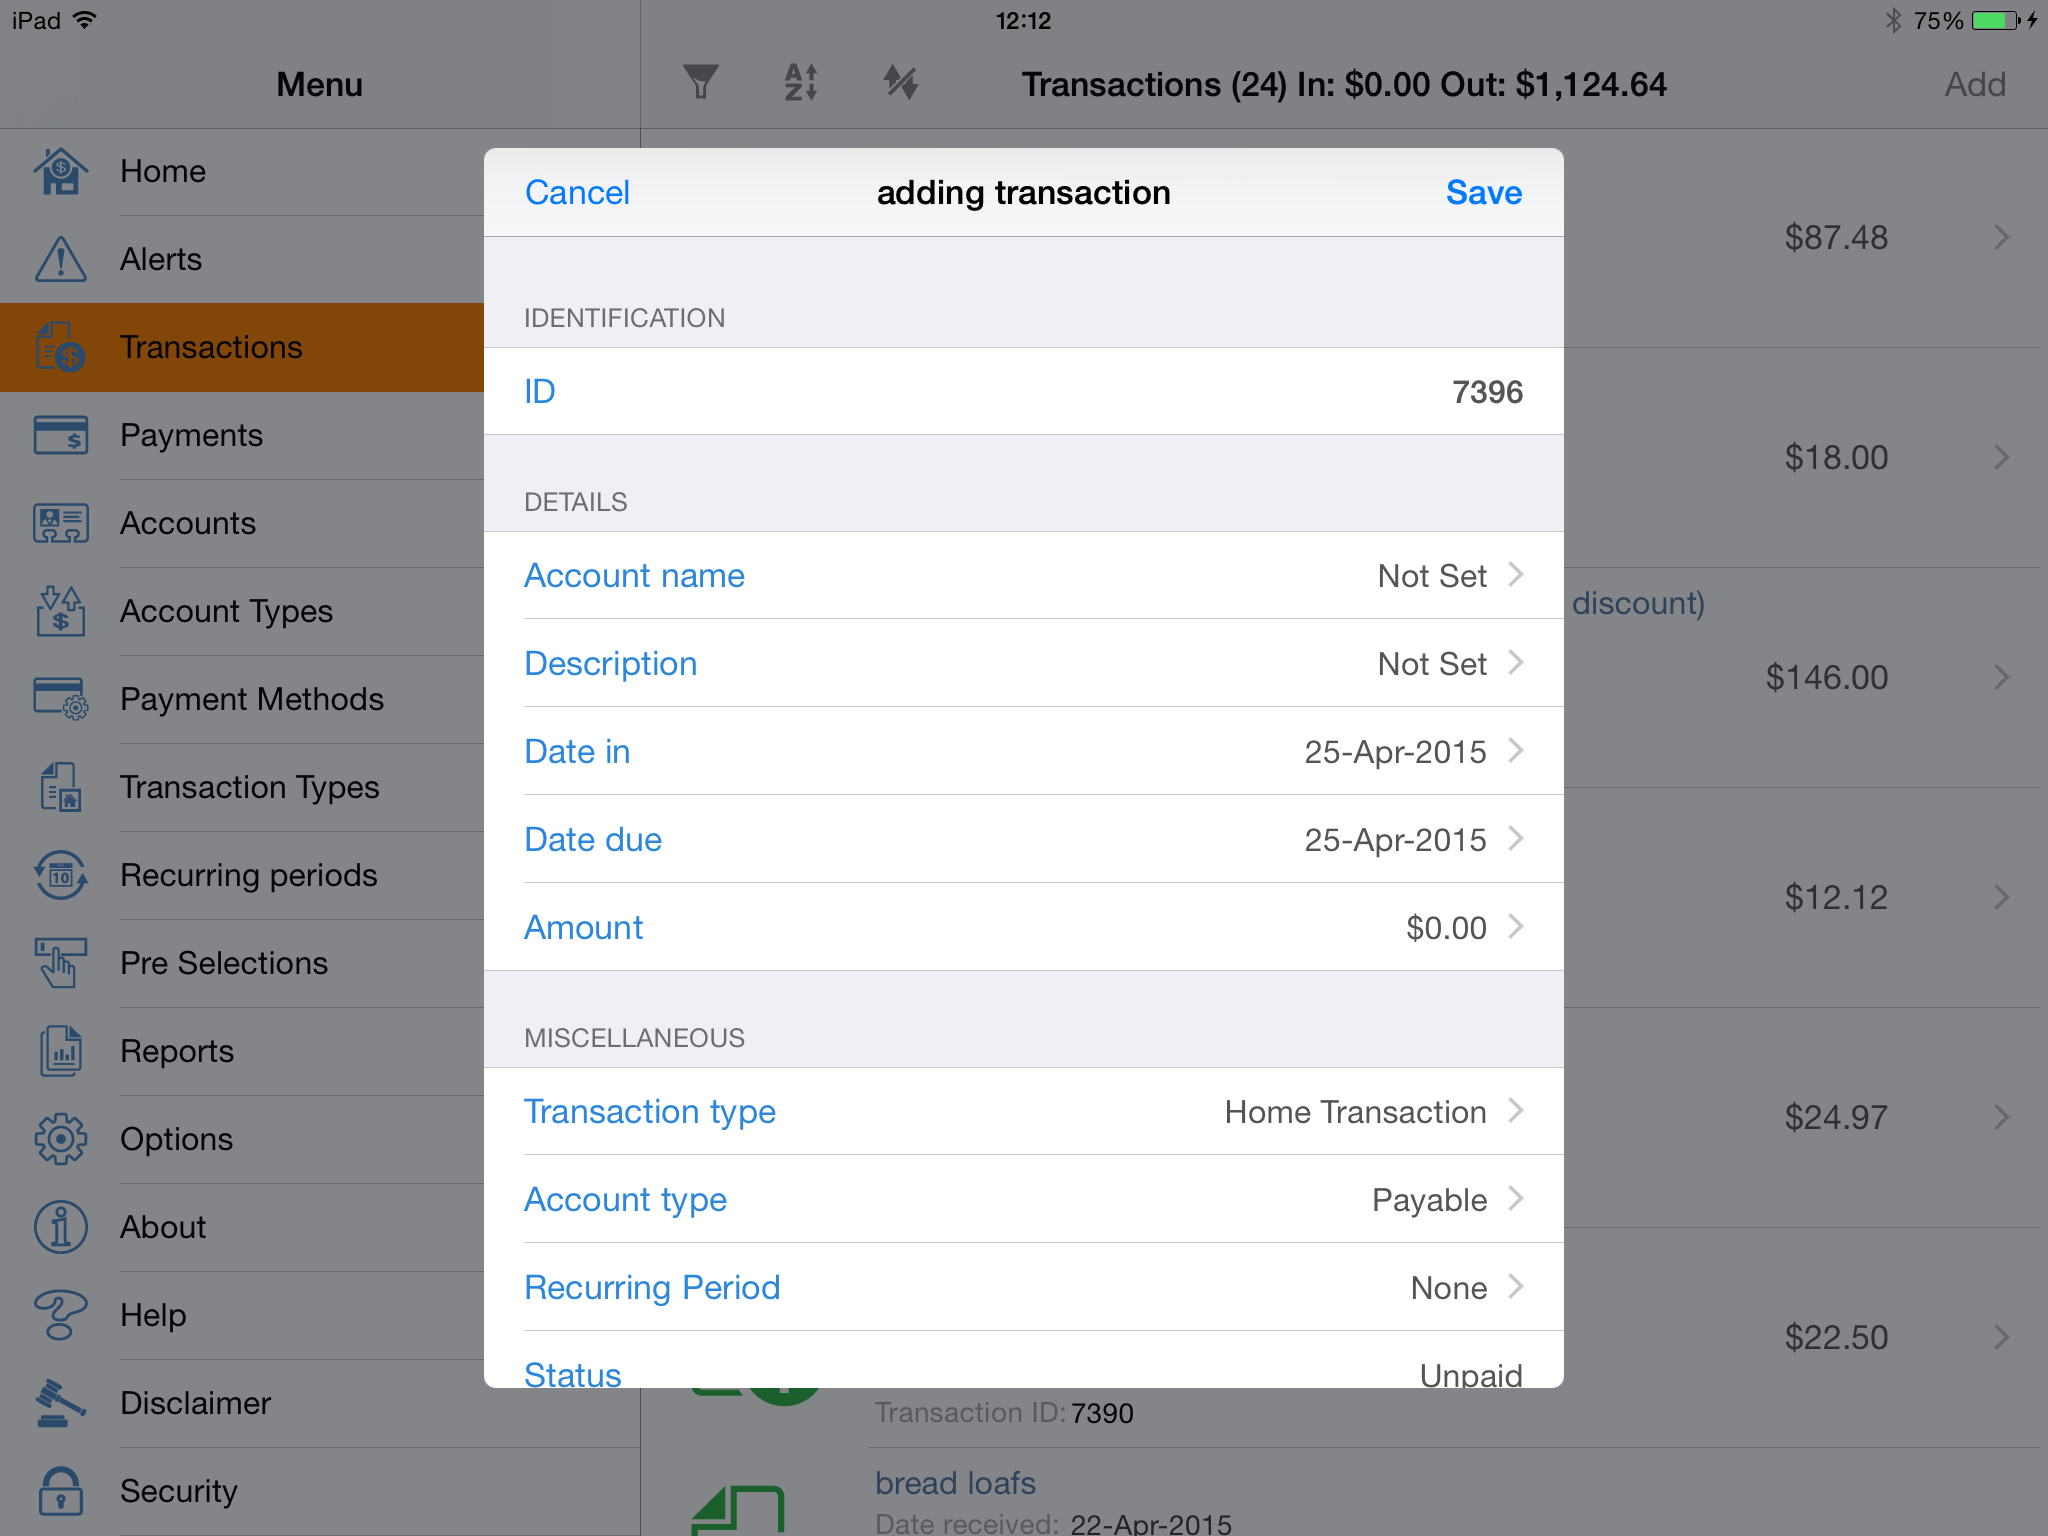
This is the view when you add a new transaction to your database.
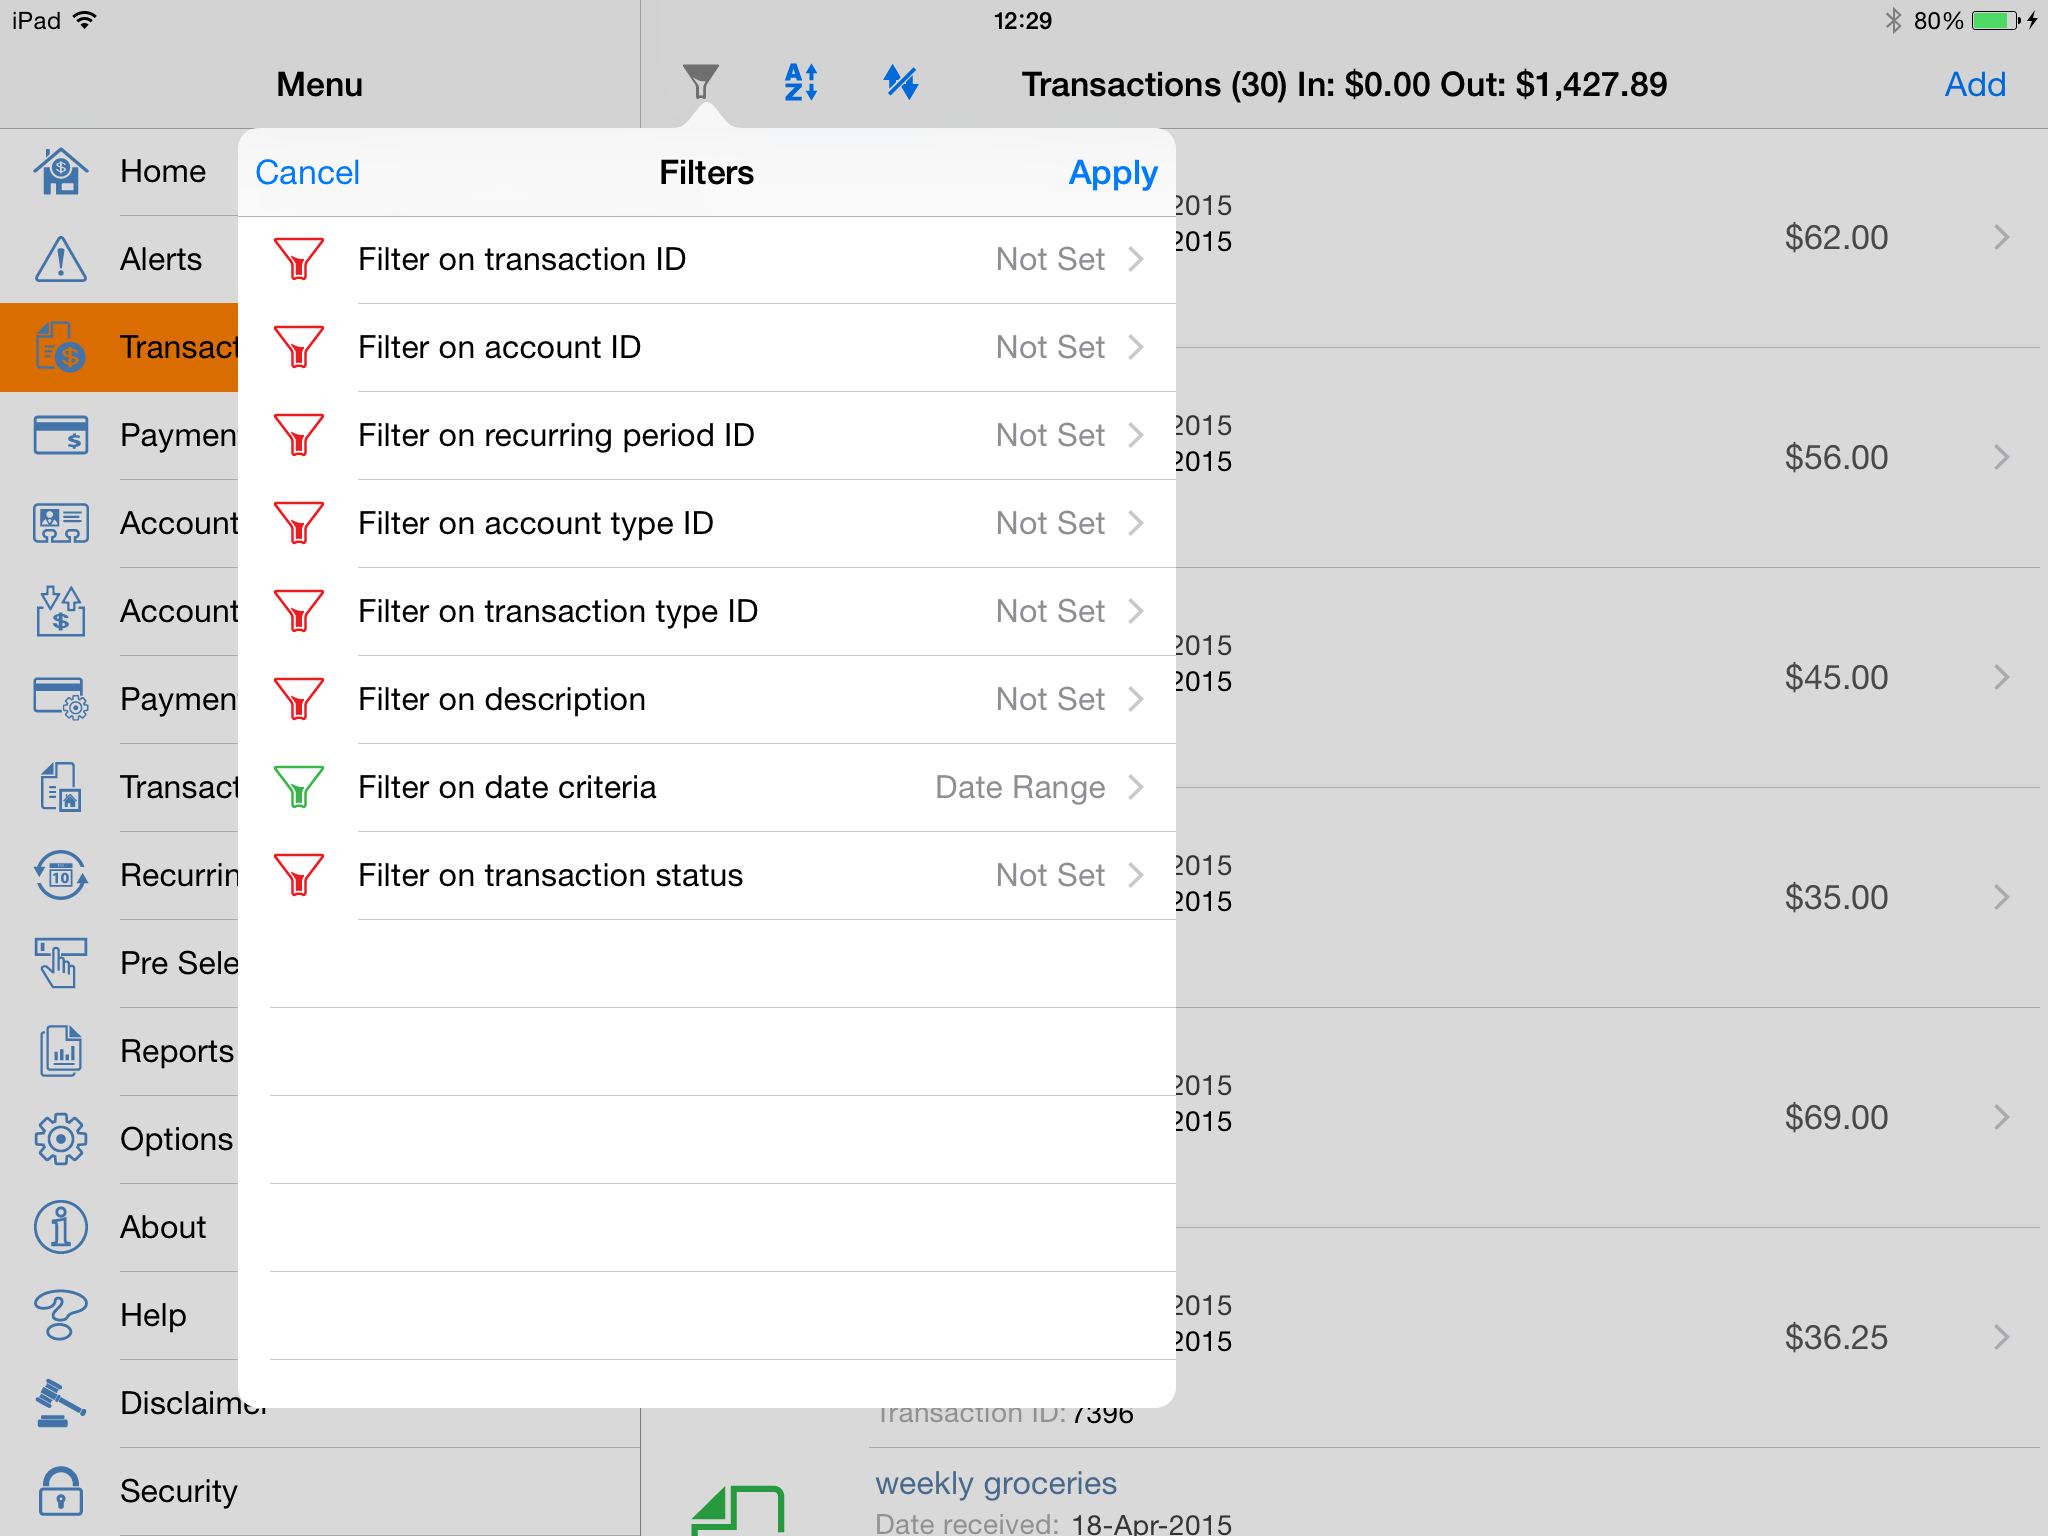
You can filter your transactions in various ways.
Green filter icons mean that they are used in filtering.
Red filter icons mean that they will not be used in filtering.
Example: The green filter icon shown in this image means that the filter on data criteria will be used when tapping Apply.
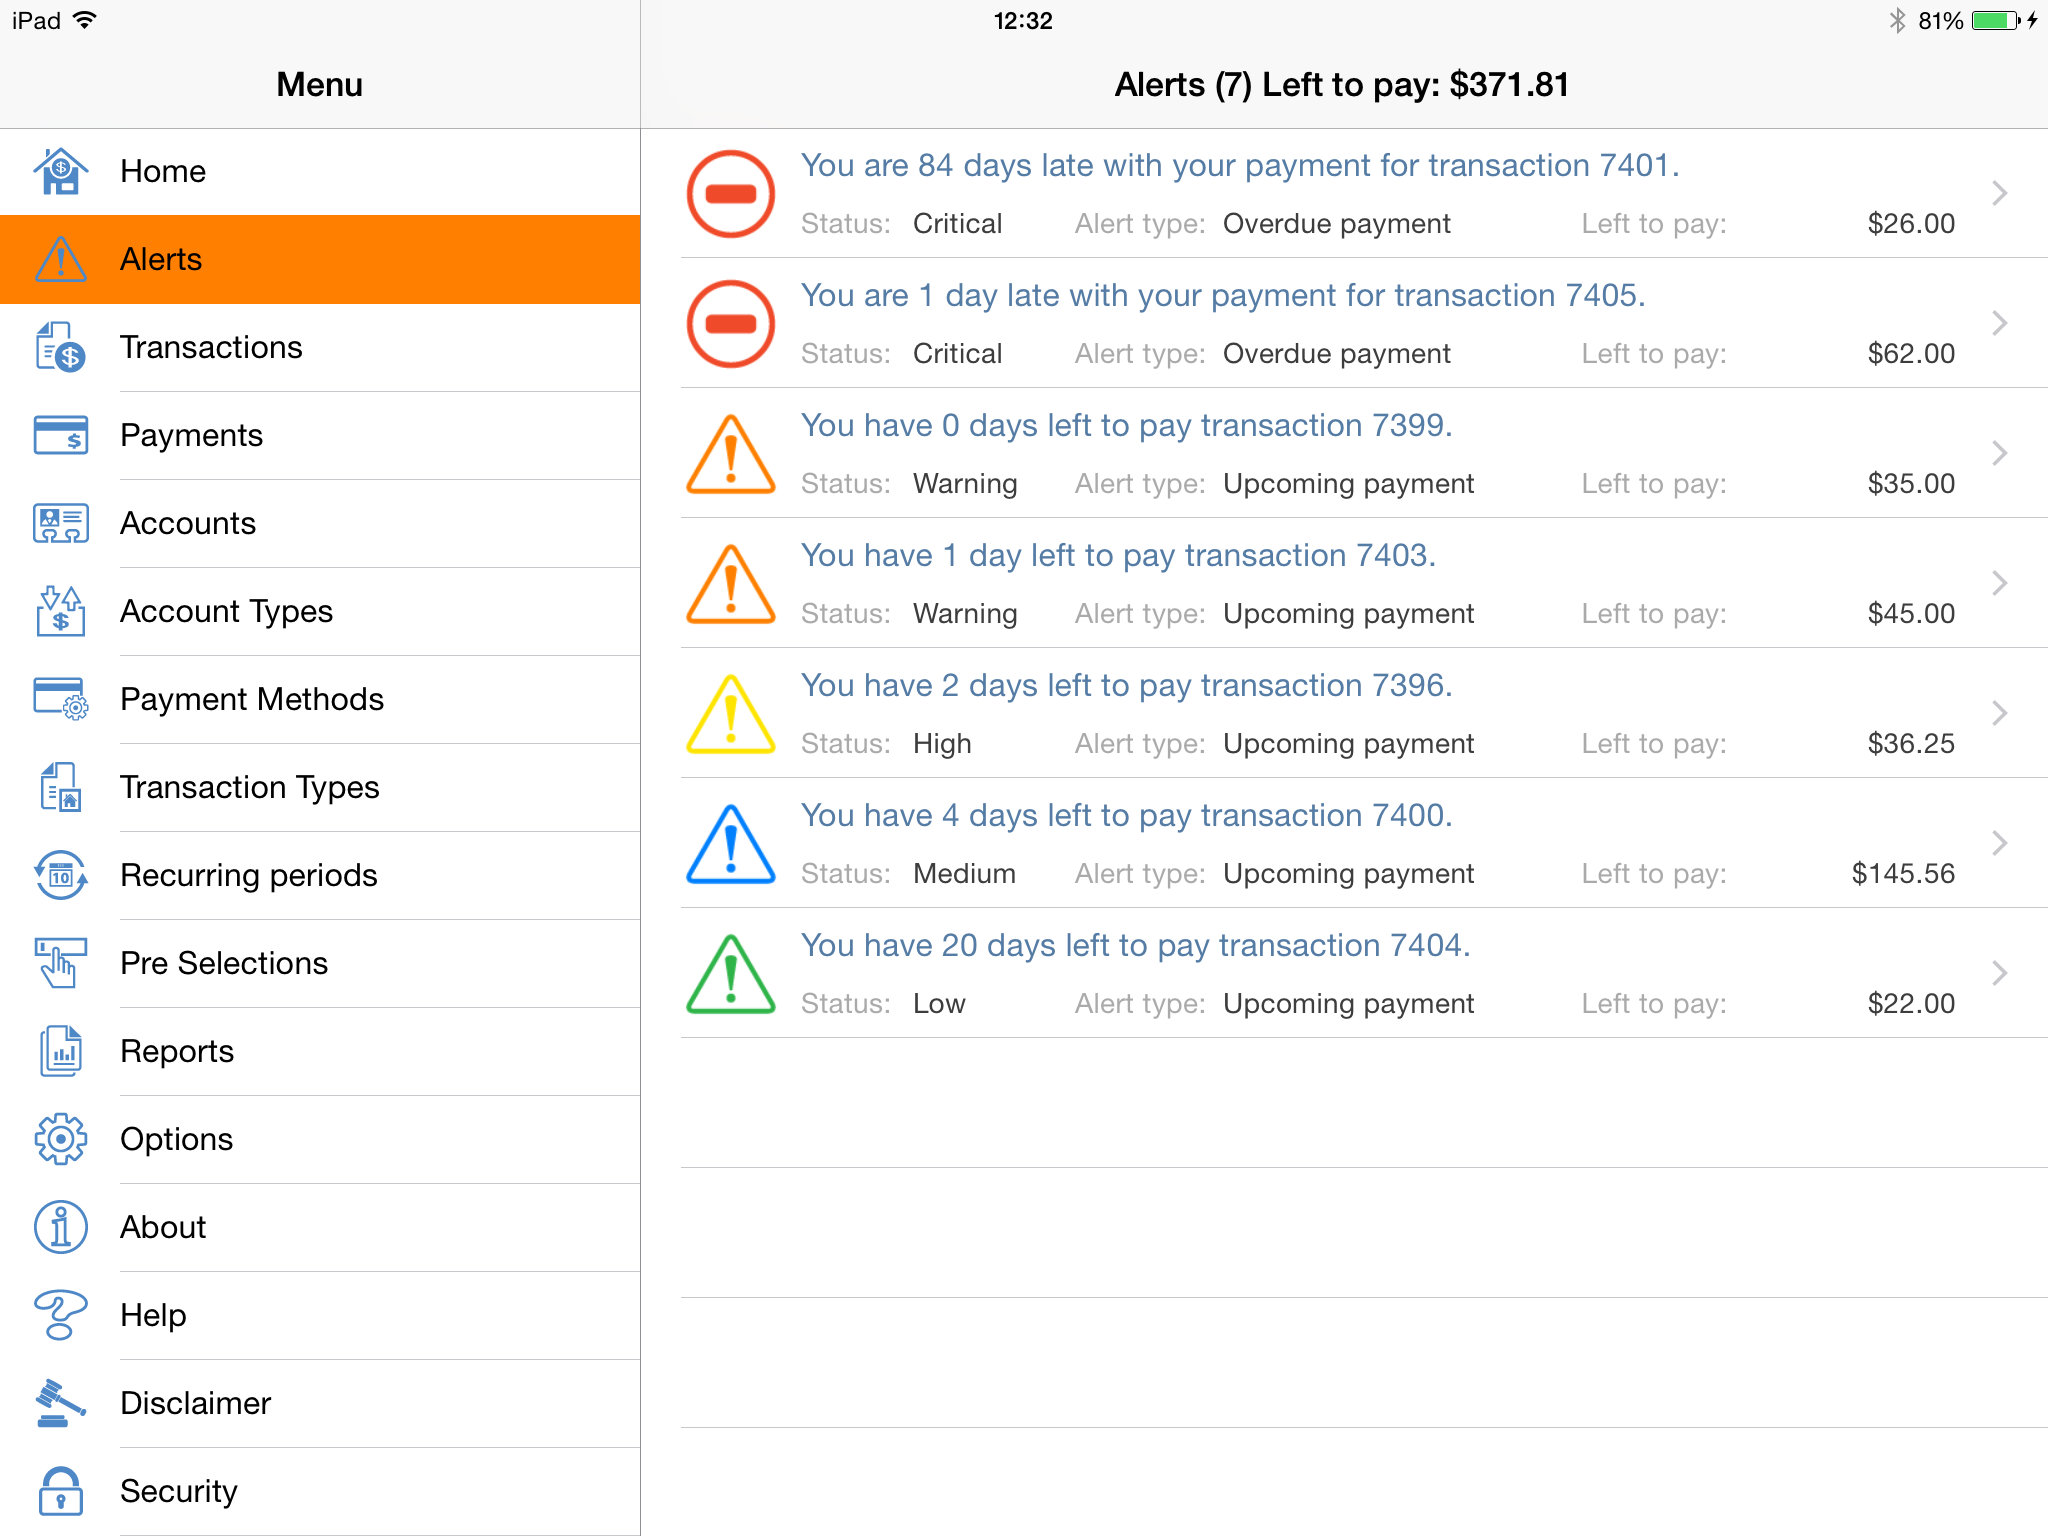
Alerts are transactions that are not fully paid based on the urgency of the due date.
A red circle with a stop sign indicates that you are late with your payment in relation to the due date of the transaction.
The triangles indicate that you still have time to pay your transaction in time. Depending on the color it shows how close to the due date you get (in this order closest to the due date: orange, yellow, blue, green)
This list is sorted by urgency.
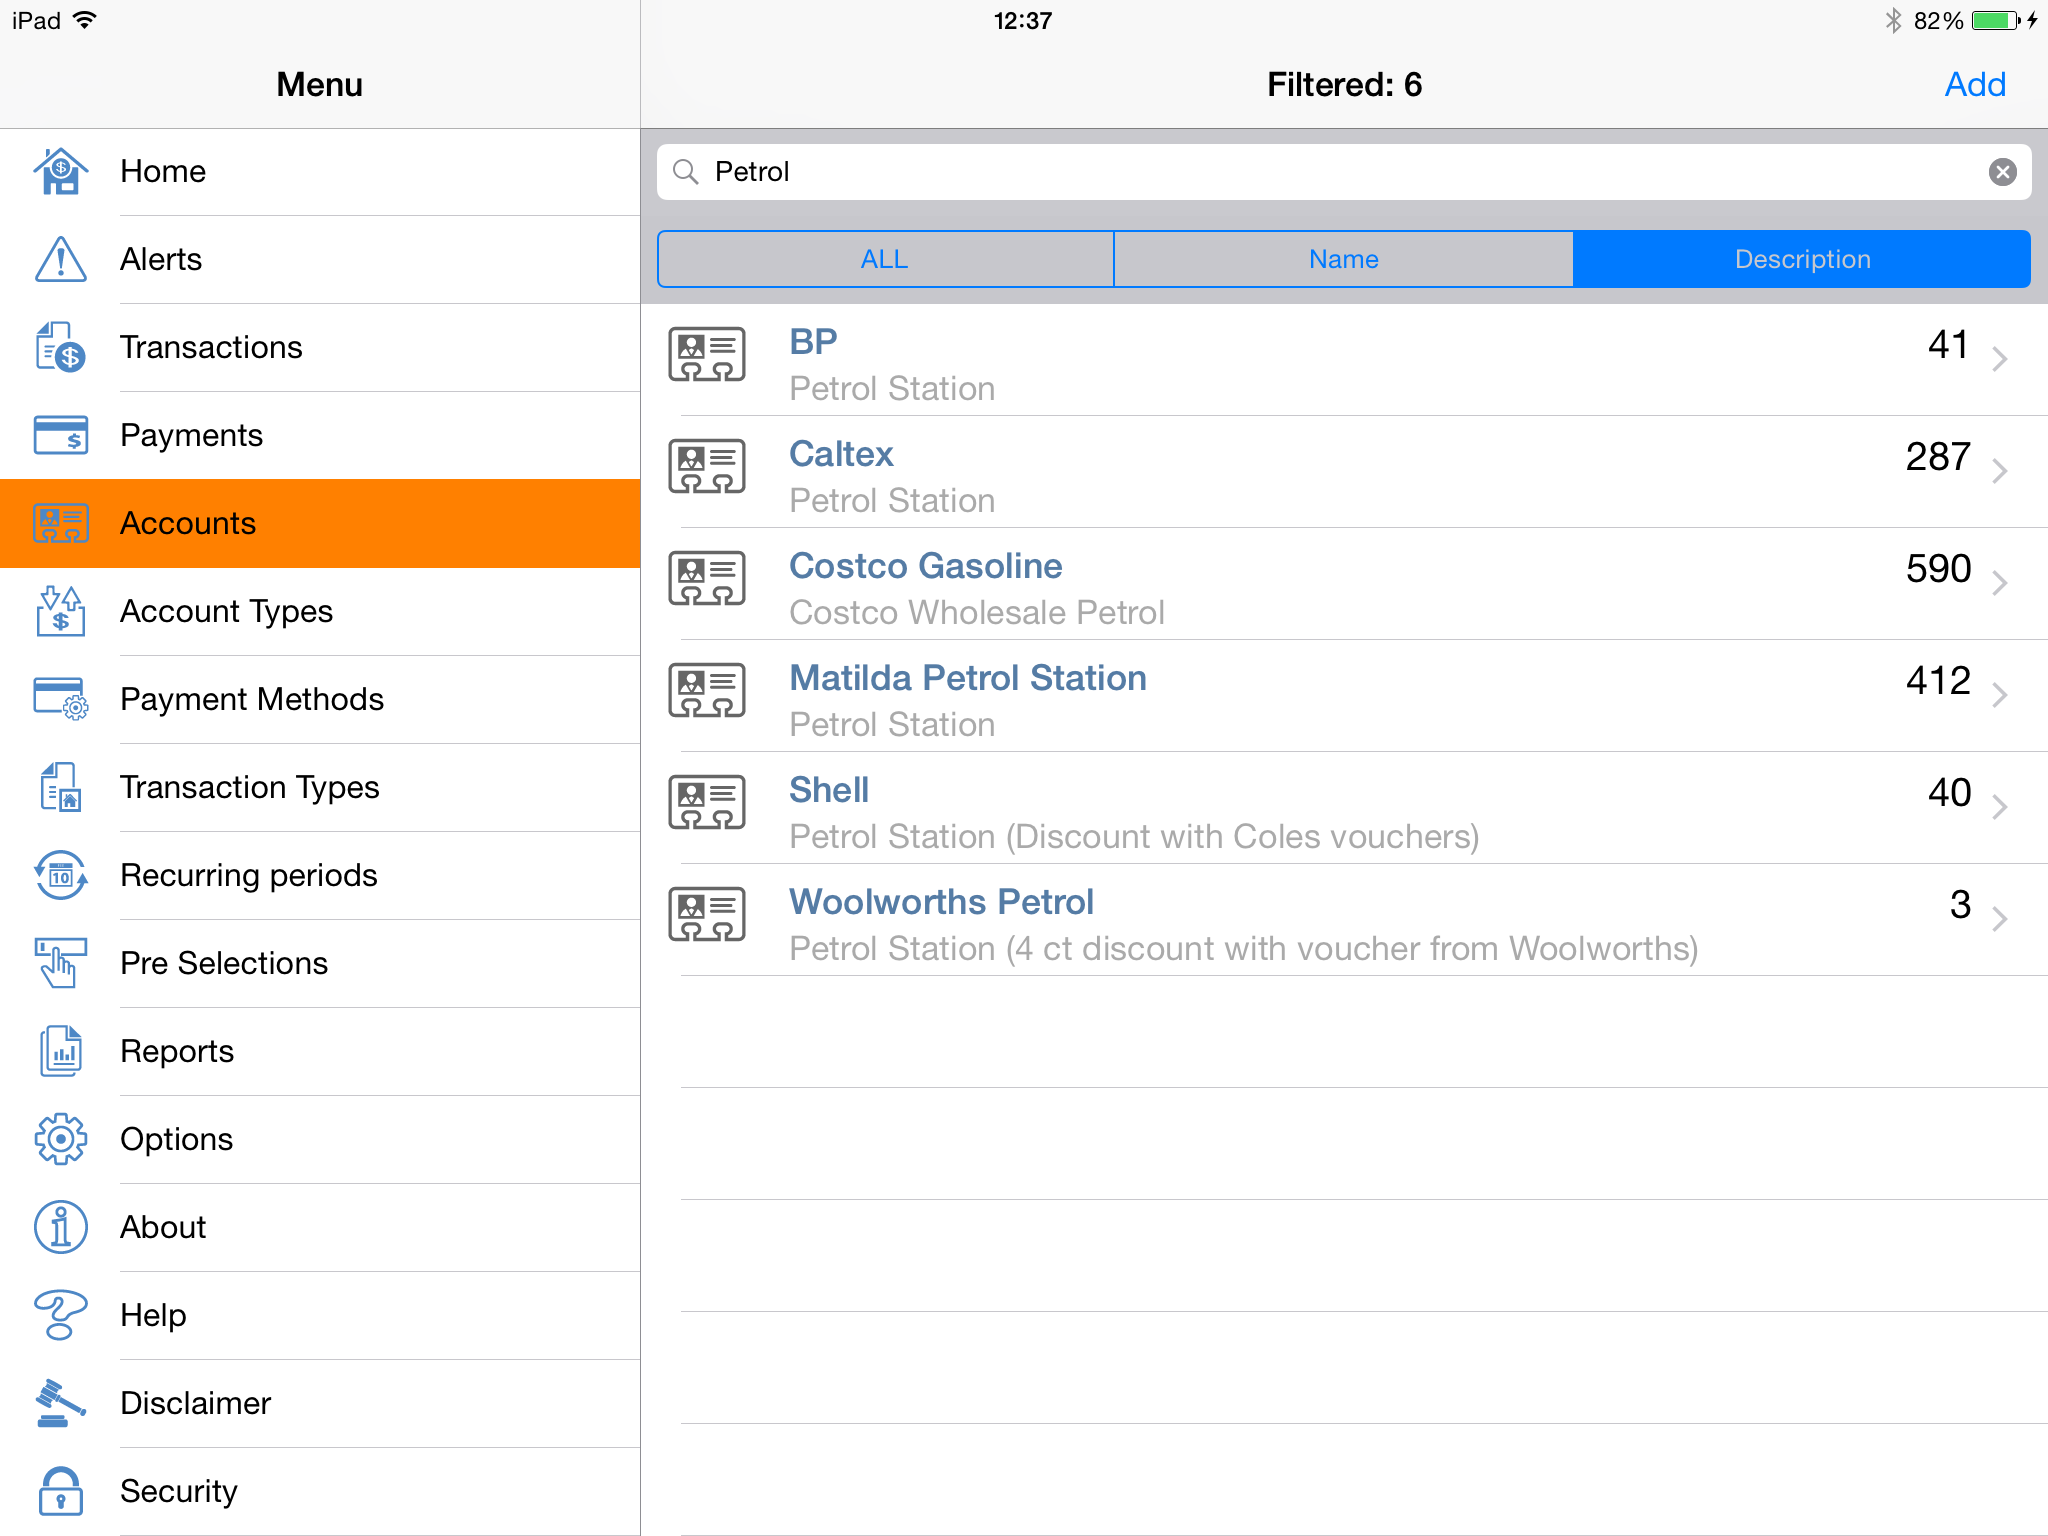
Every transaction you put in the database needs an account. In this view you manage your accounts.
Through the search facility you can quickly find out if an account is already in your database or not.
Every account has an ID for reference shown on the right for each account.
In this image you can see that the account Shell has ID 40.
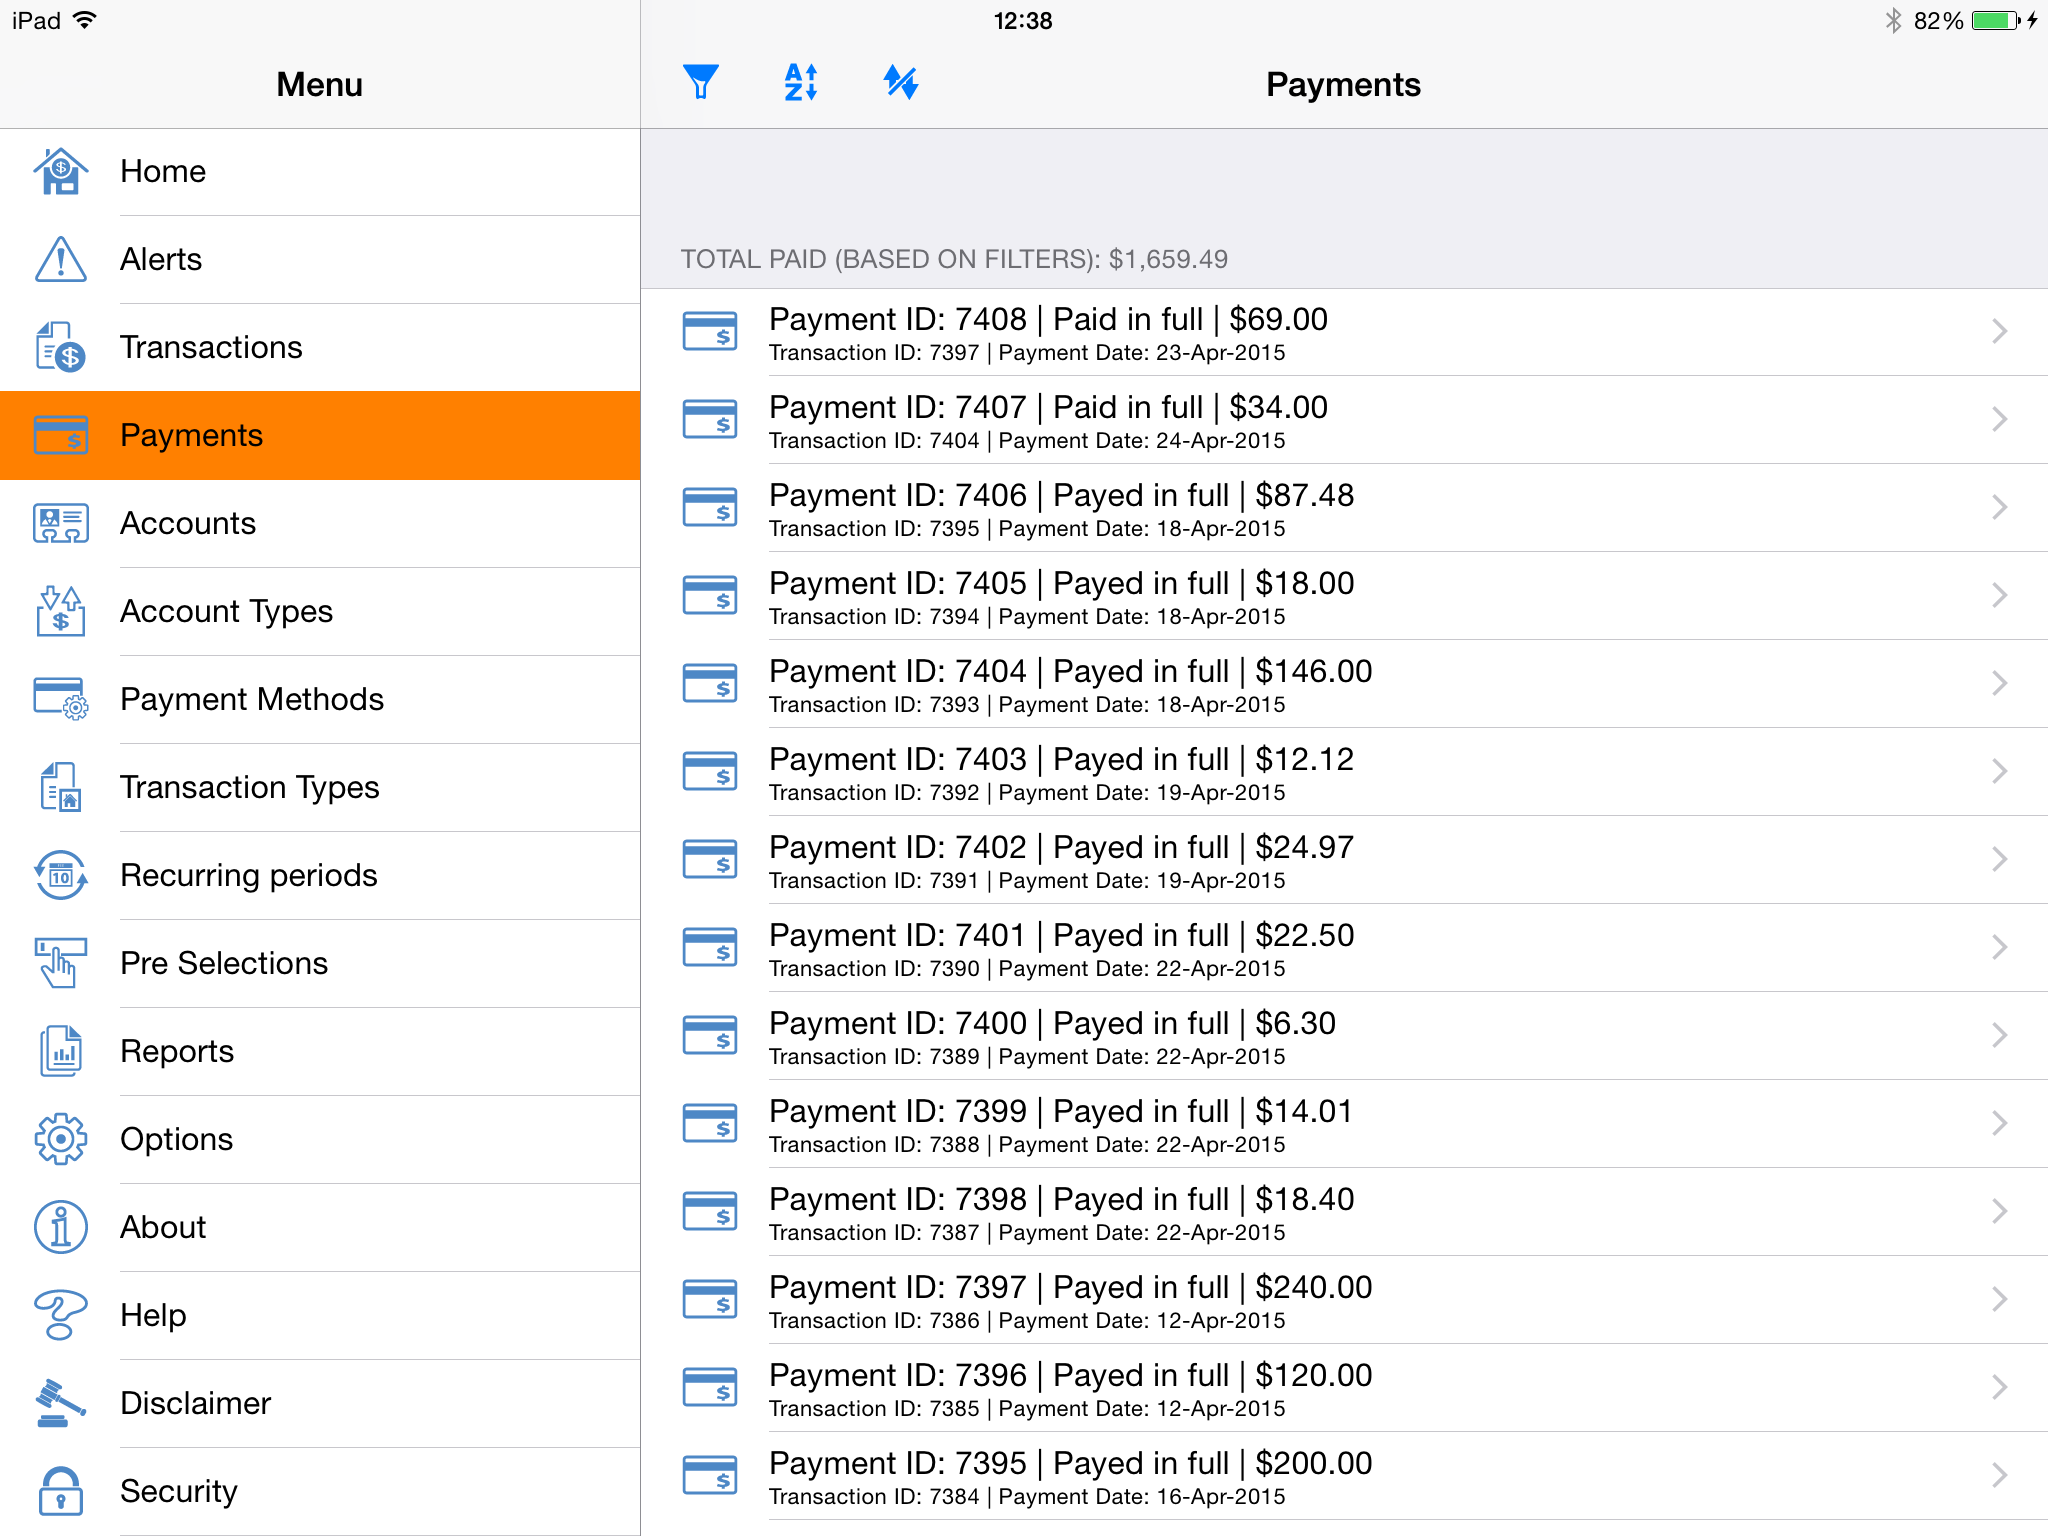
Payments can be seen in this view and can be filtered on.
Example: by setting a filter on date criteria and setting a date range you could quickly find out what you paid the last month in invoices, bills, dockets etc.
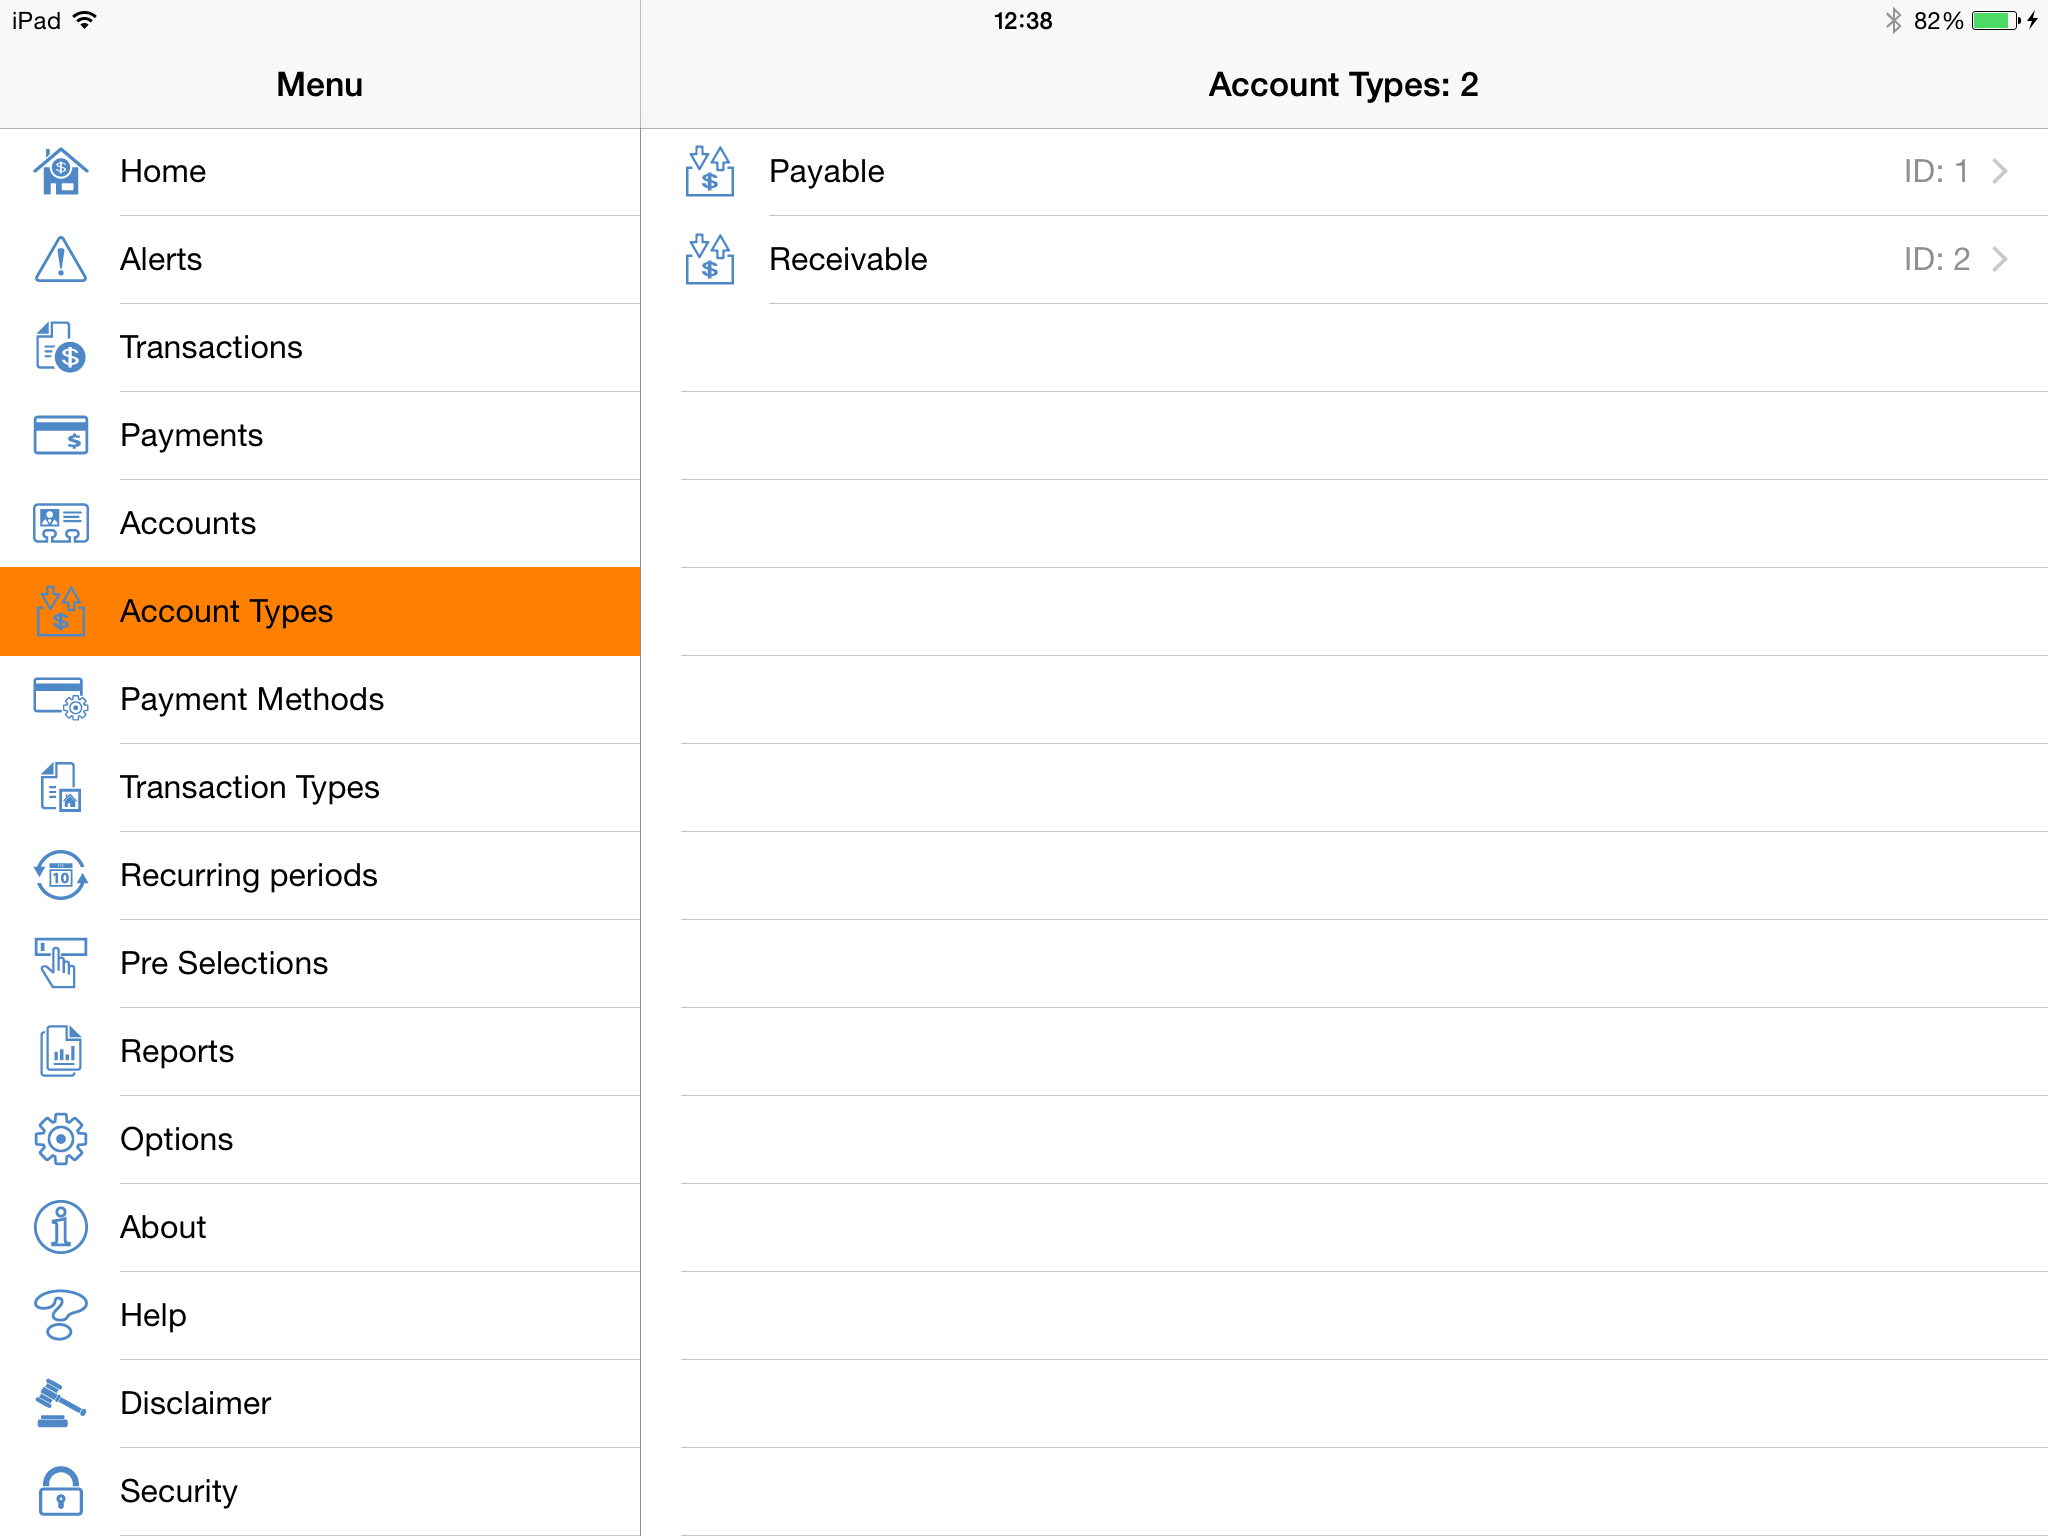
Account types is a system table and indicates if a transaction is payable or receivable.
This app is specifically designed to monitor expenses and so most transactions will be of type payable. However you can create transactions that are of type receivable. Transaction amounts should always be entered as a positive number.
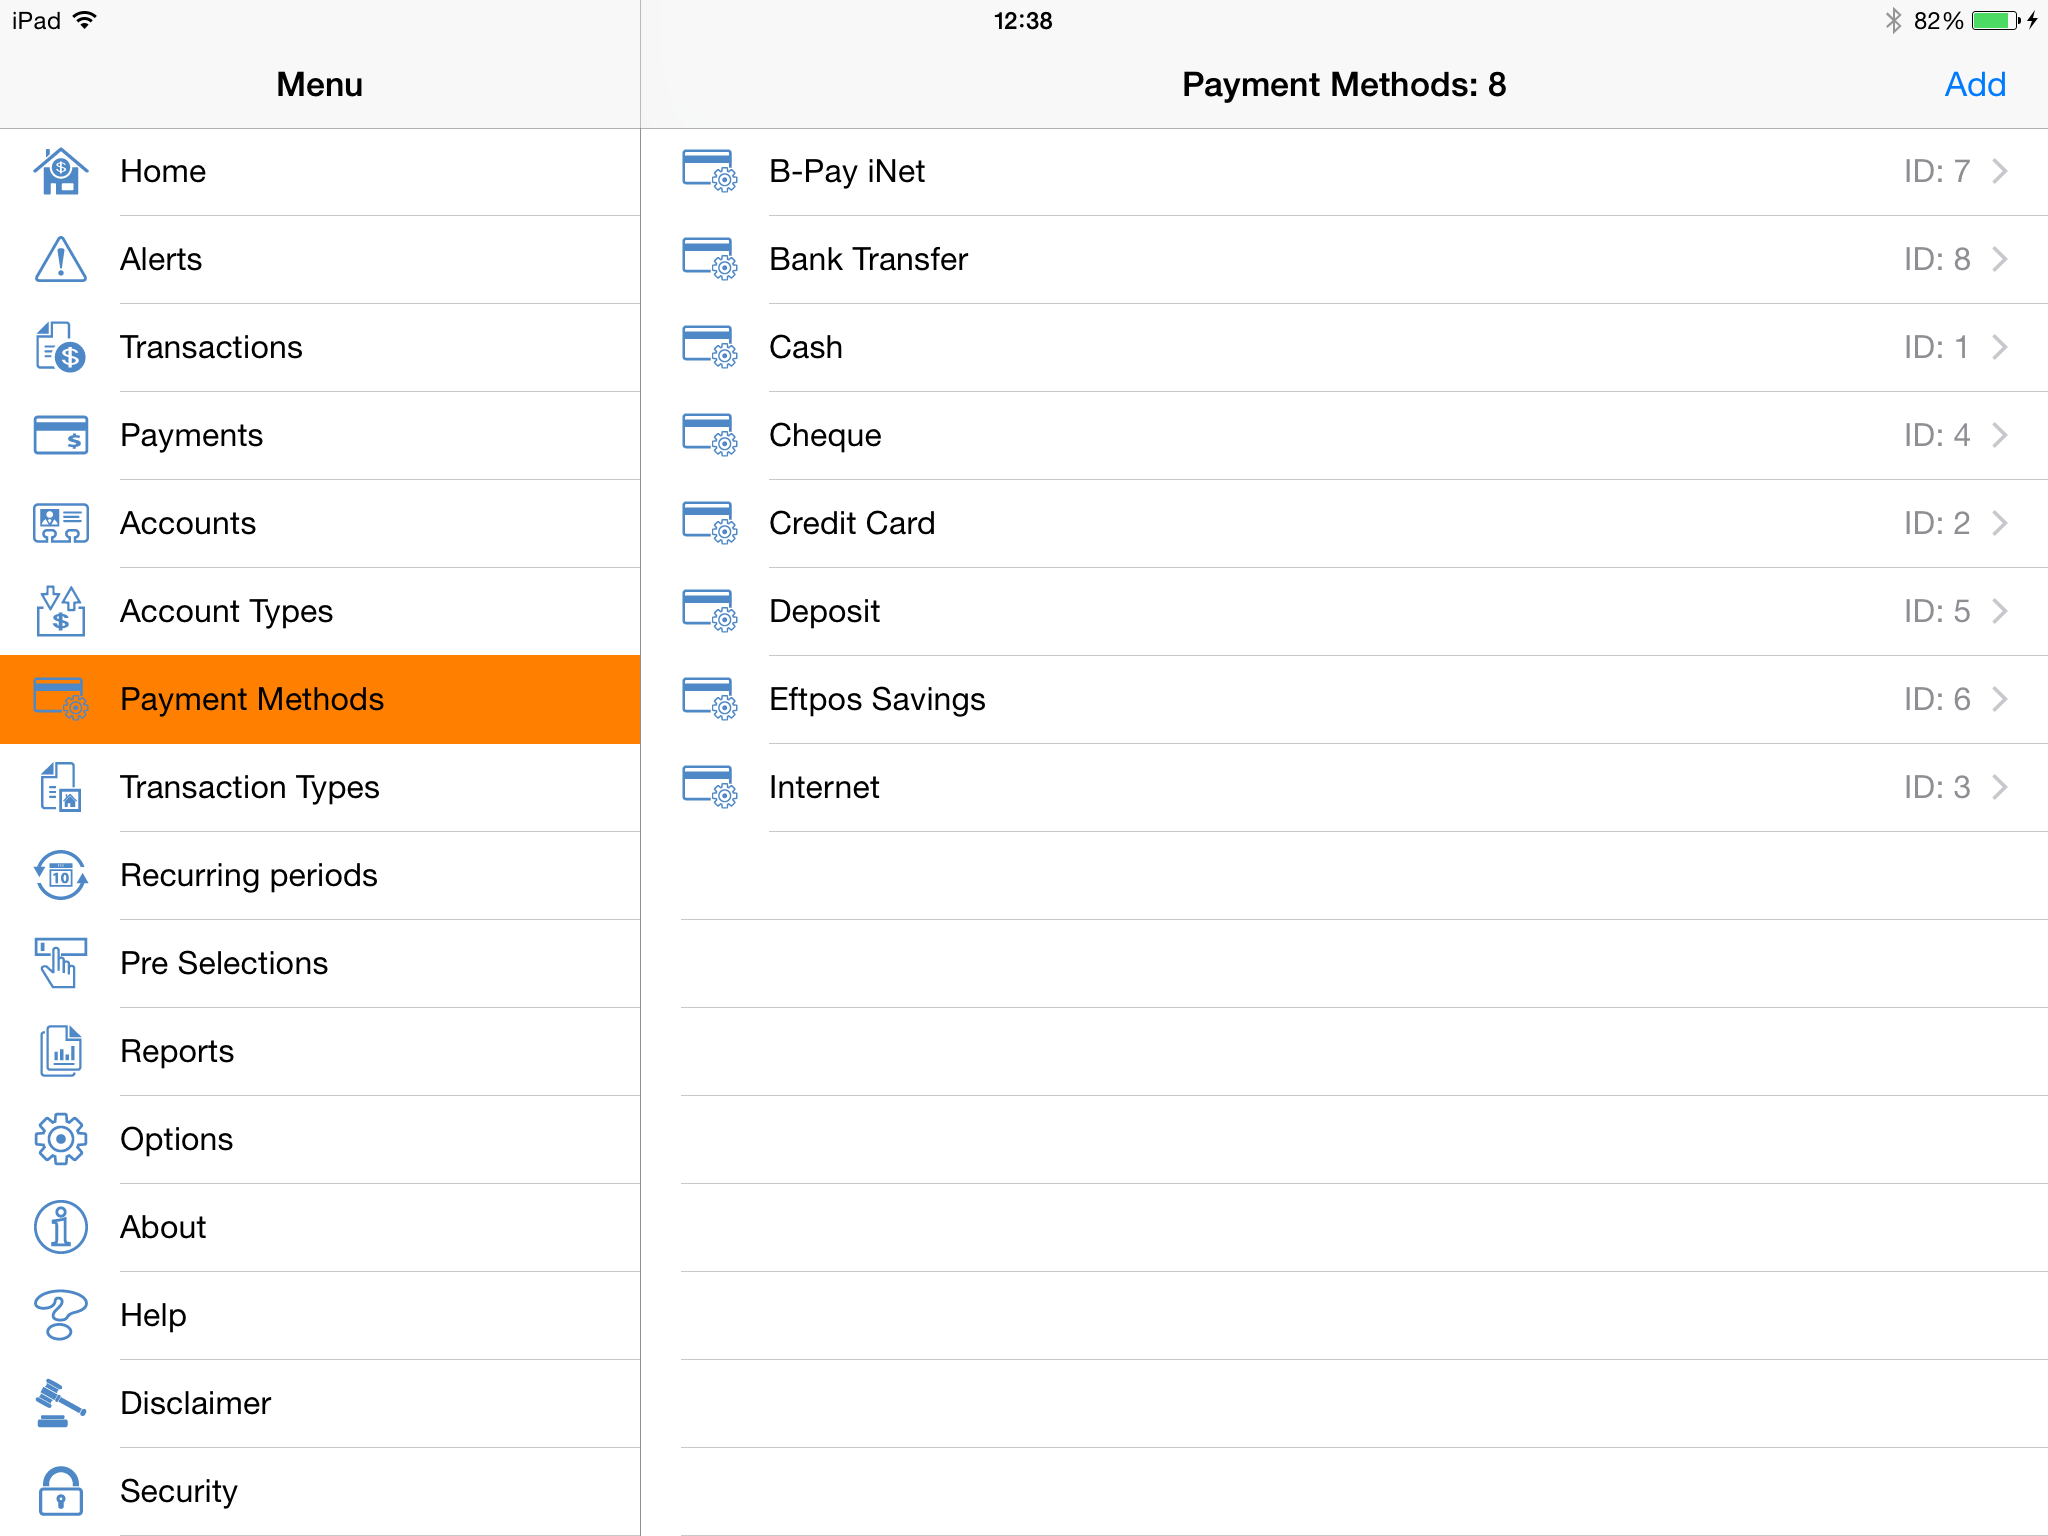
Payment methods can added and deleted by you. They only serve a purpose for filtering data.
You can for example create a filter in the payments view to see what you paid through your credit card in the last 3 months.
Or for example set a filter to see what you paid in cash for the last half year.
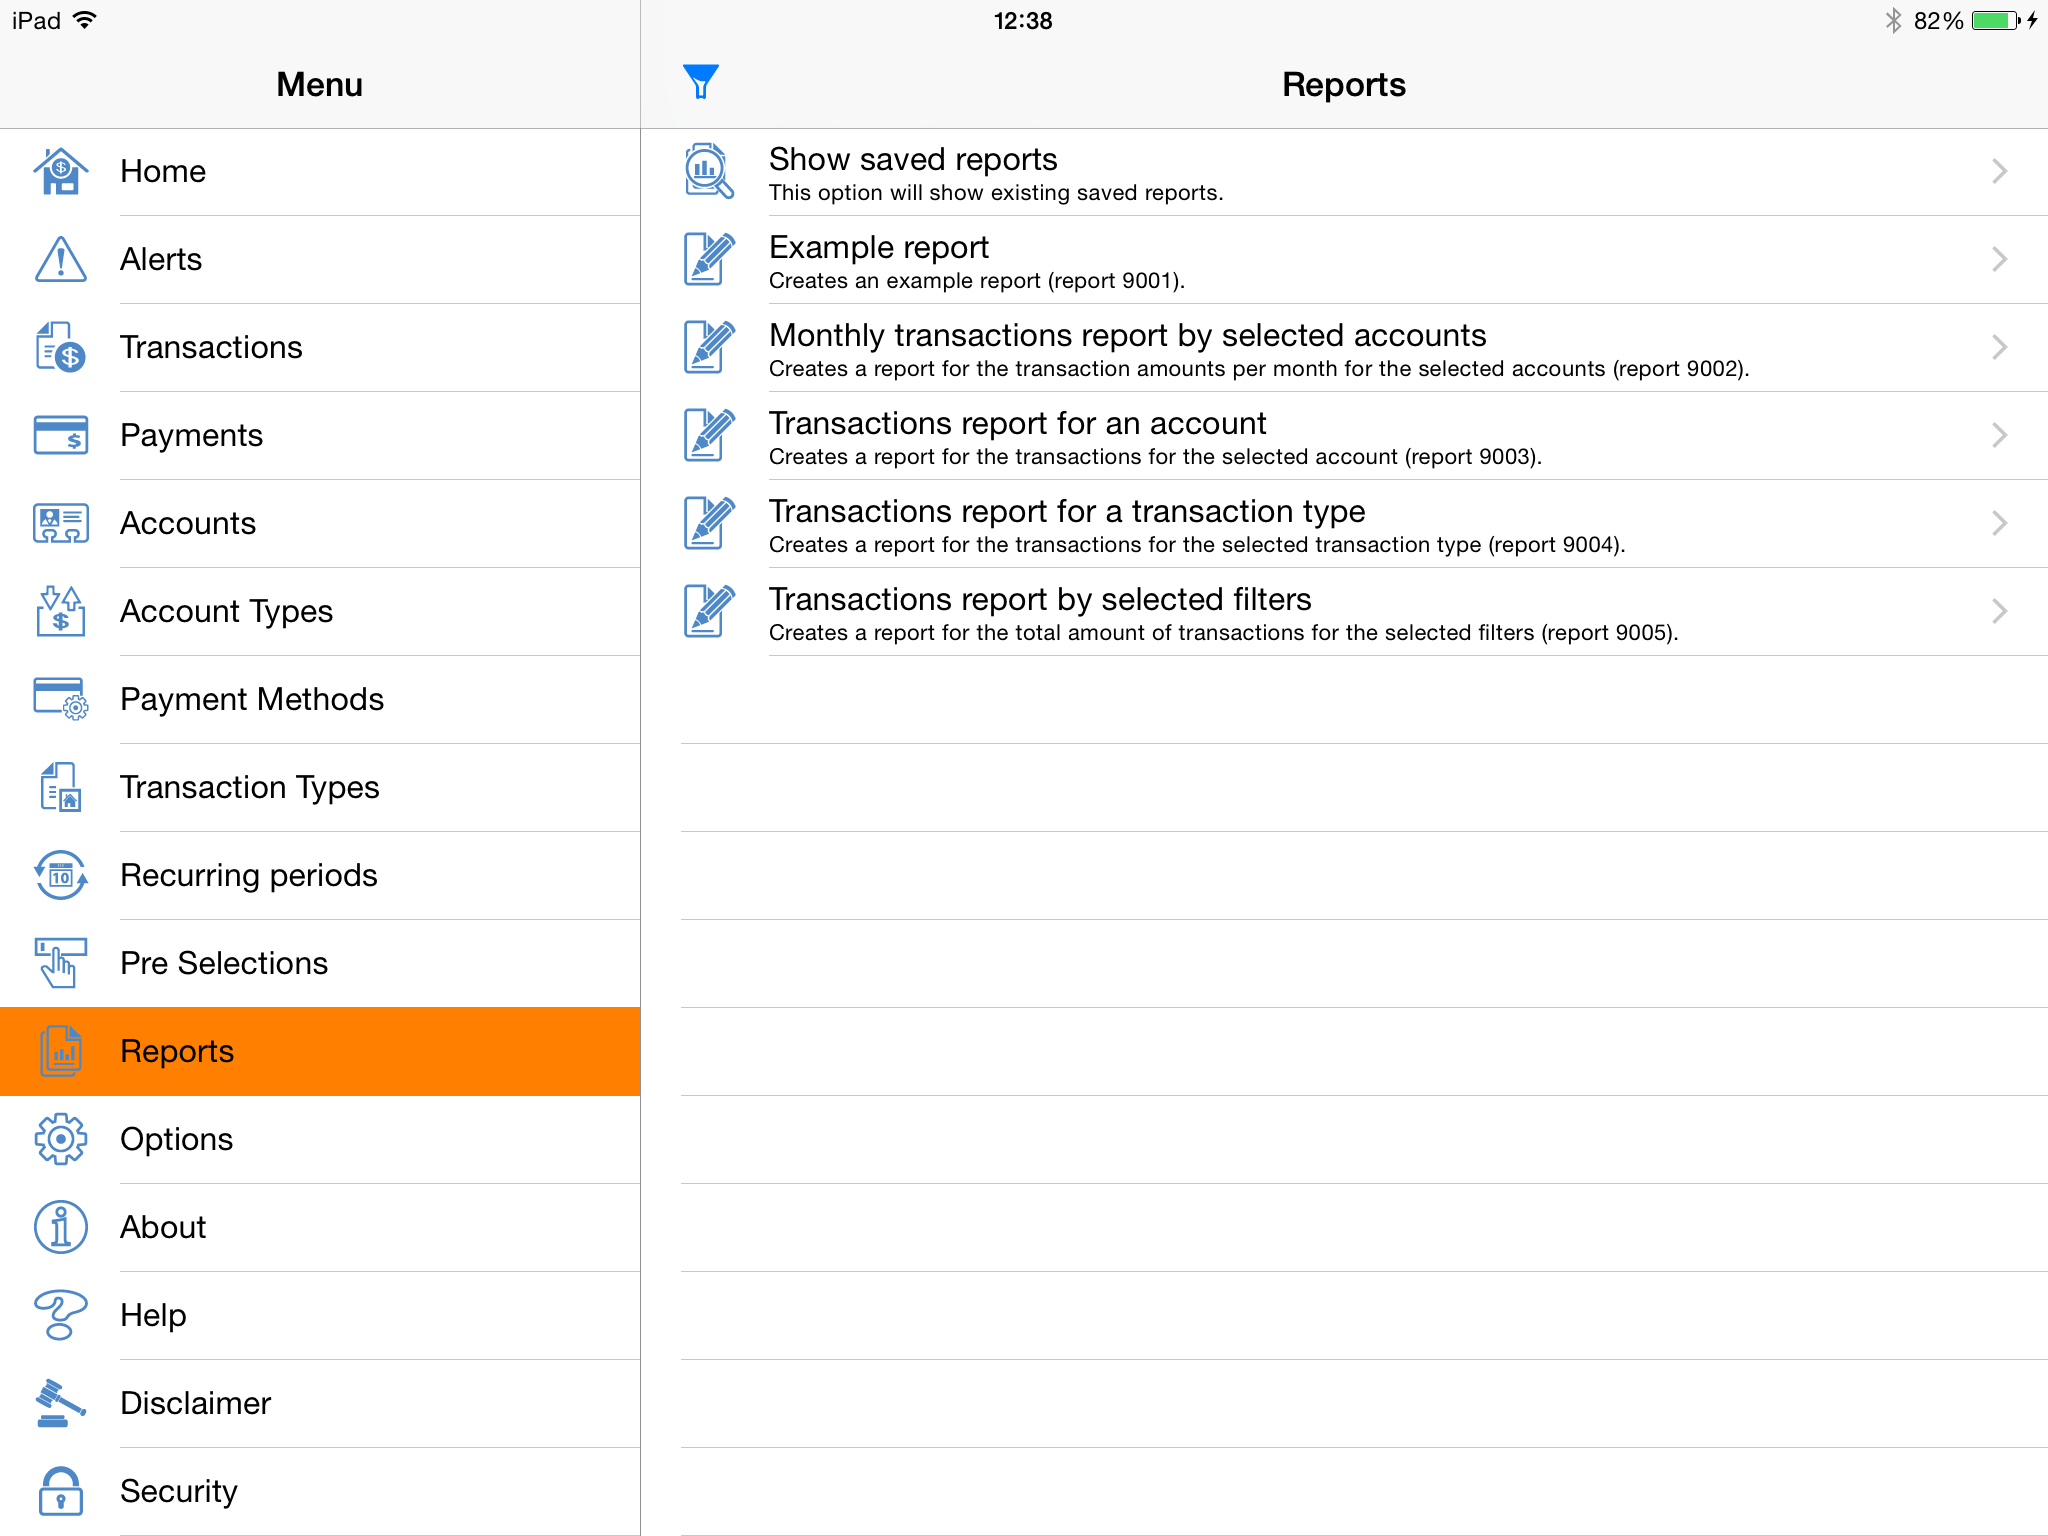
Reports are a very powerful feature of this app.
Reports take up on average as little as 30 Kb of space if you decide to save them to your device.
An important feature of a report is that you can email this to another (providing email is available and setup on the device).
The first item of the report menu is 'Show Saved Reports'. Choosing this will bring up a list of reports saved on the device.
The first report (ID 9001) is purely for example purposes and represents no real information.
Important: Reports need filters in order to be created. Alert views are shown indicating which filter is required for the report you want to create.
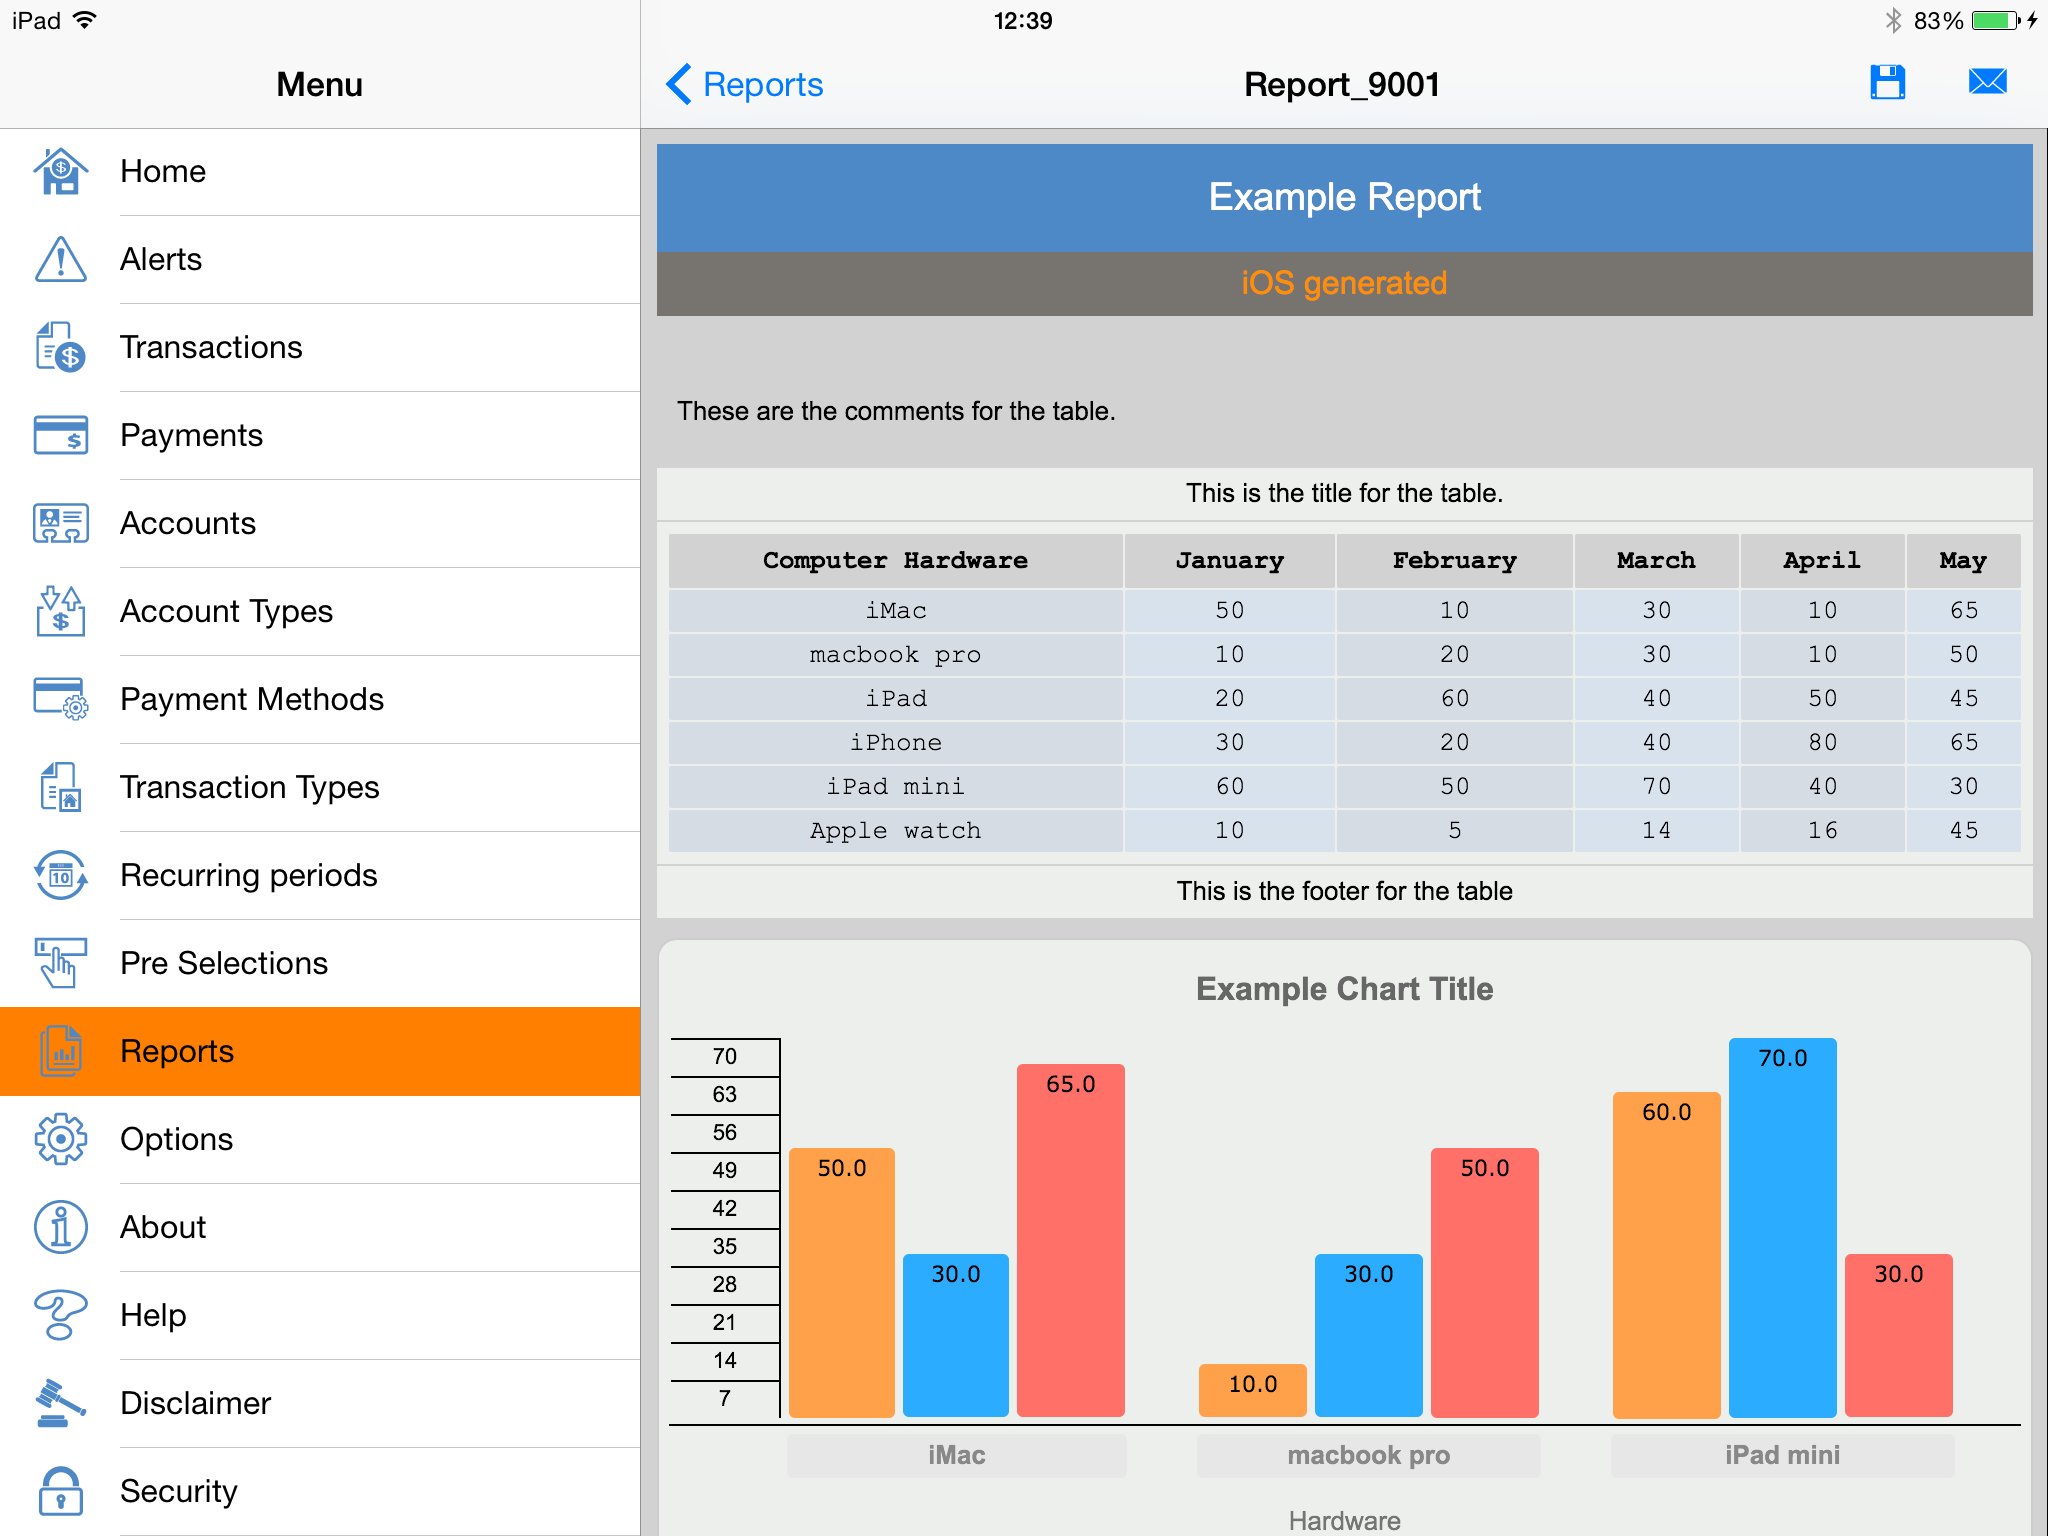
This is example report 1.
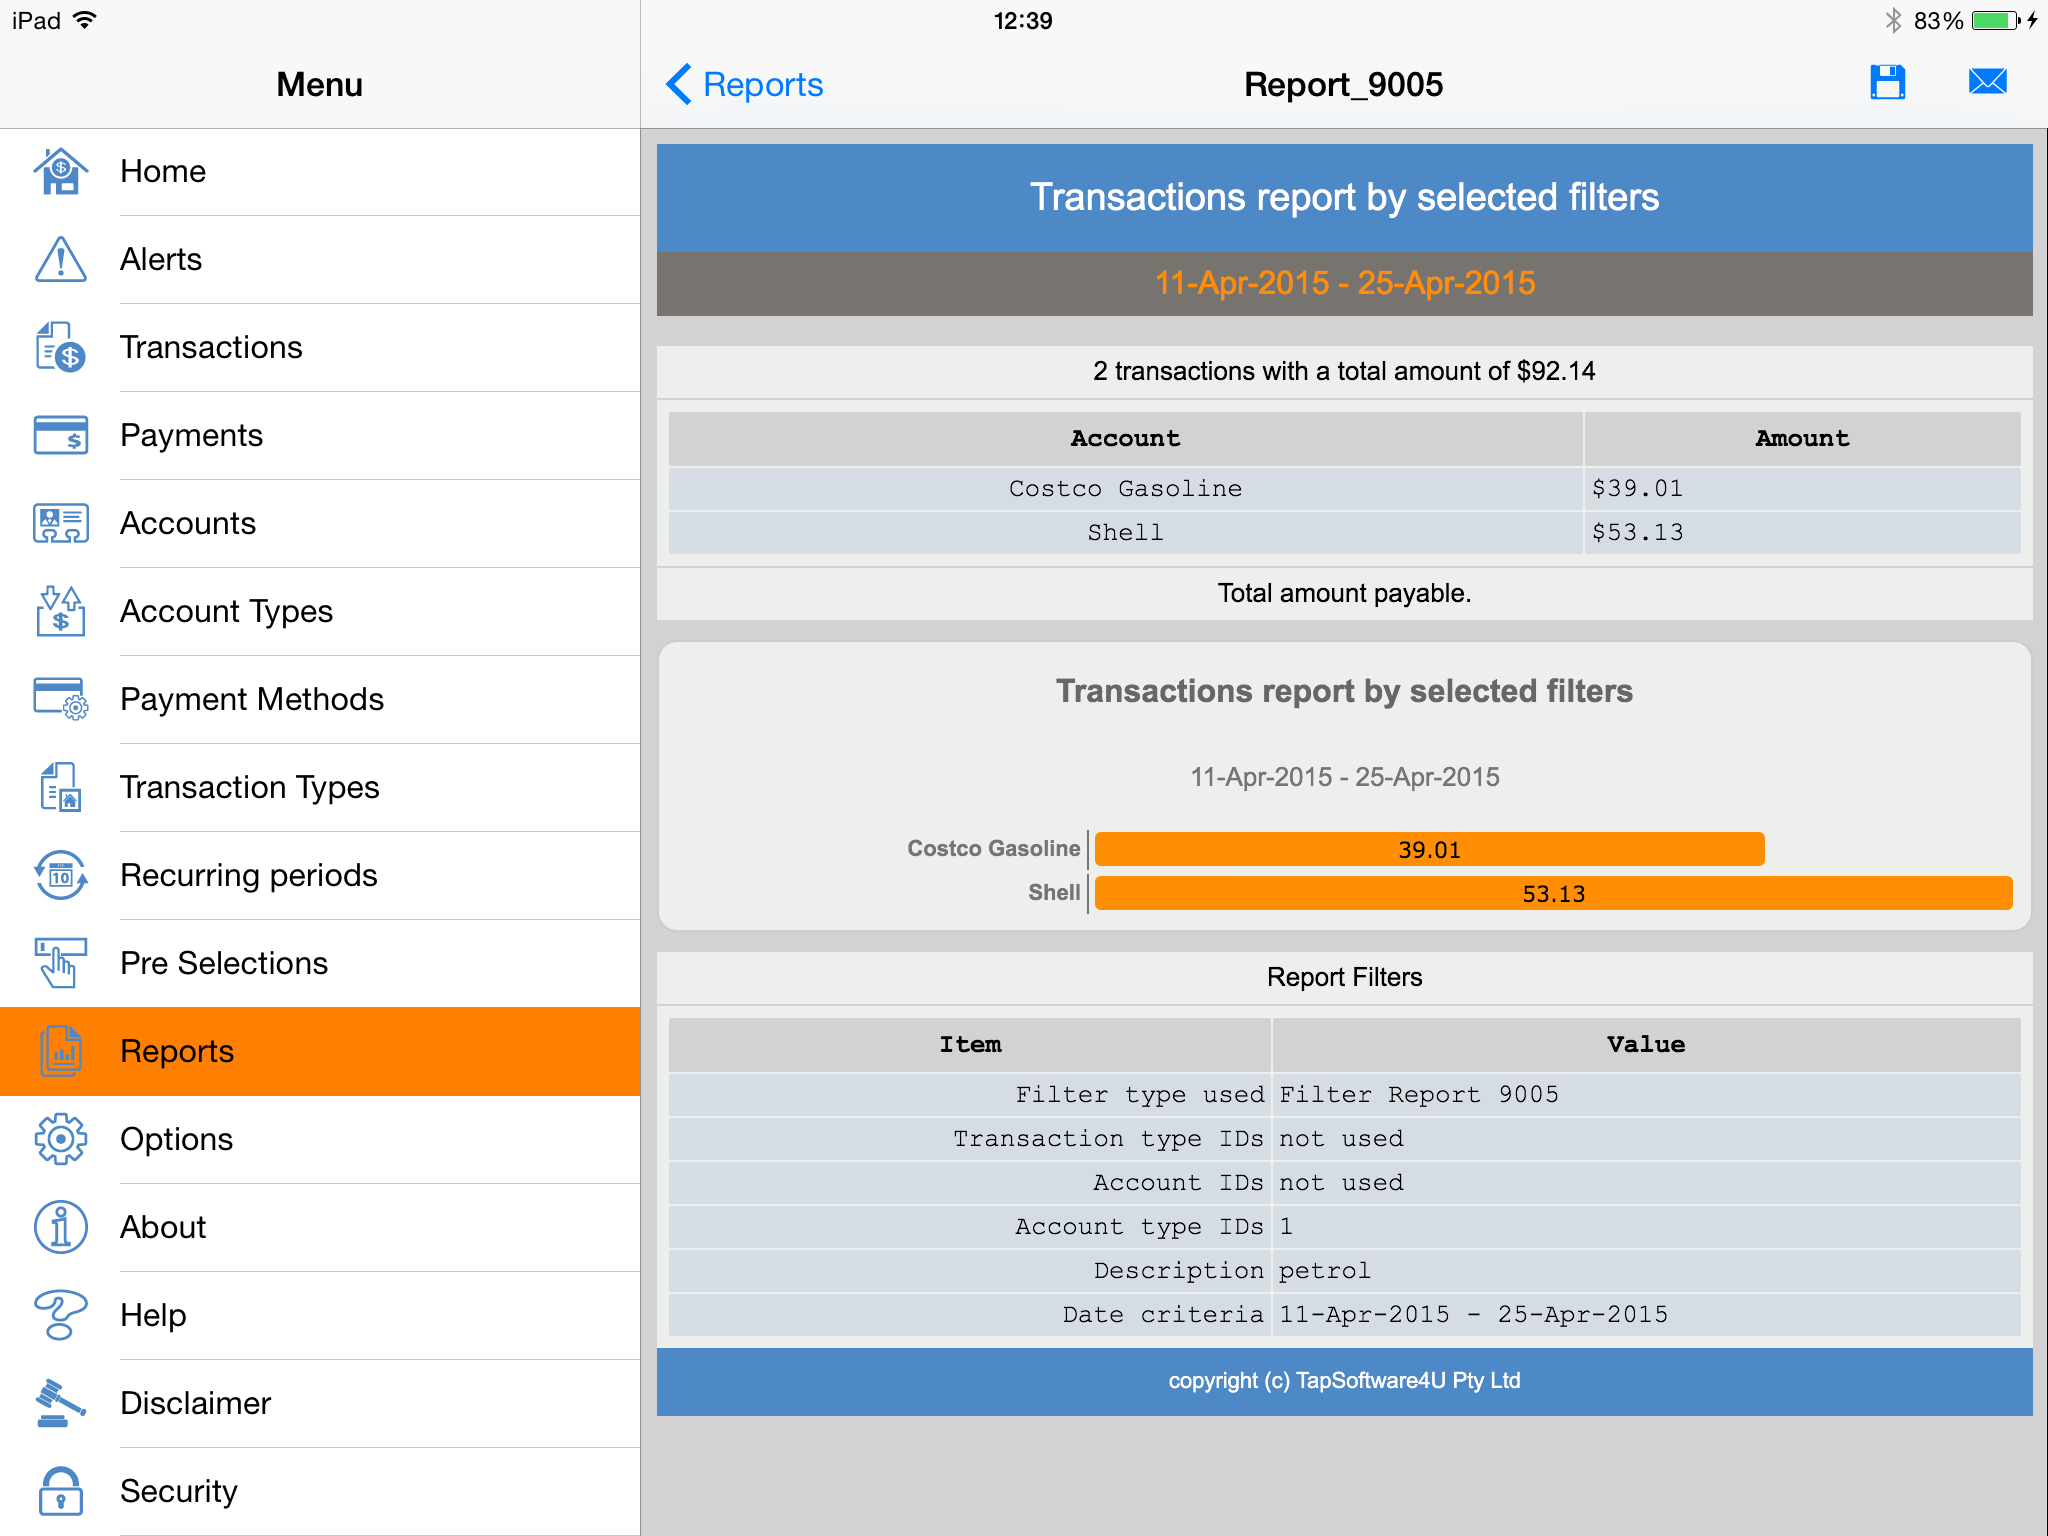
An example of report ID 9005.
Note: the table with the criteria used to create the report at the bottom of the report.
This example report is created by setting a filter 'petrol' on the transaction description and shows the payable transactions for all accounts grouped by accounts.
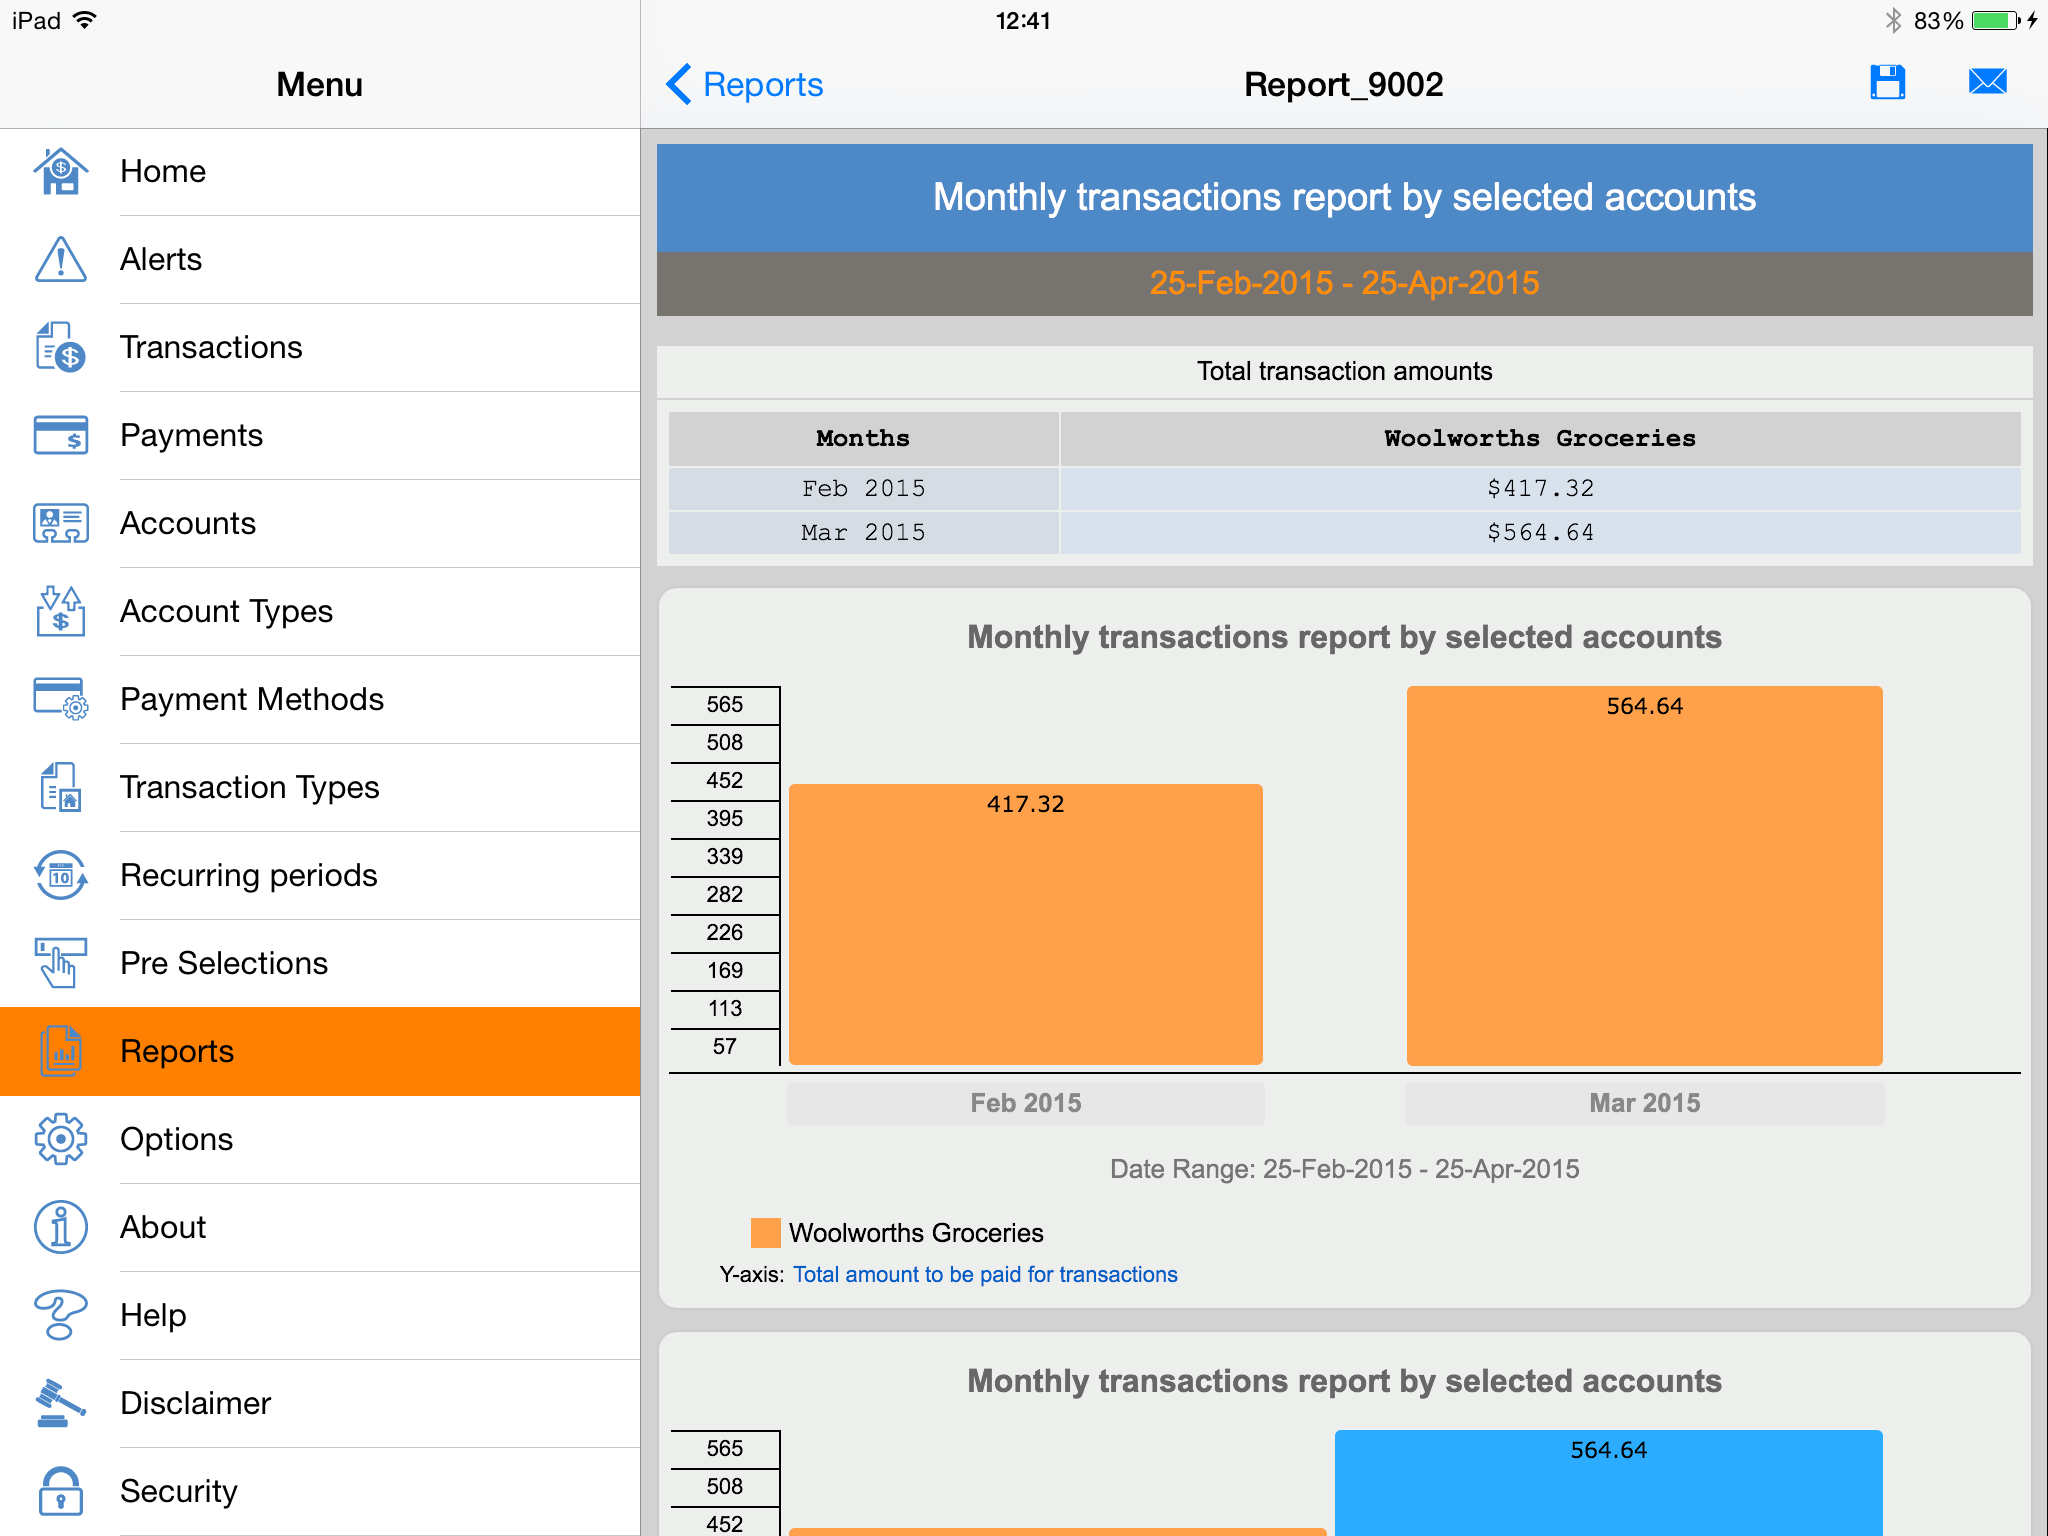
An example of report ID 9002.
This example report shows the monthly amounts by a selected account (Woolworths Groceries). A filter on date criteria has been set as well.
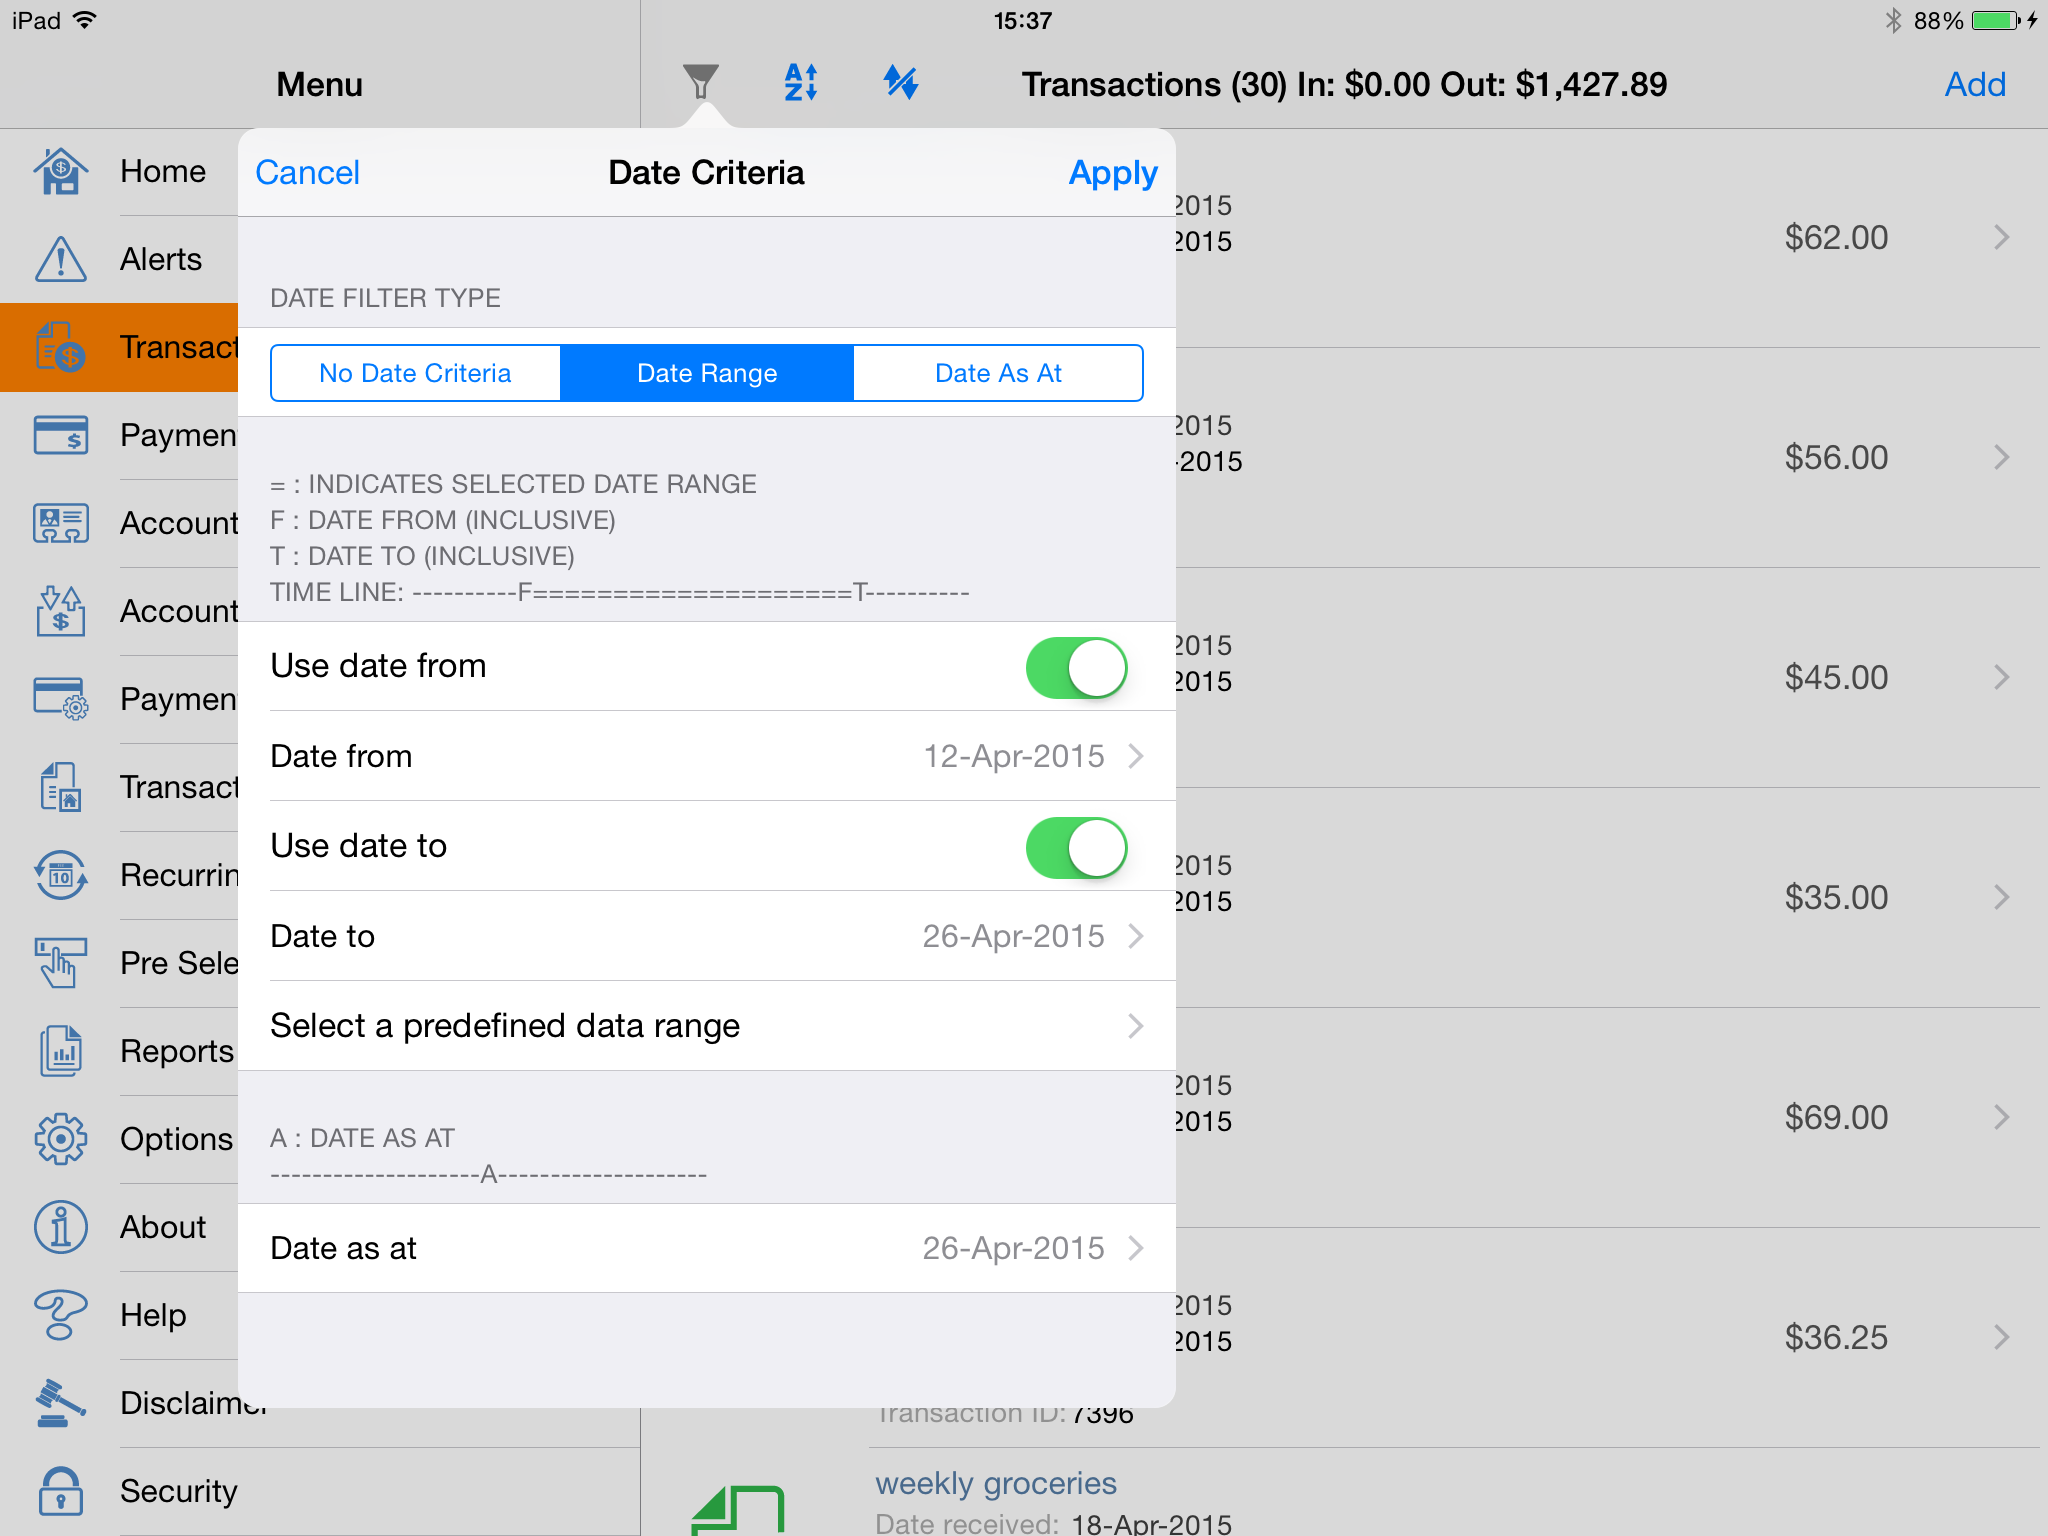
The date selection criteria view.
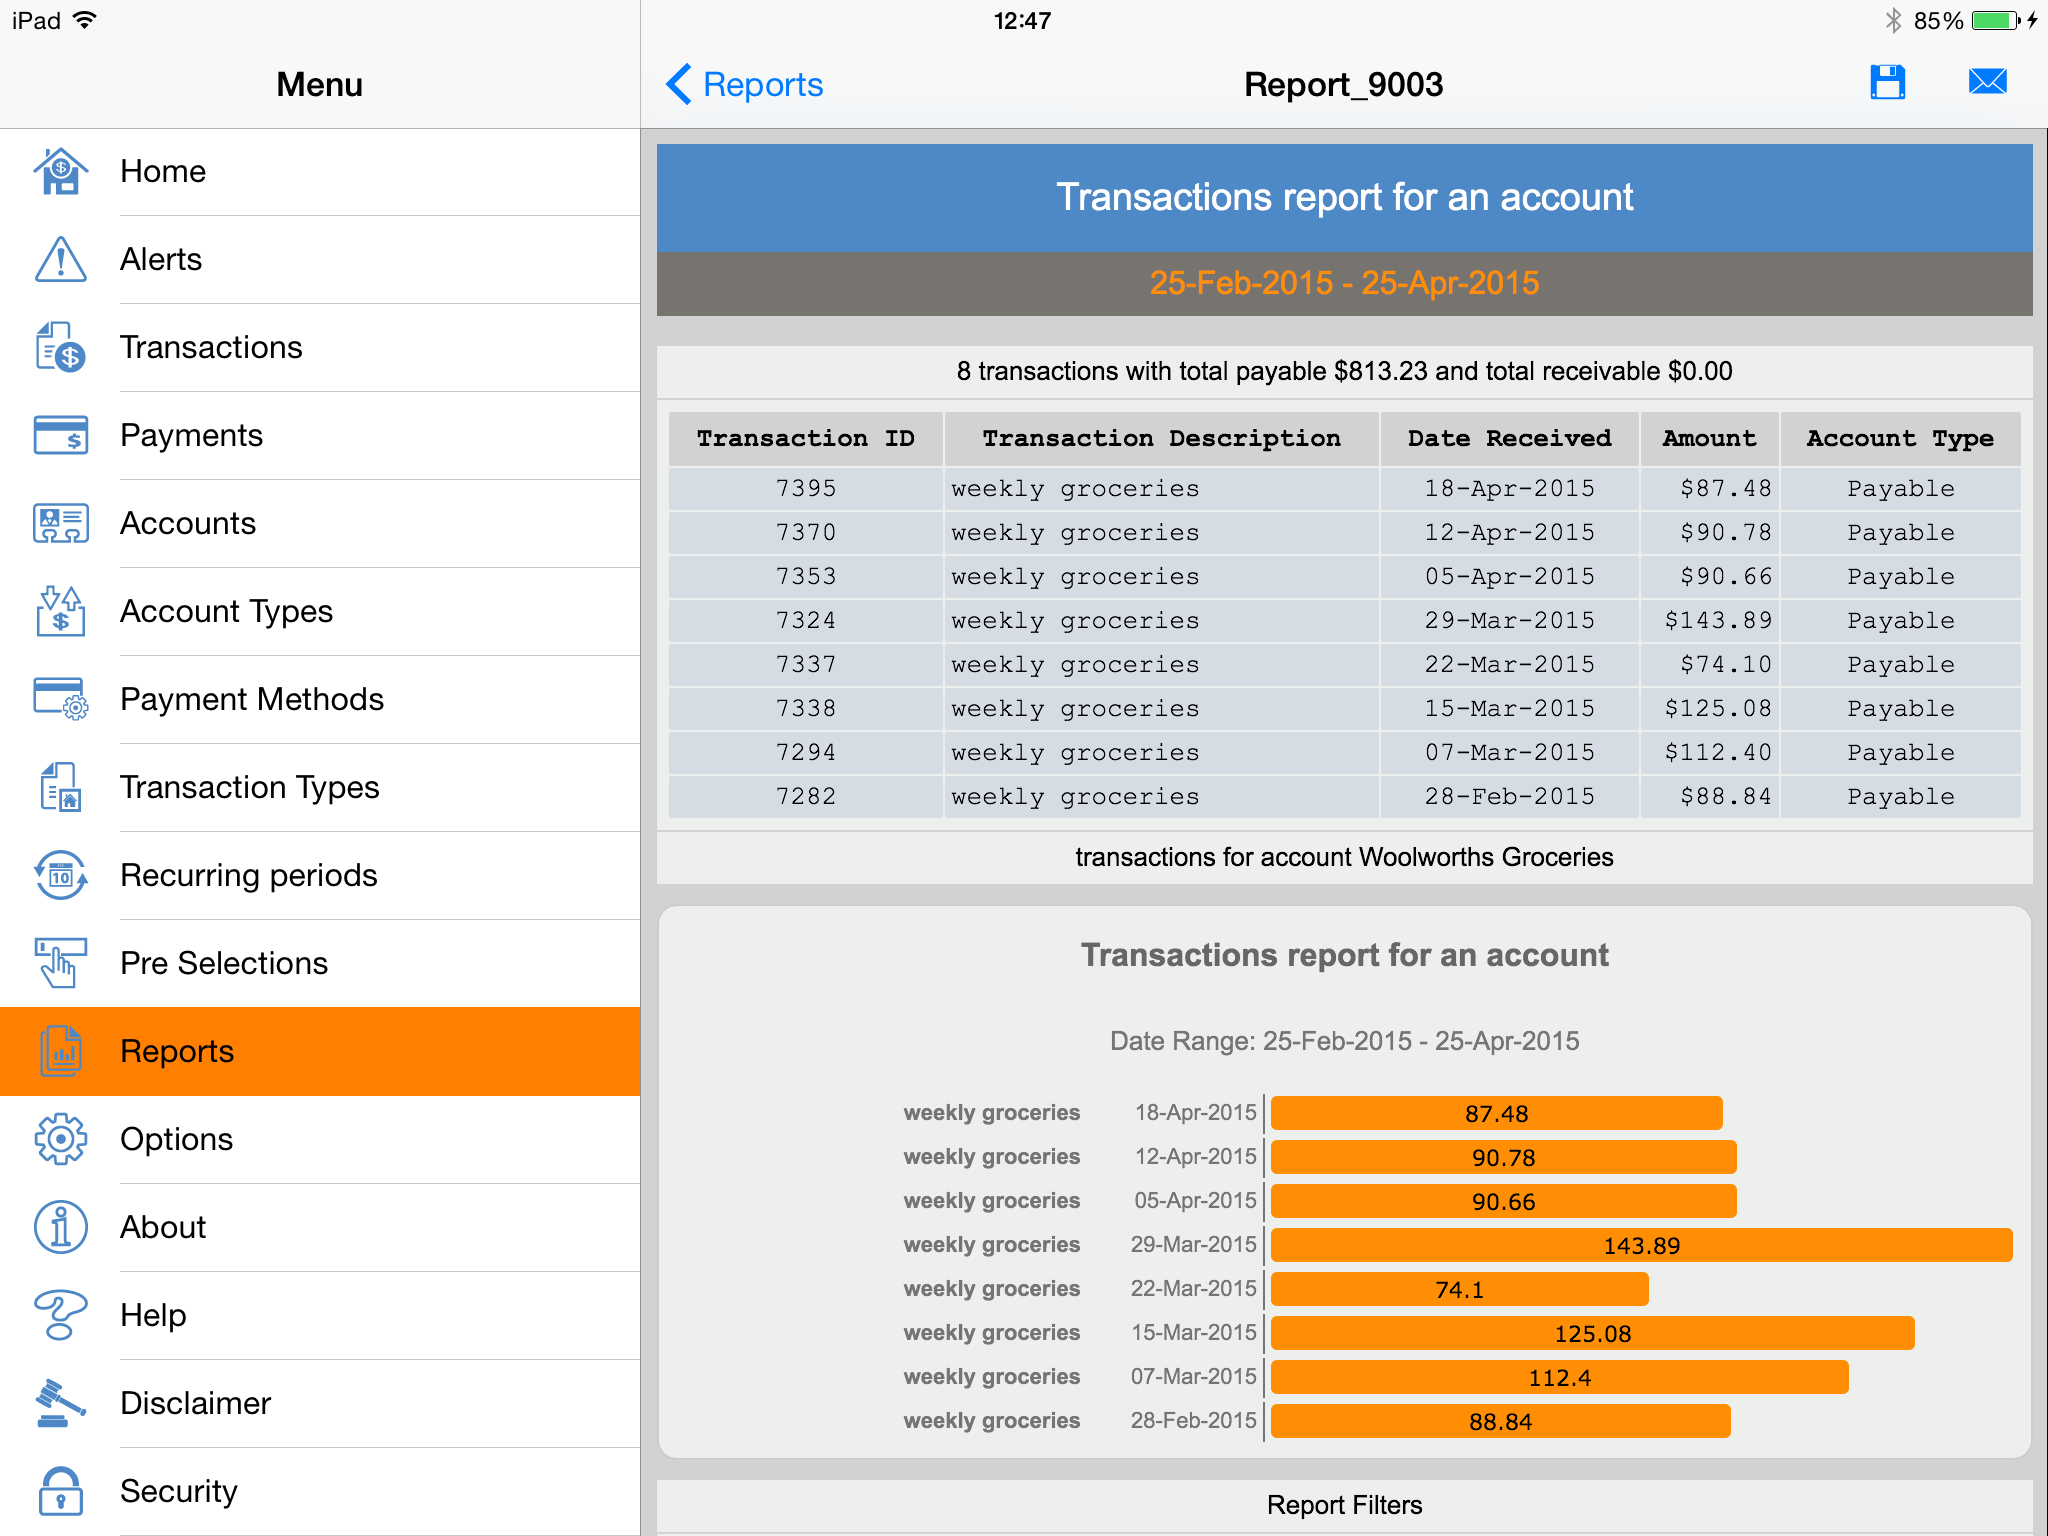
An example of report ID 9003.
This example report shows all transactions for a particular account (Woolworths Groceries) filtered as well on description and date criteria.
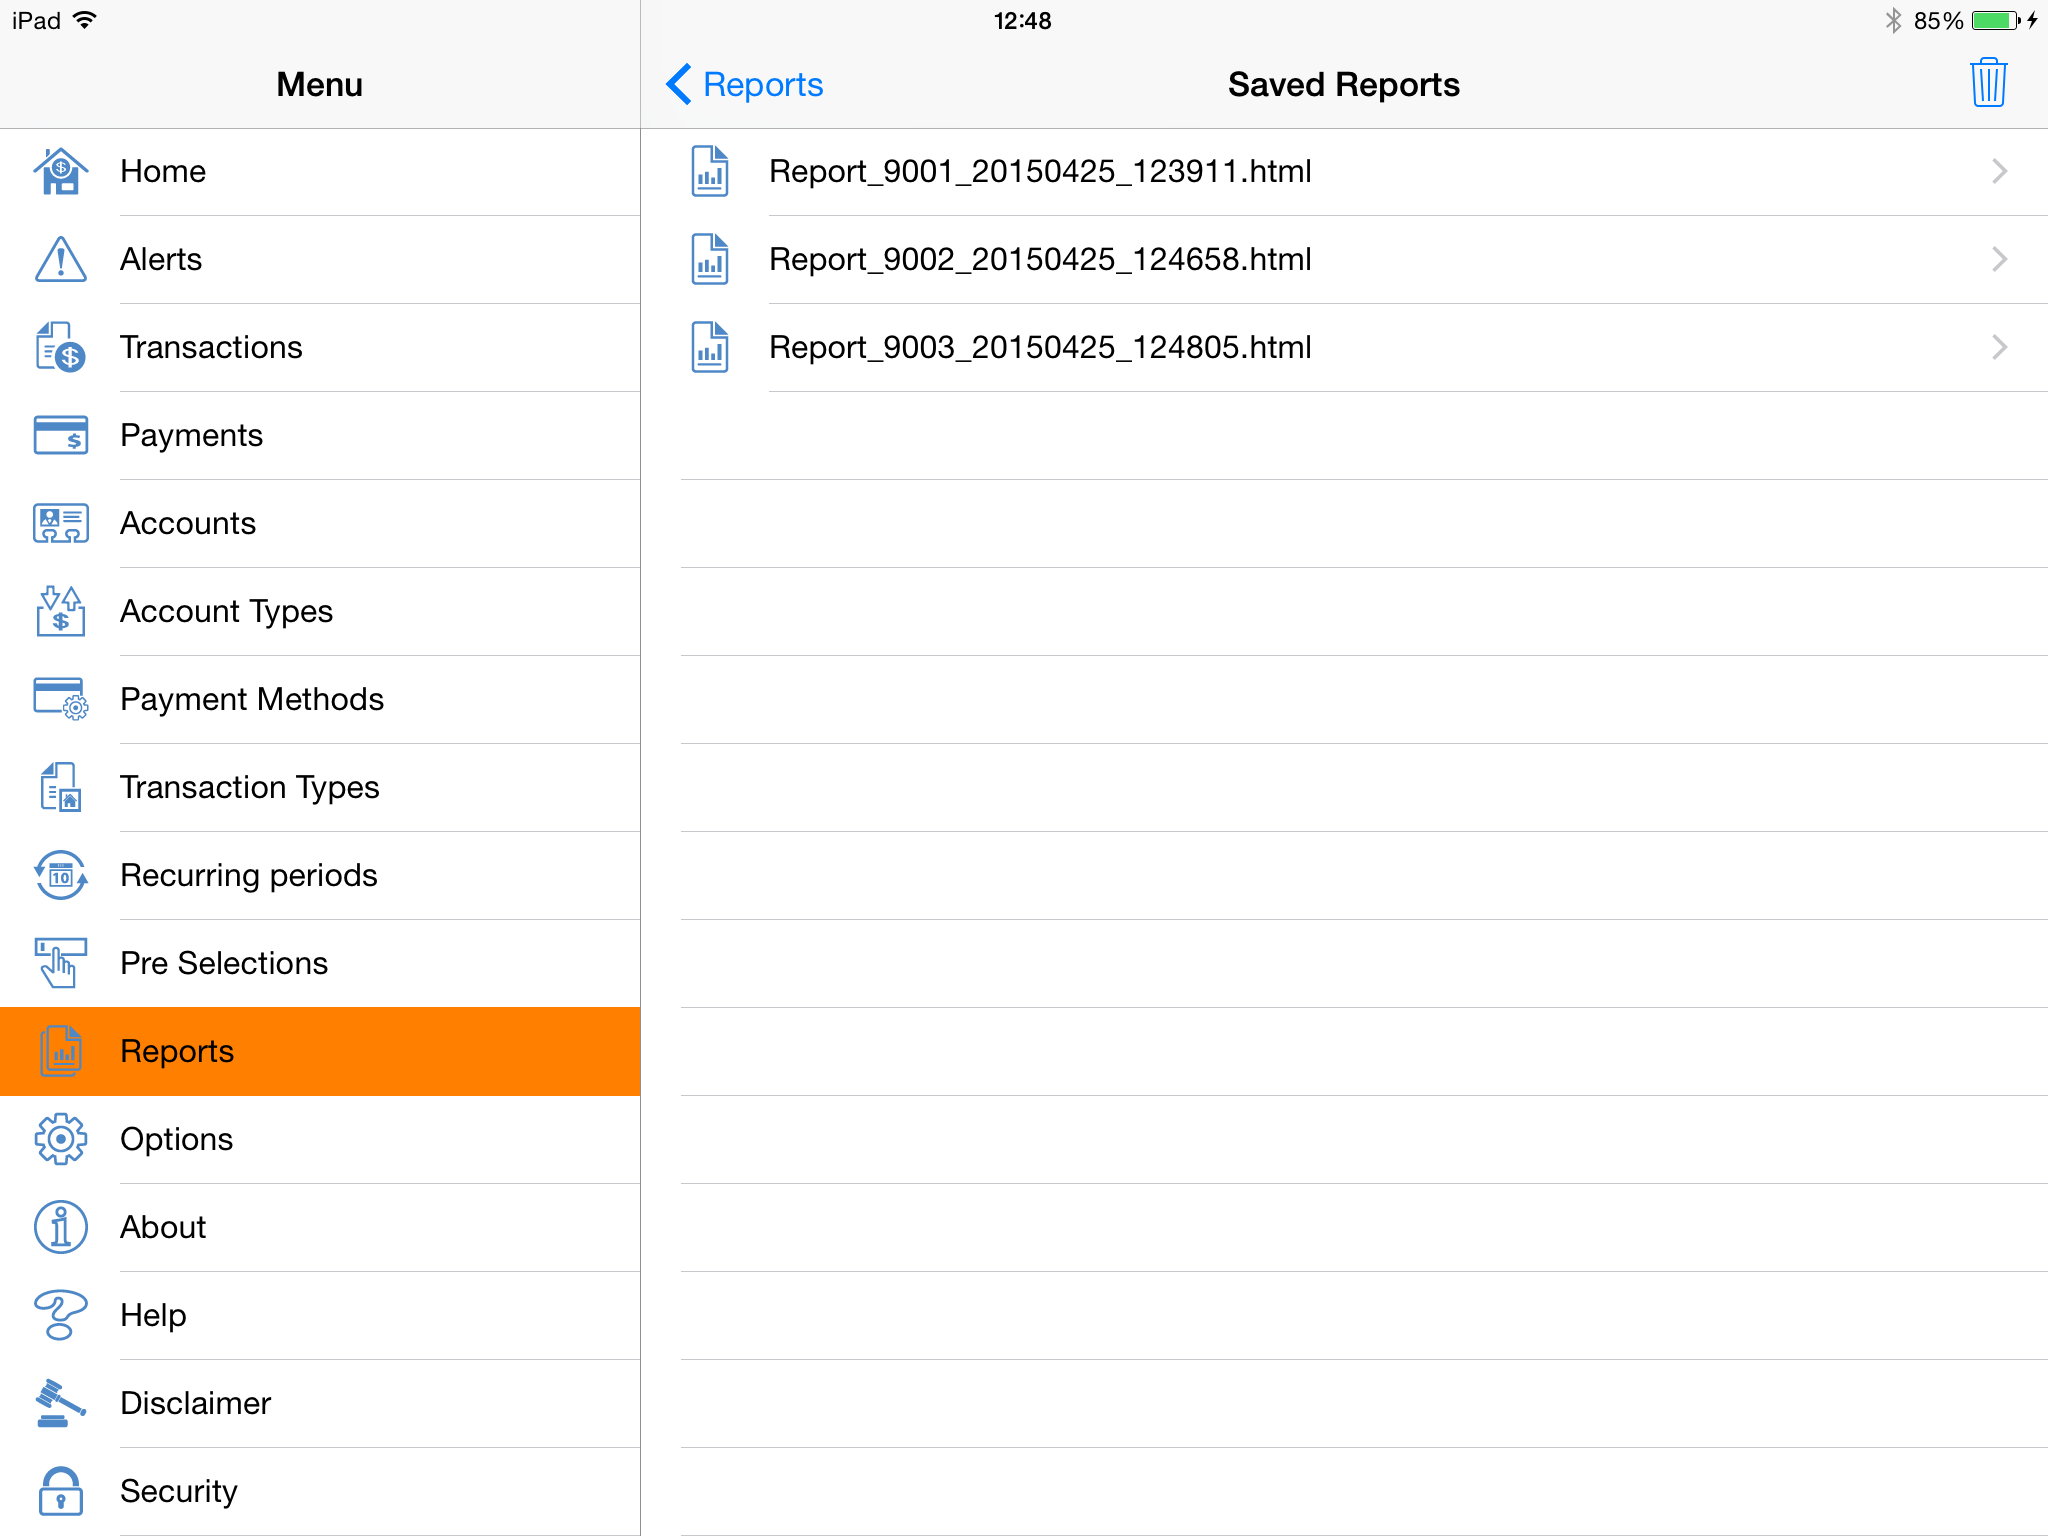
Three reports are saved on the device.
Tapping on one will bring up the report.
Important: a swipe gesture to the left will bring up the delete button so you will be able to delete a report from your device.
You can also use the bin to delete all reports at once (a warning will be given first).
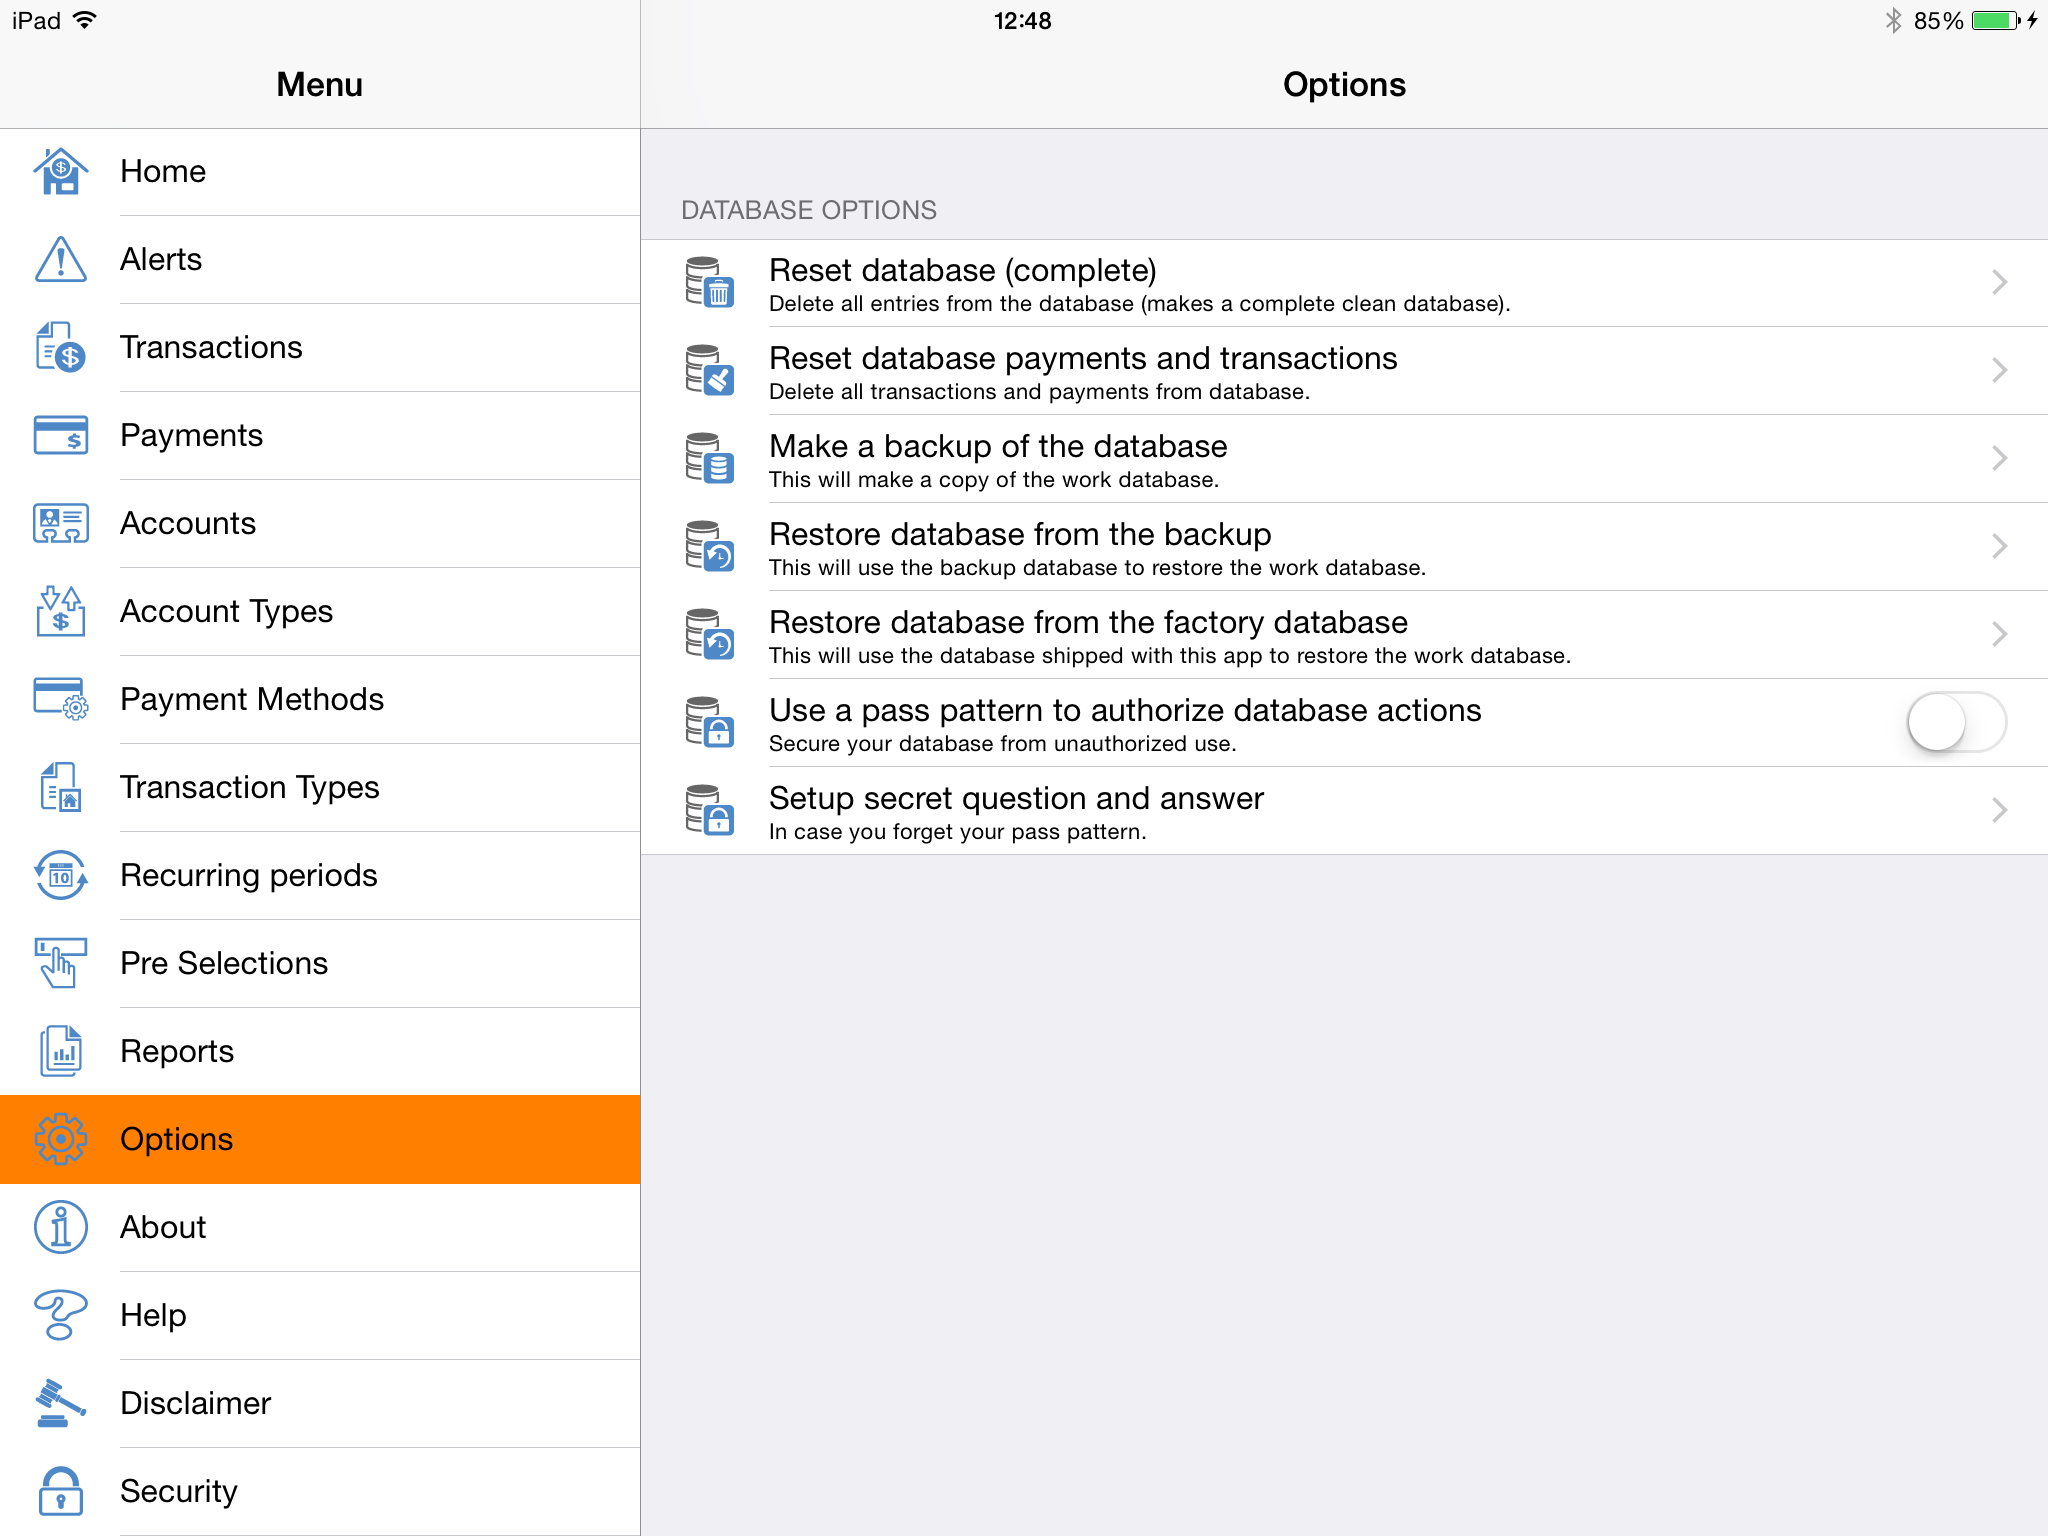
Various options are available within the app.
It is recommended that on a regular basis you perform a backup. Just tap on option 'Make a backup of the database'.
Important: your previous backup will be overwritten. This is by design.
If you want to secure your database from unauthorised use, you can set a pass pattern to secure it.
Important: before you can set a pass pattern you have to provide a secret question and answer.
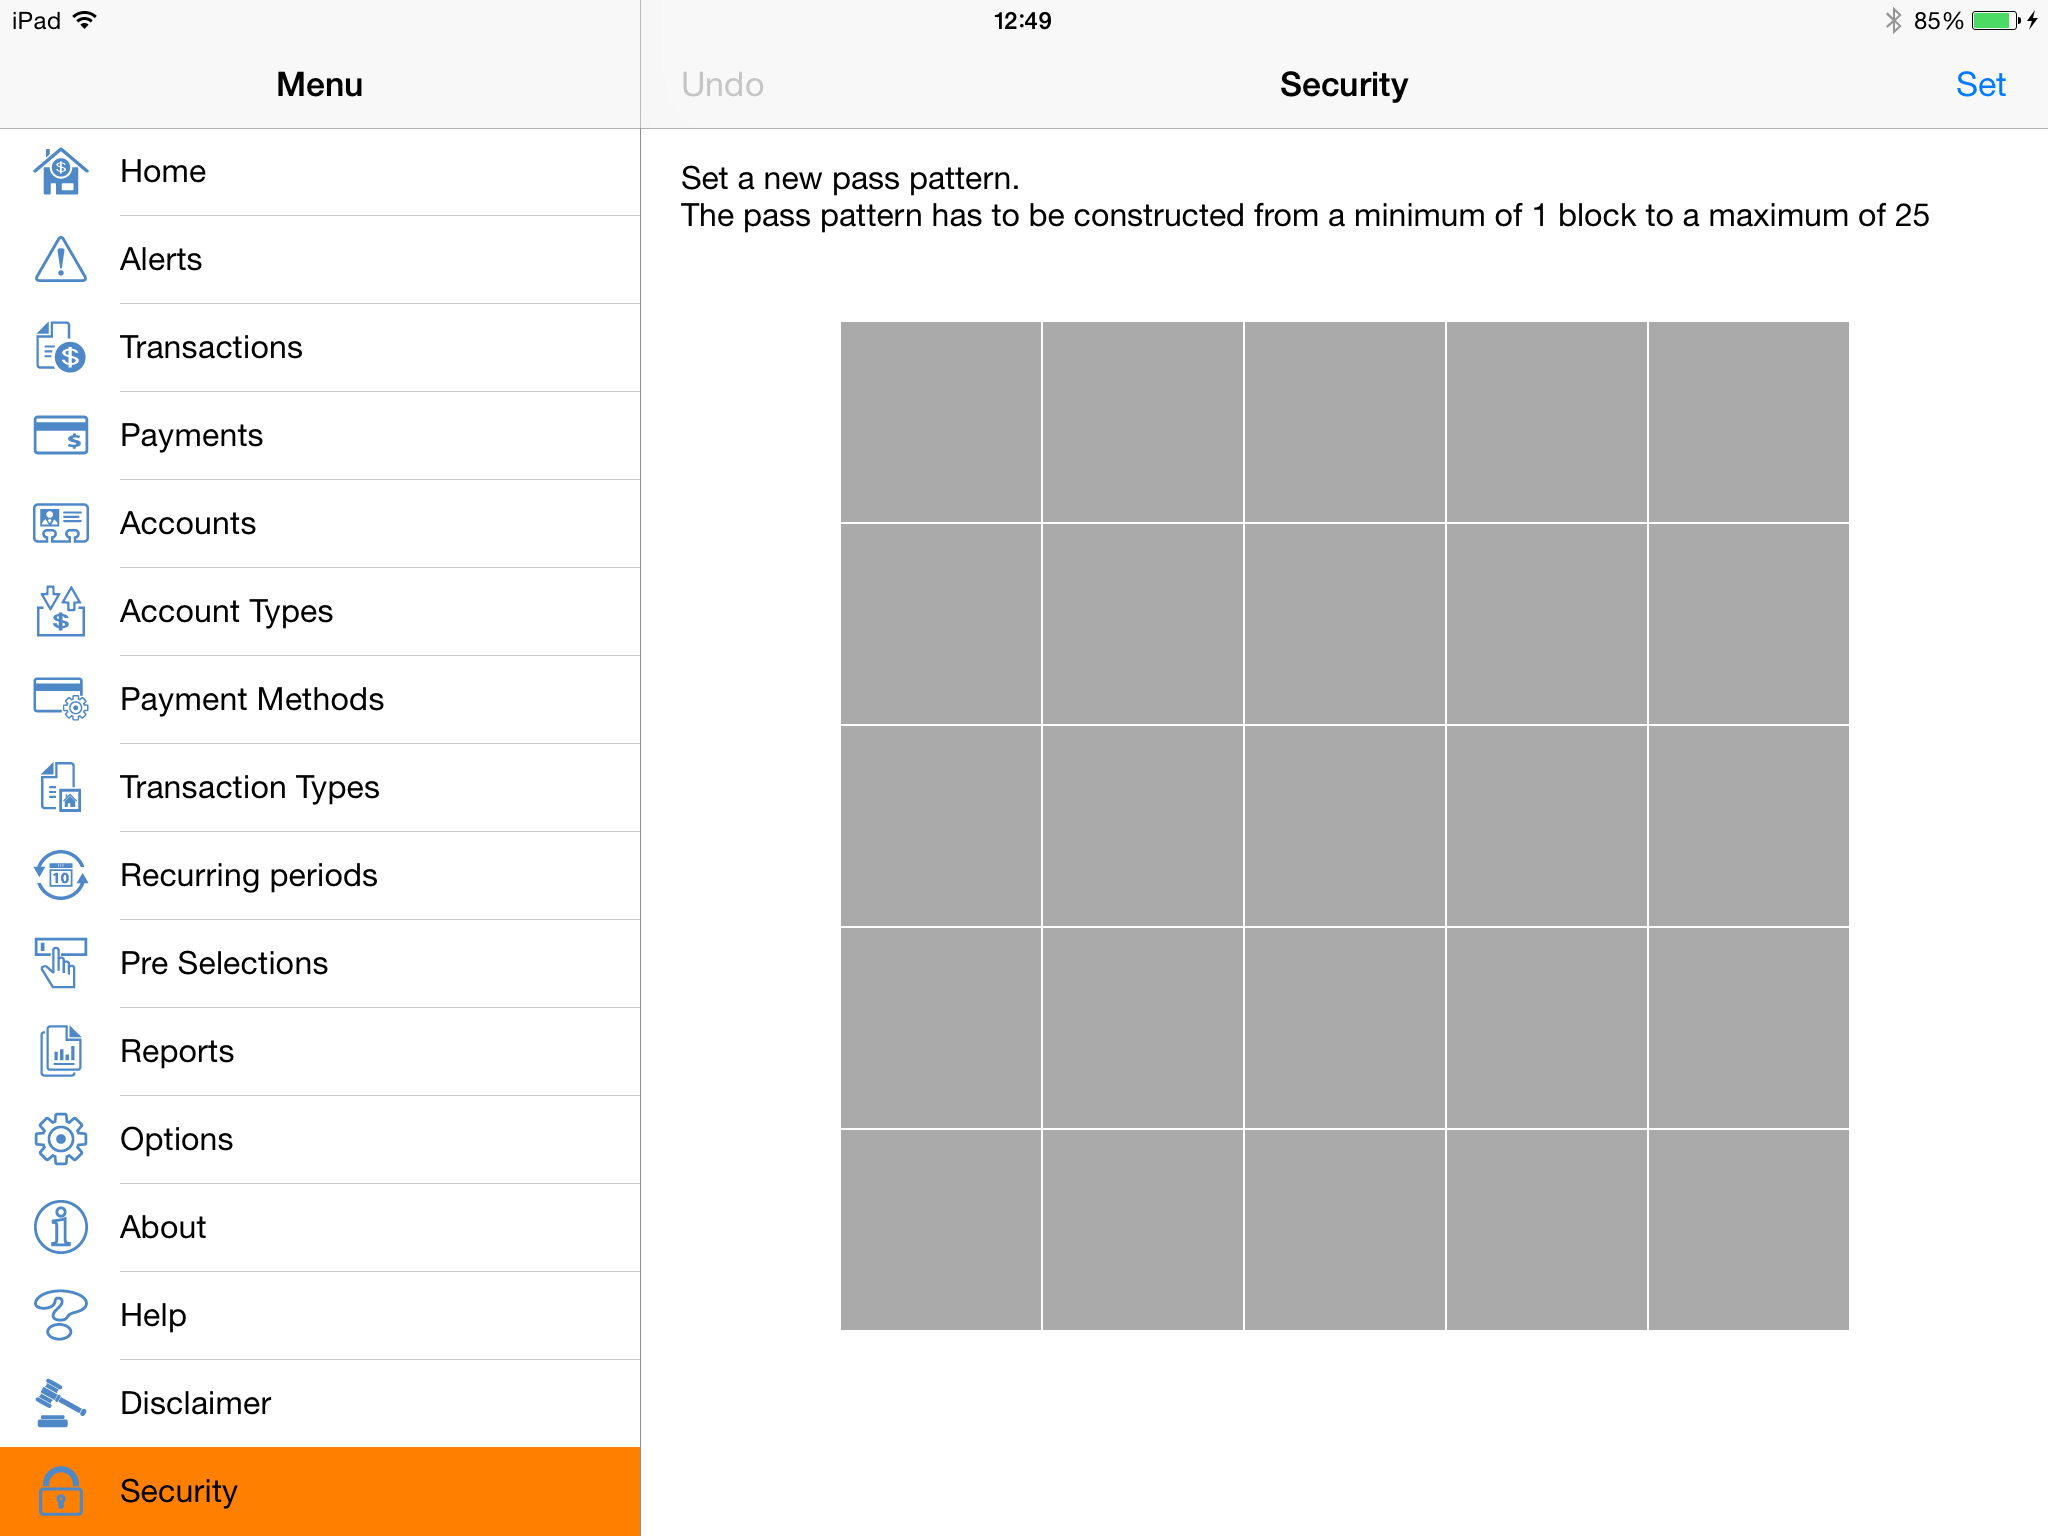
The main security view.
Here you can set a new pass pattern or provide an existing pass pattern if requested by the app.
Important: always provide a pattern first before tapping on one of the buttons in the top right corner of the view.
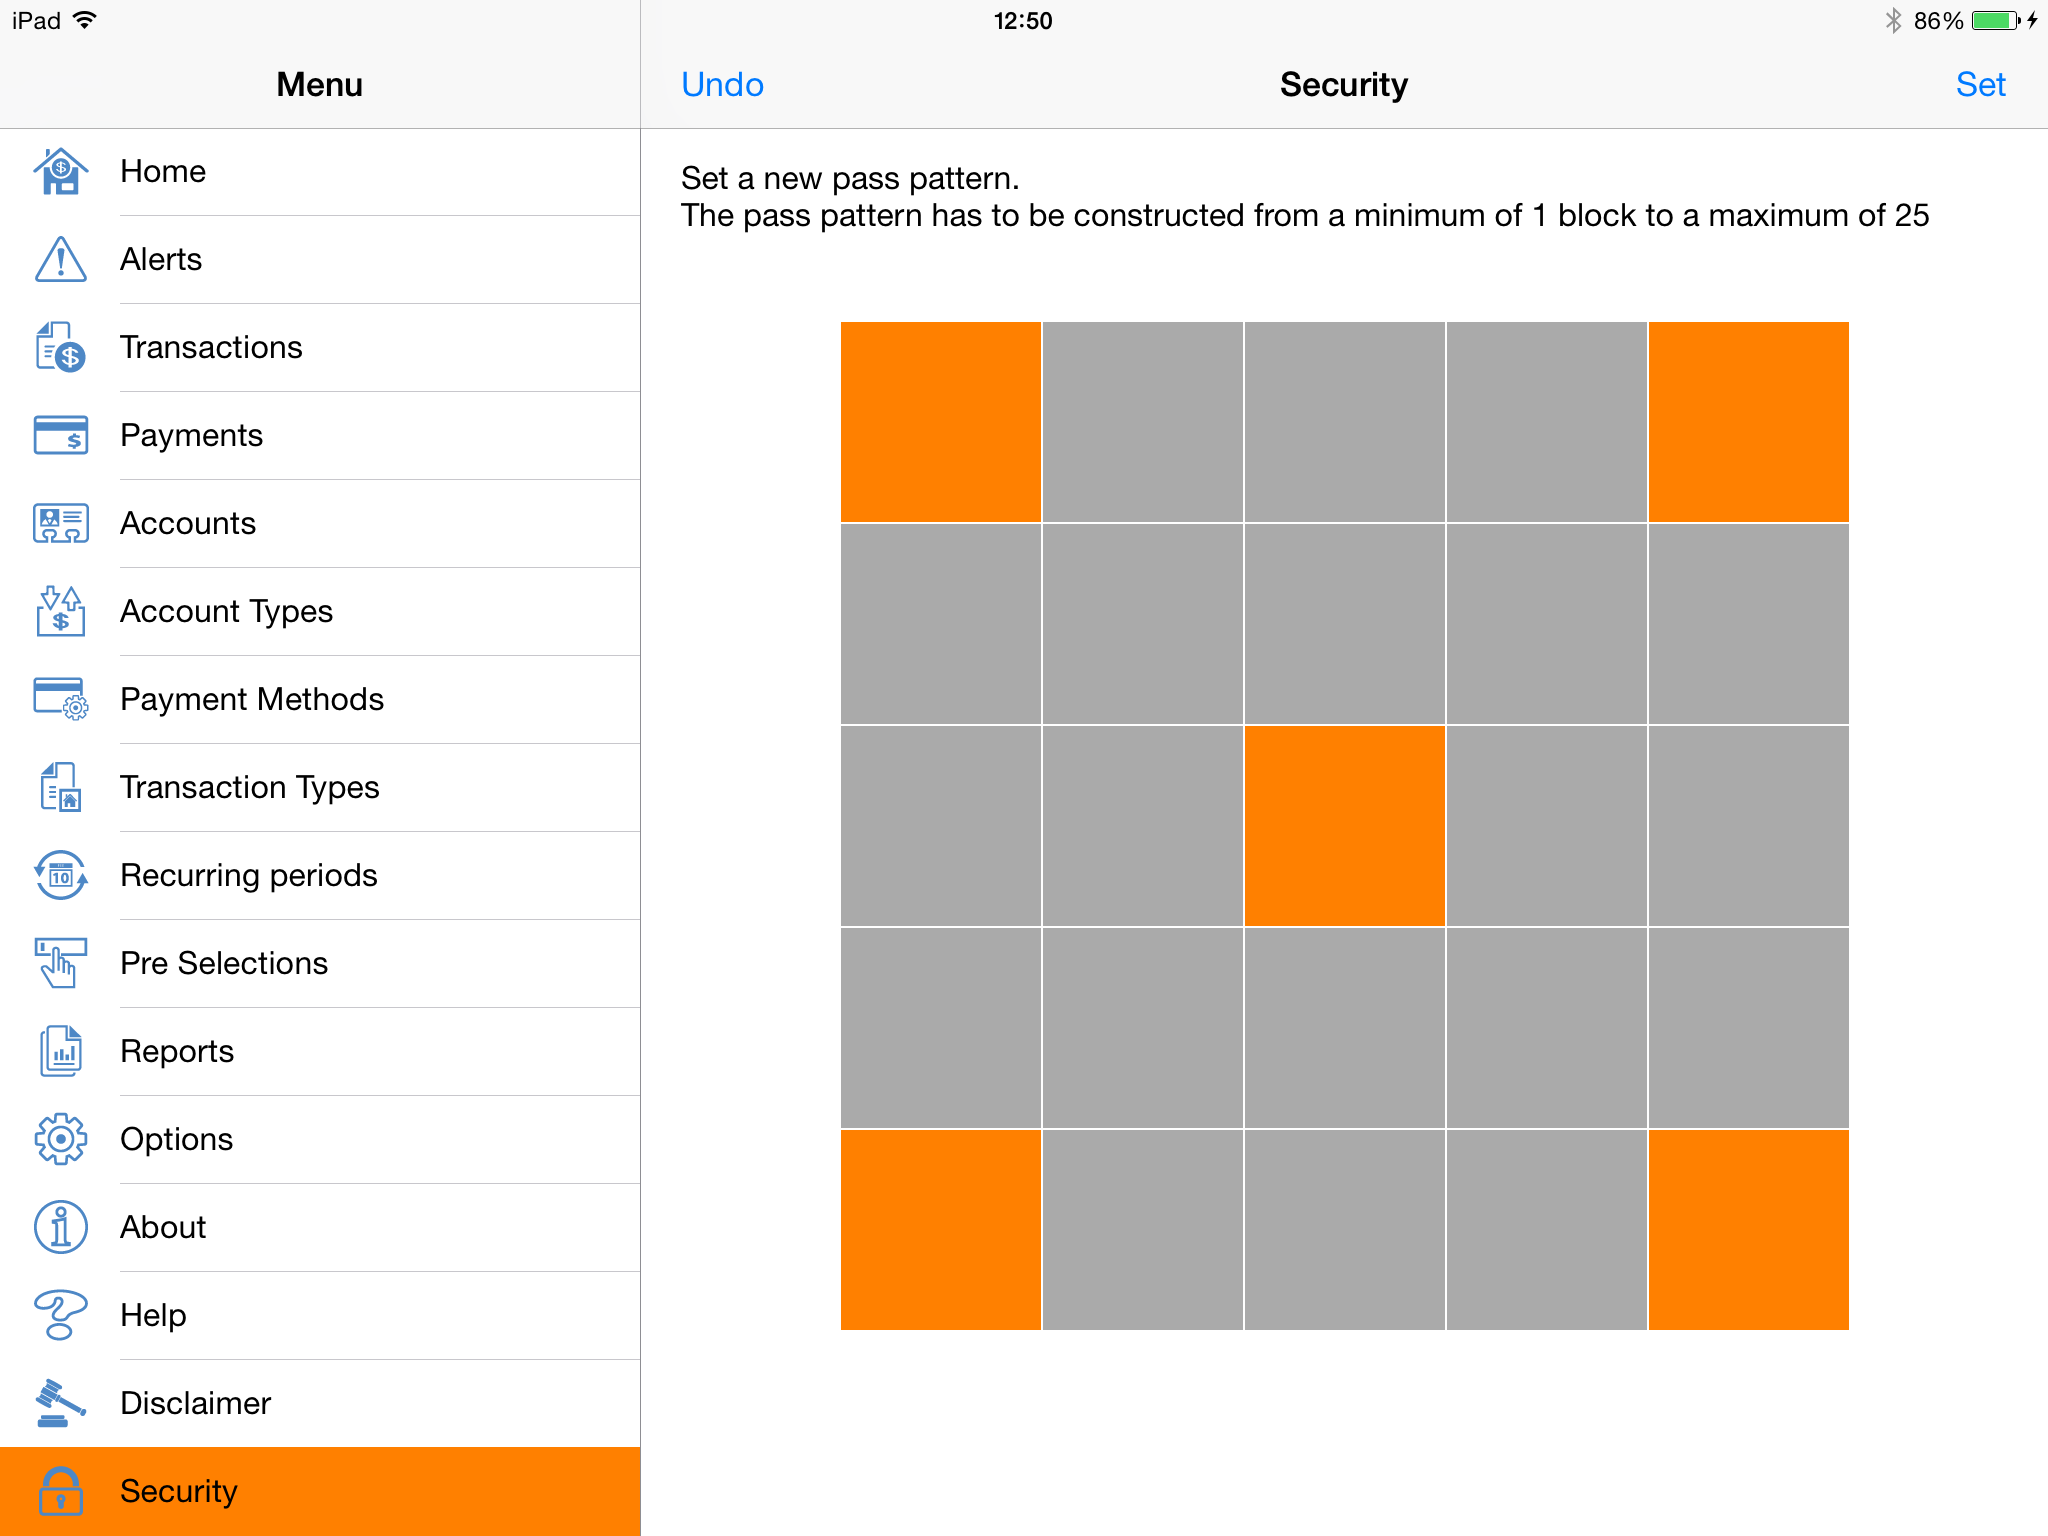
In this example a pass pattern has been provided.
When the user now taps on the button 'Set' he/she has to confirm the pass pattern.
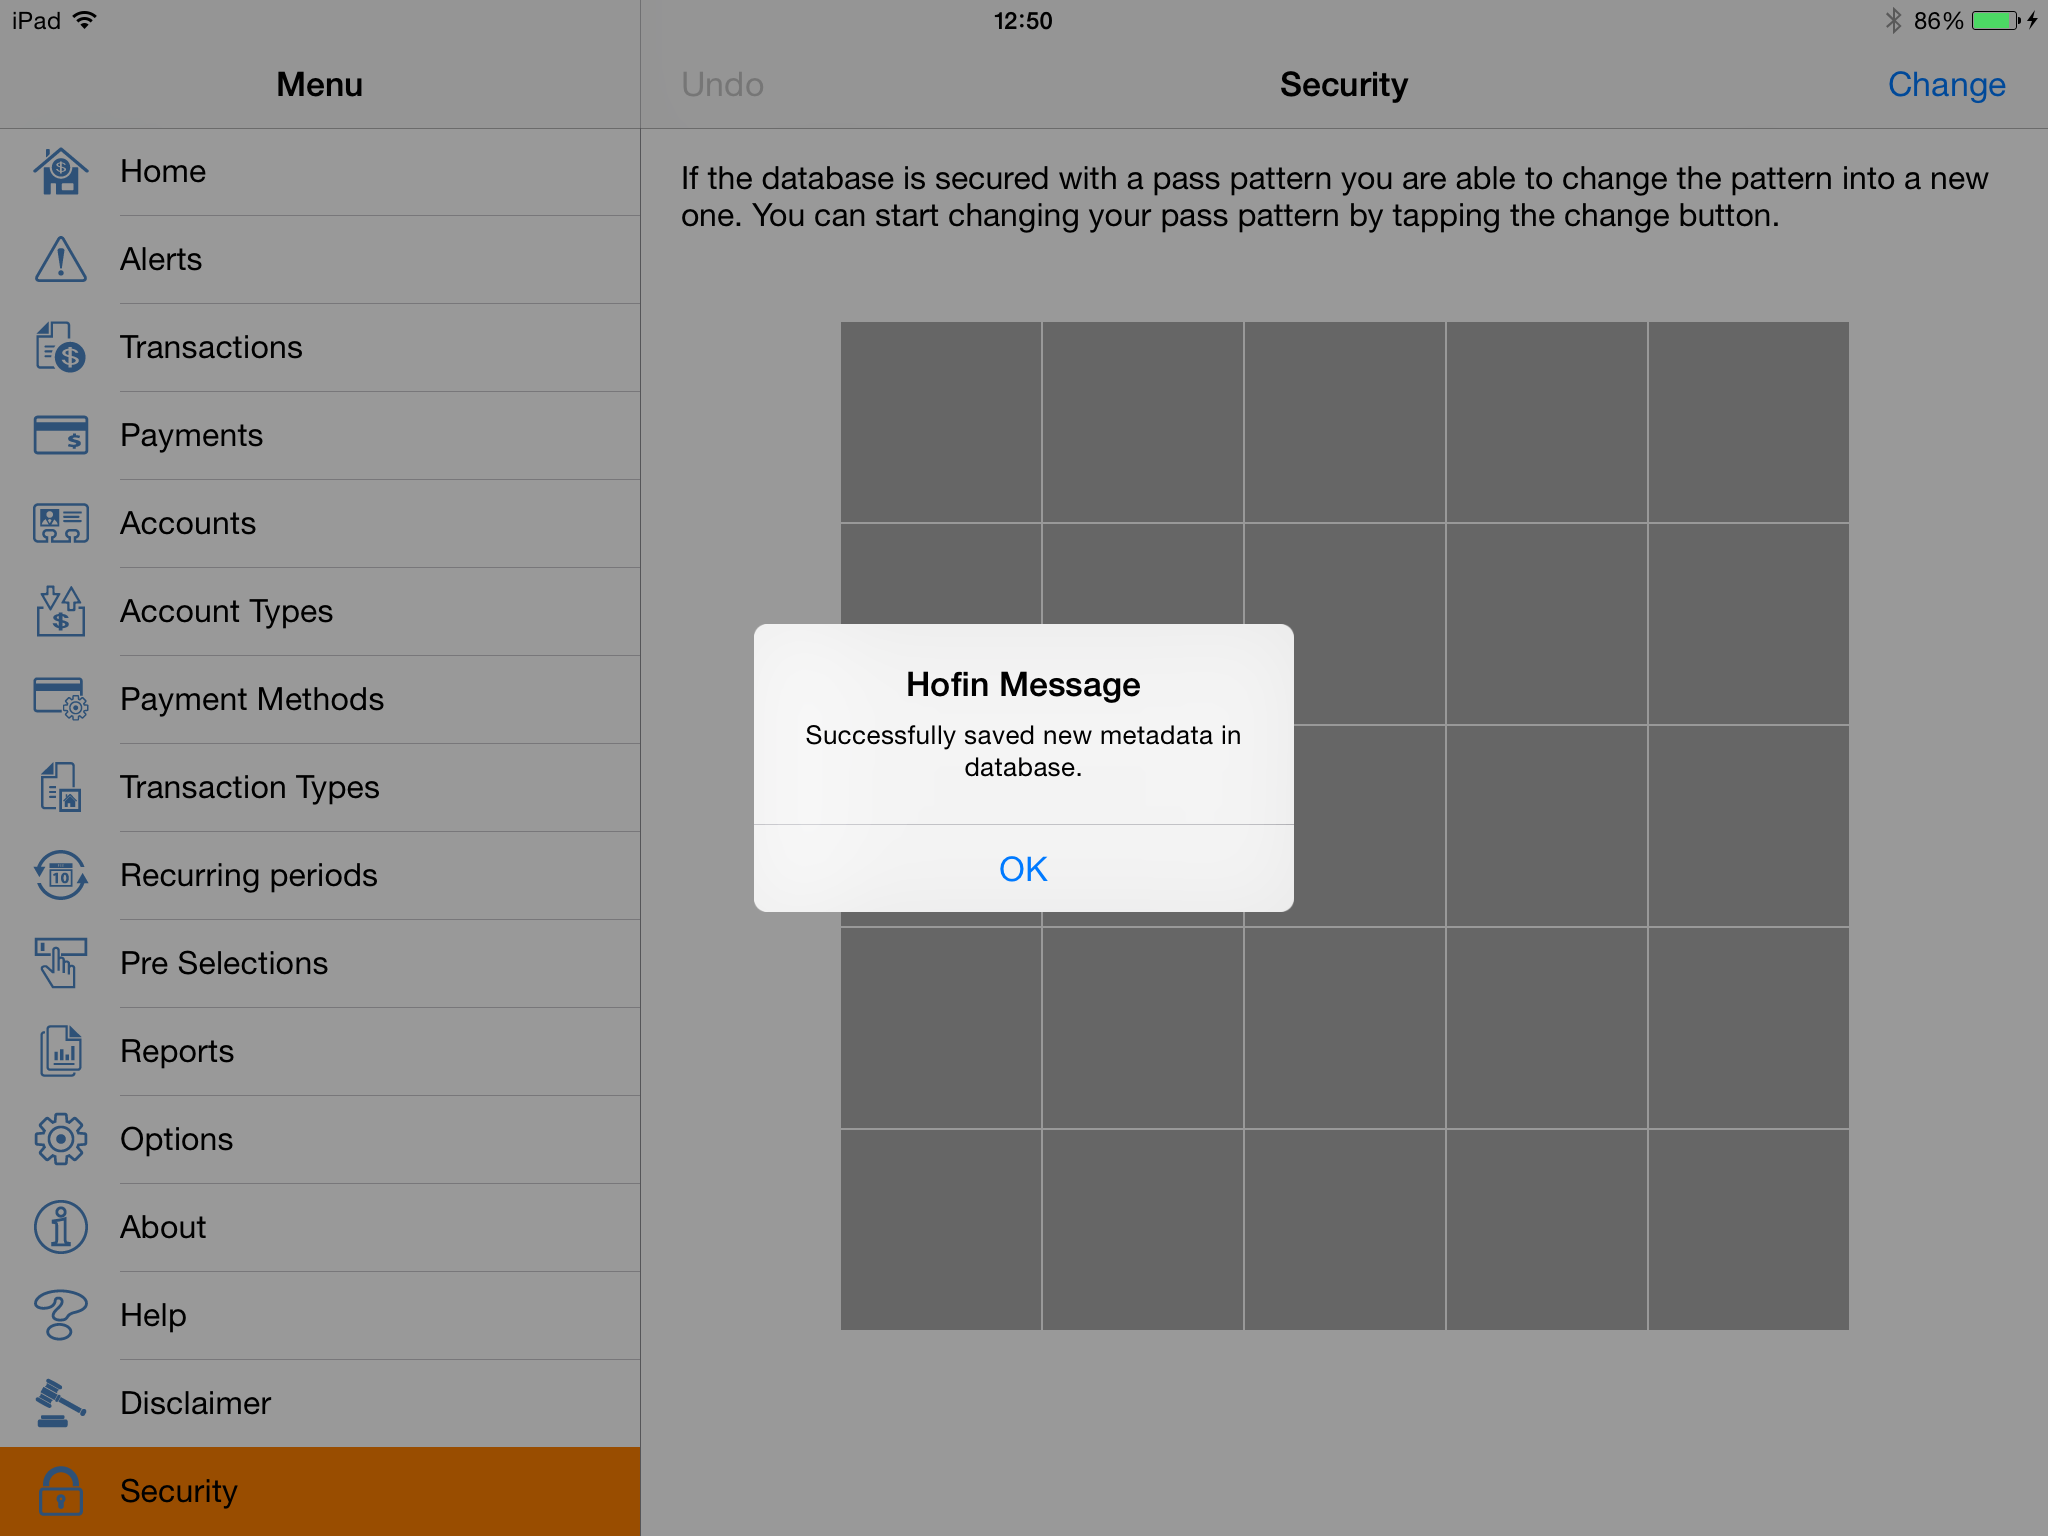
Pass pattern has been successfully updated in the database.
Now the user has the possibility to change his pass pattern (notice button 'Change' in top right corner)
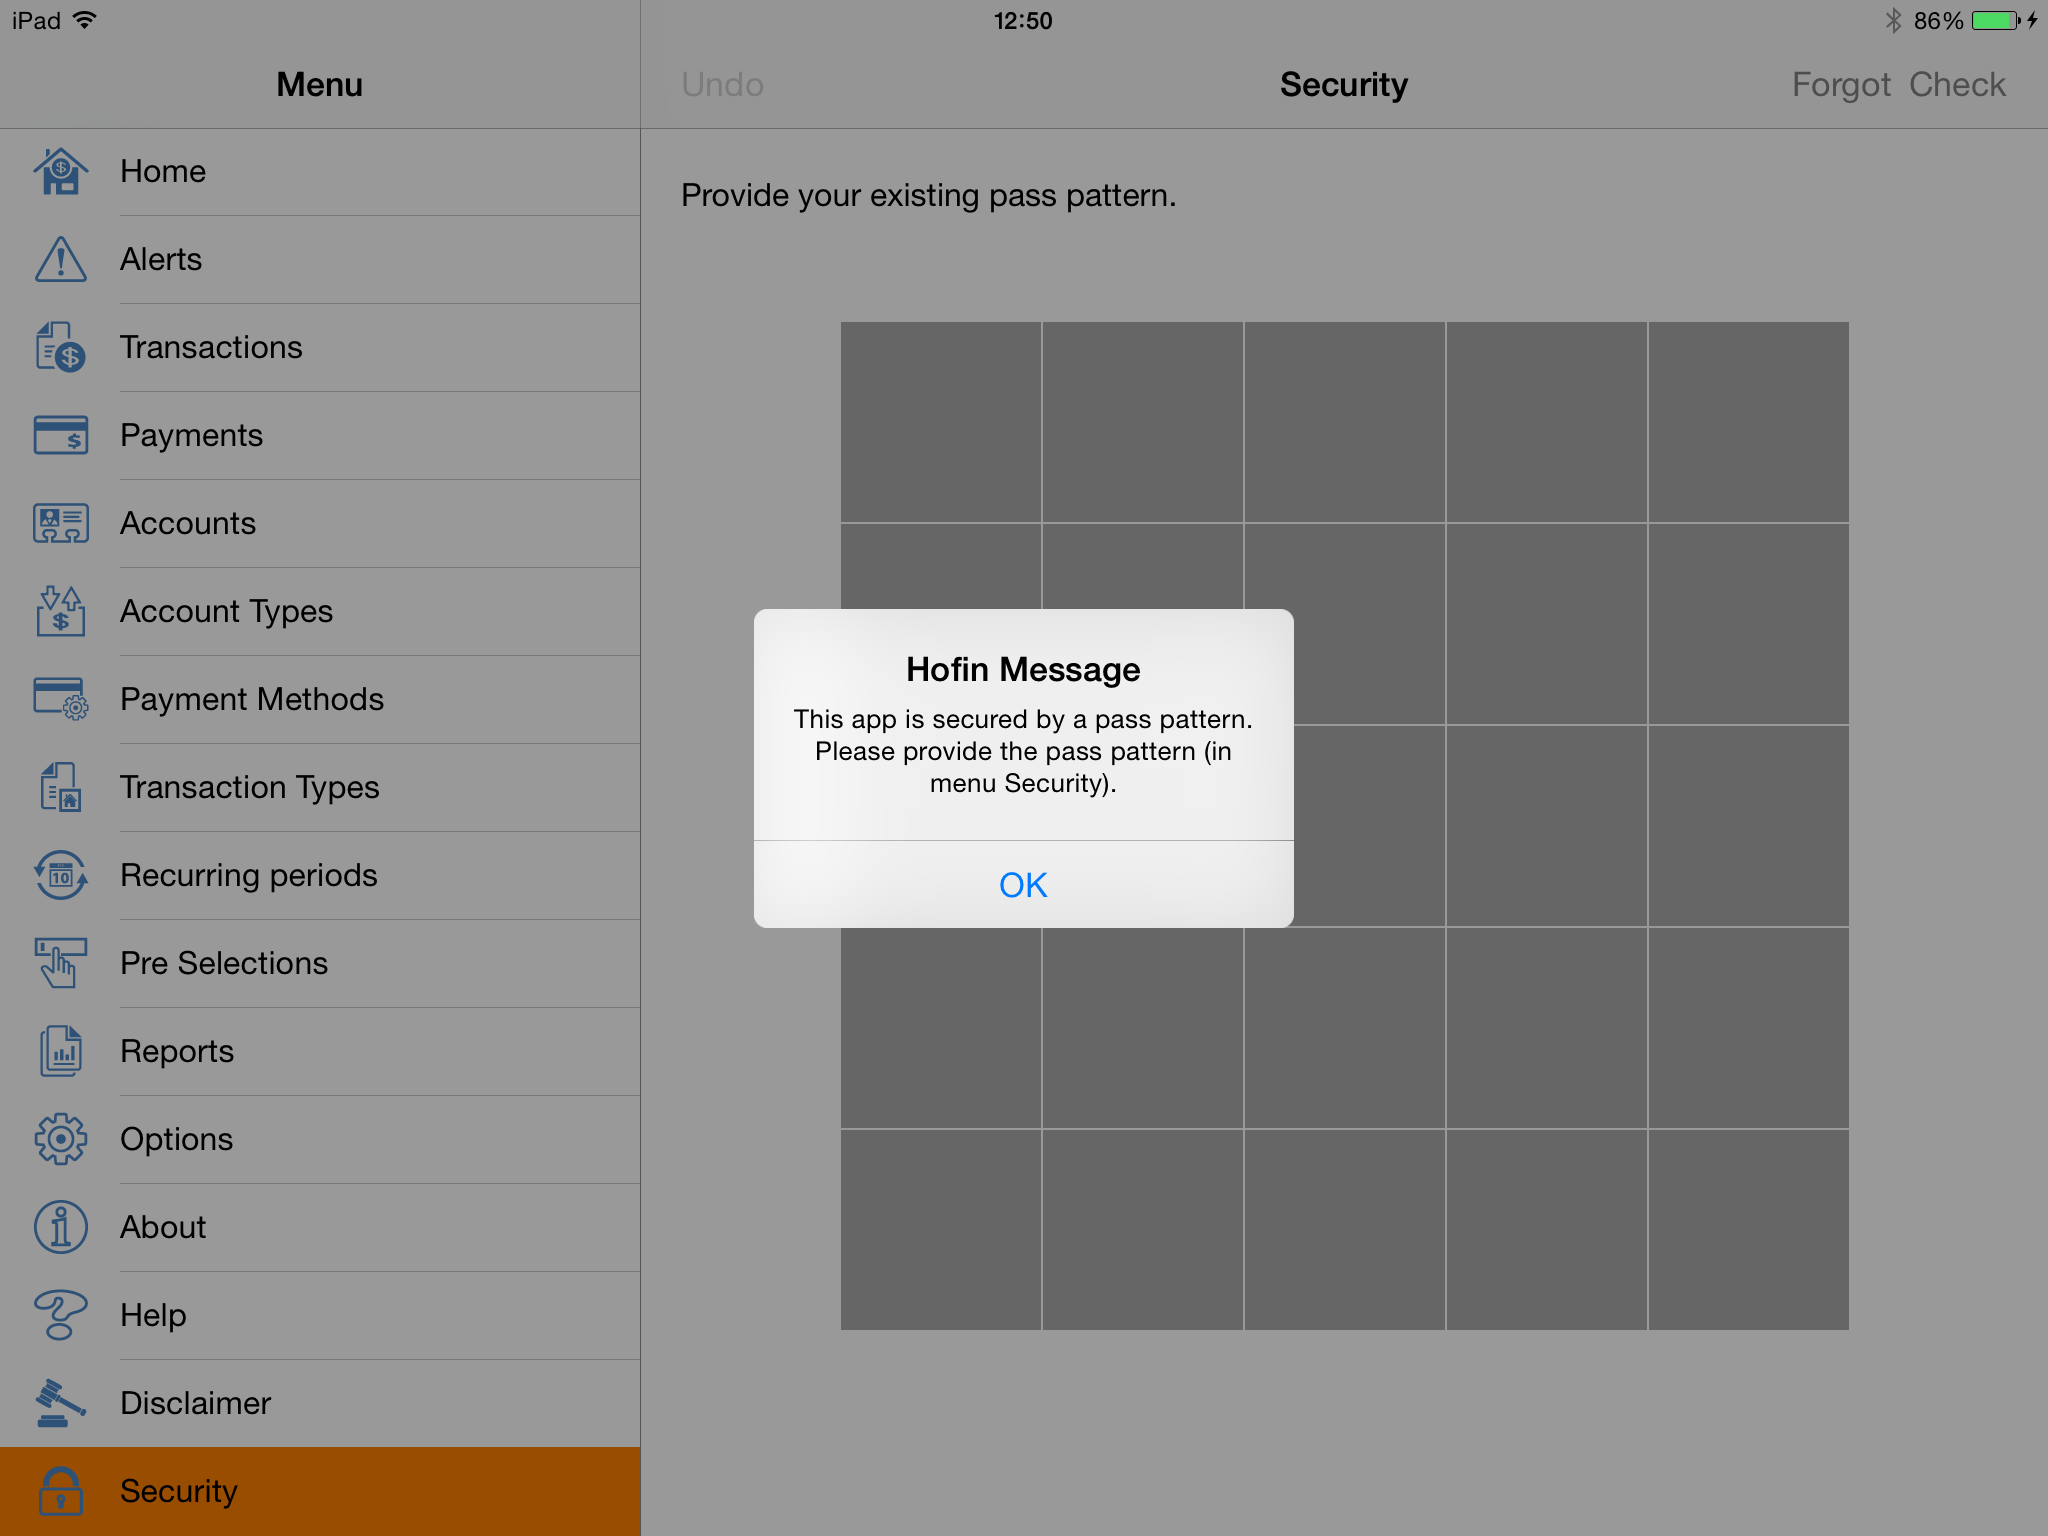
The app (database) has been secured and the app has just been started.
If you tapped for example menu transactions, the app will warn you that the app is secured and that a pass pattern is required.
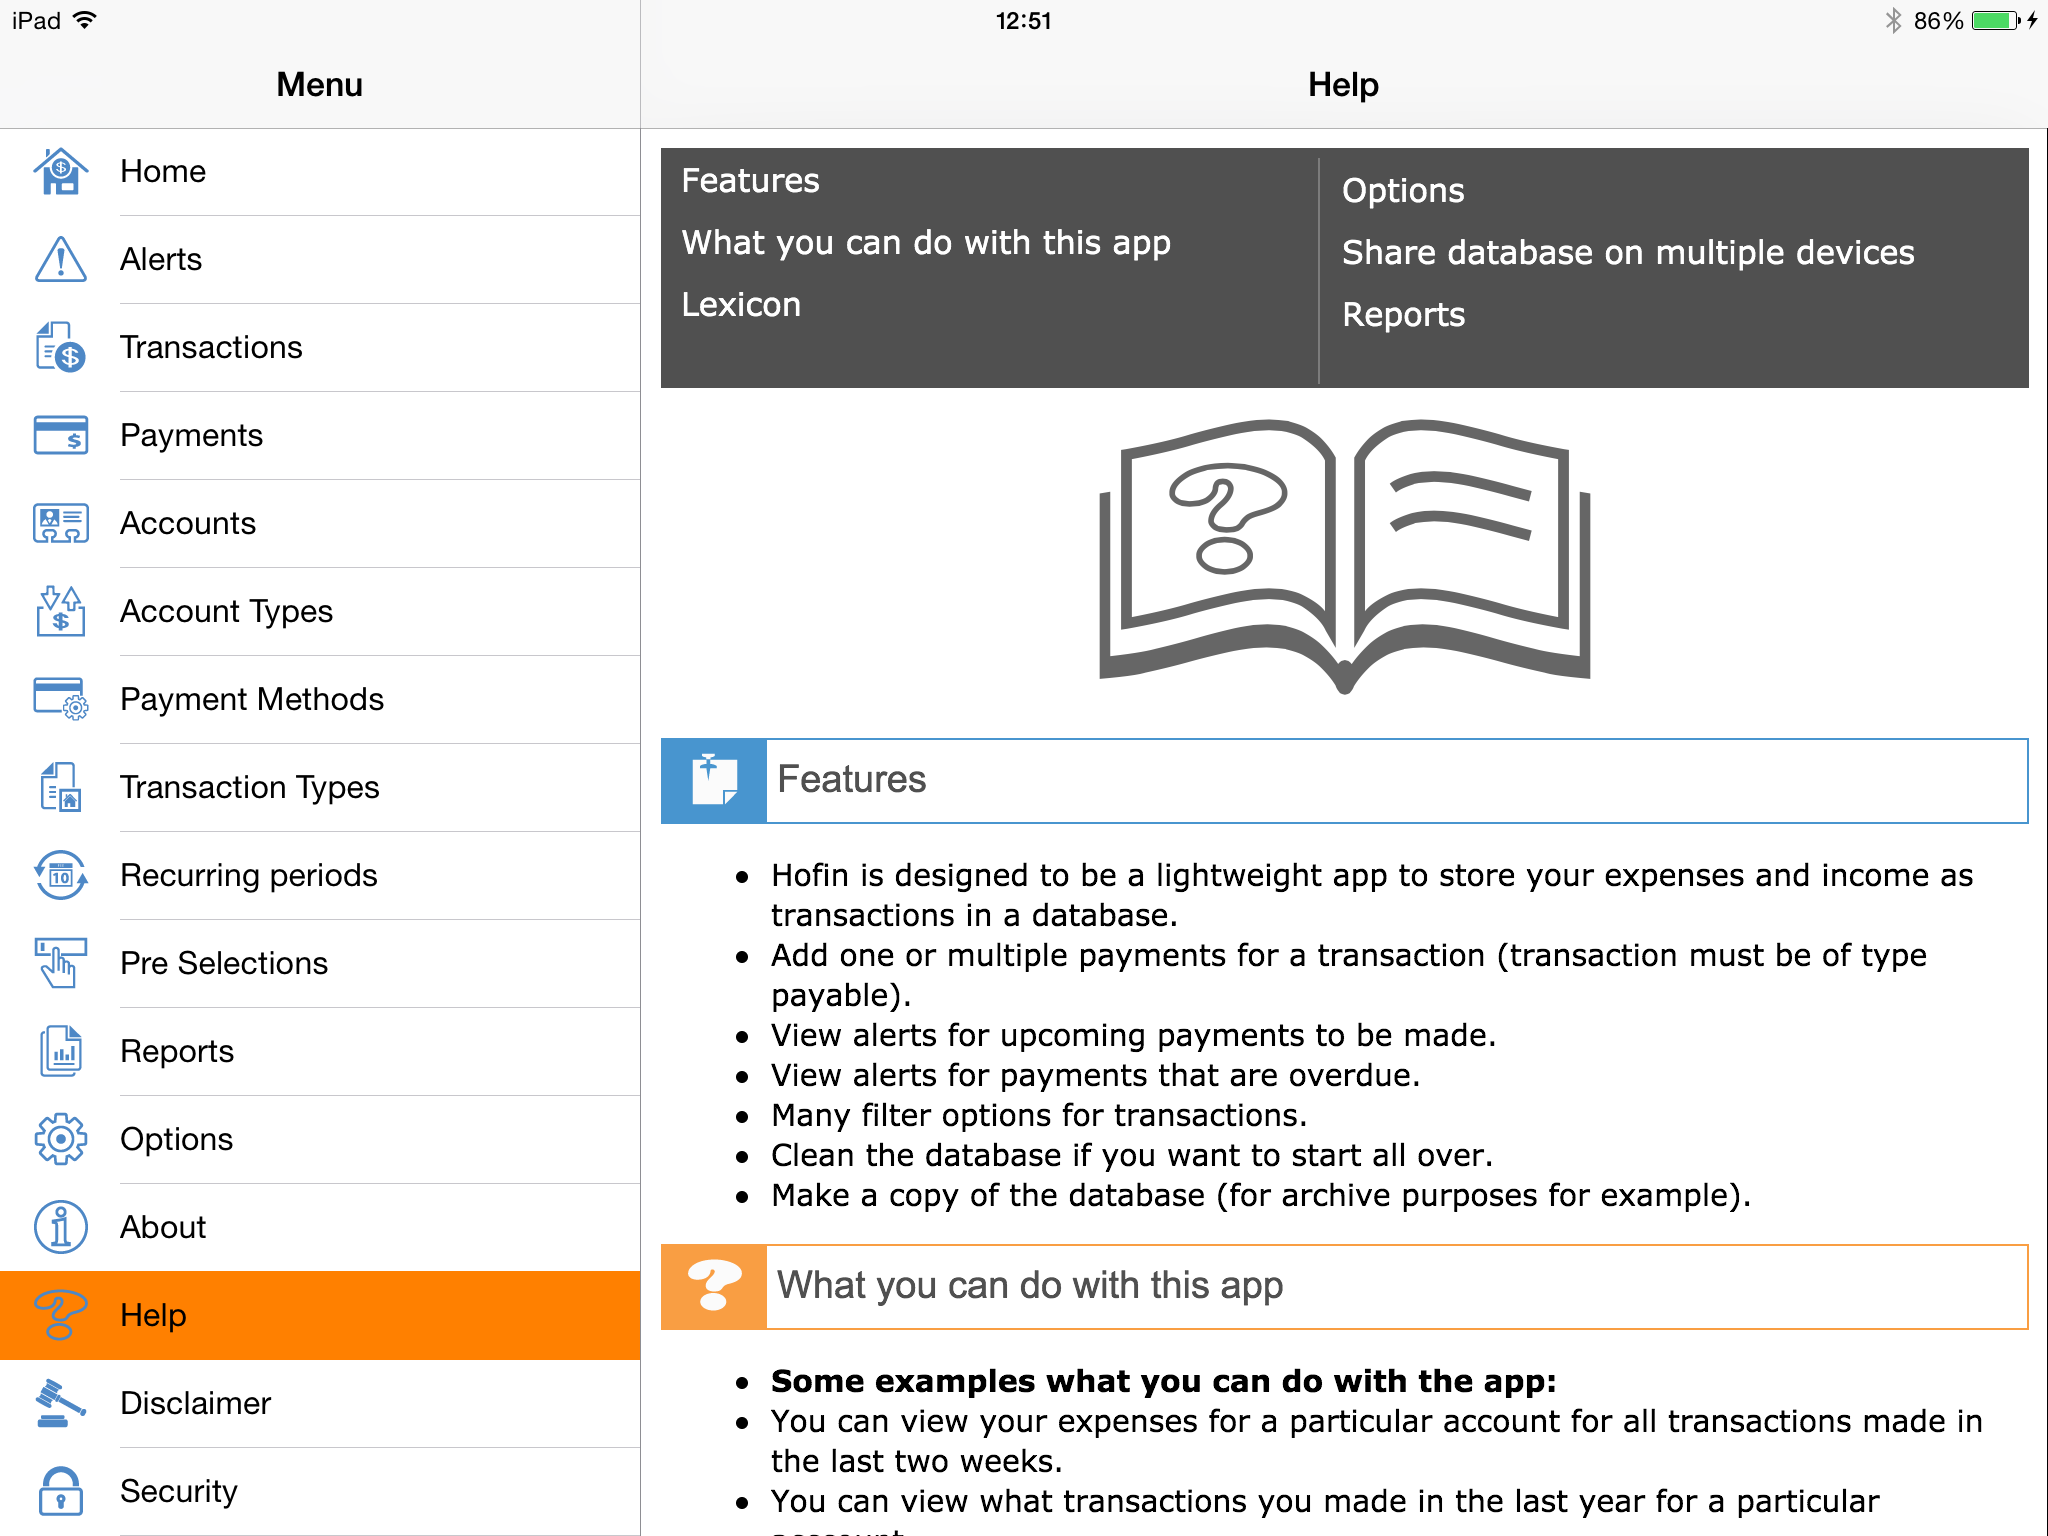
Some basic help is provided within the app.
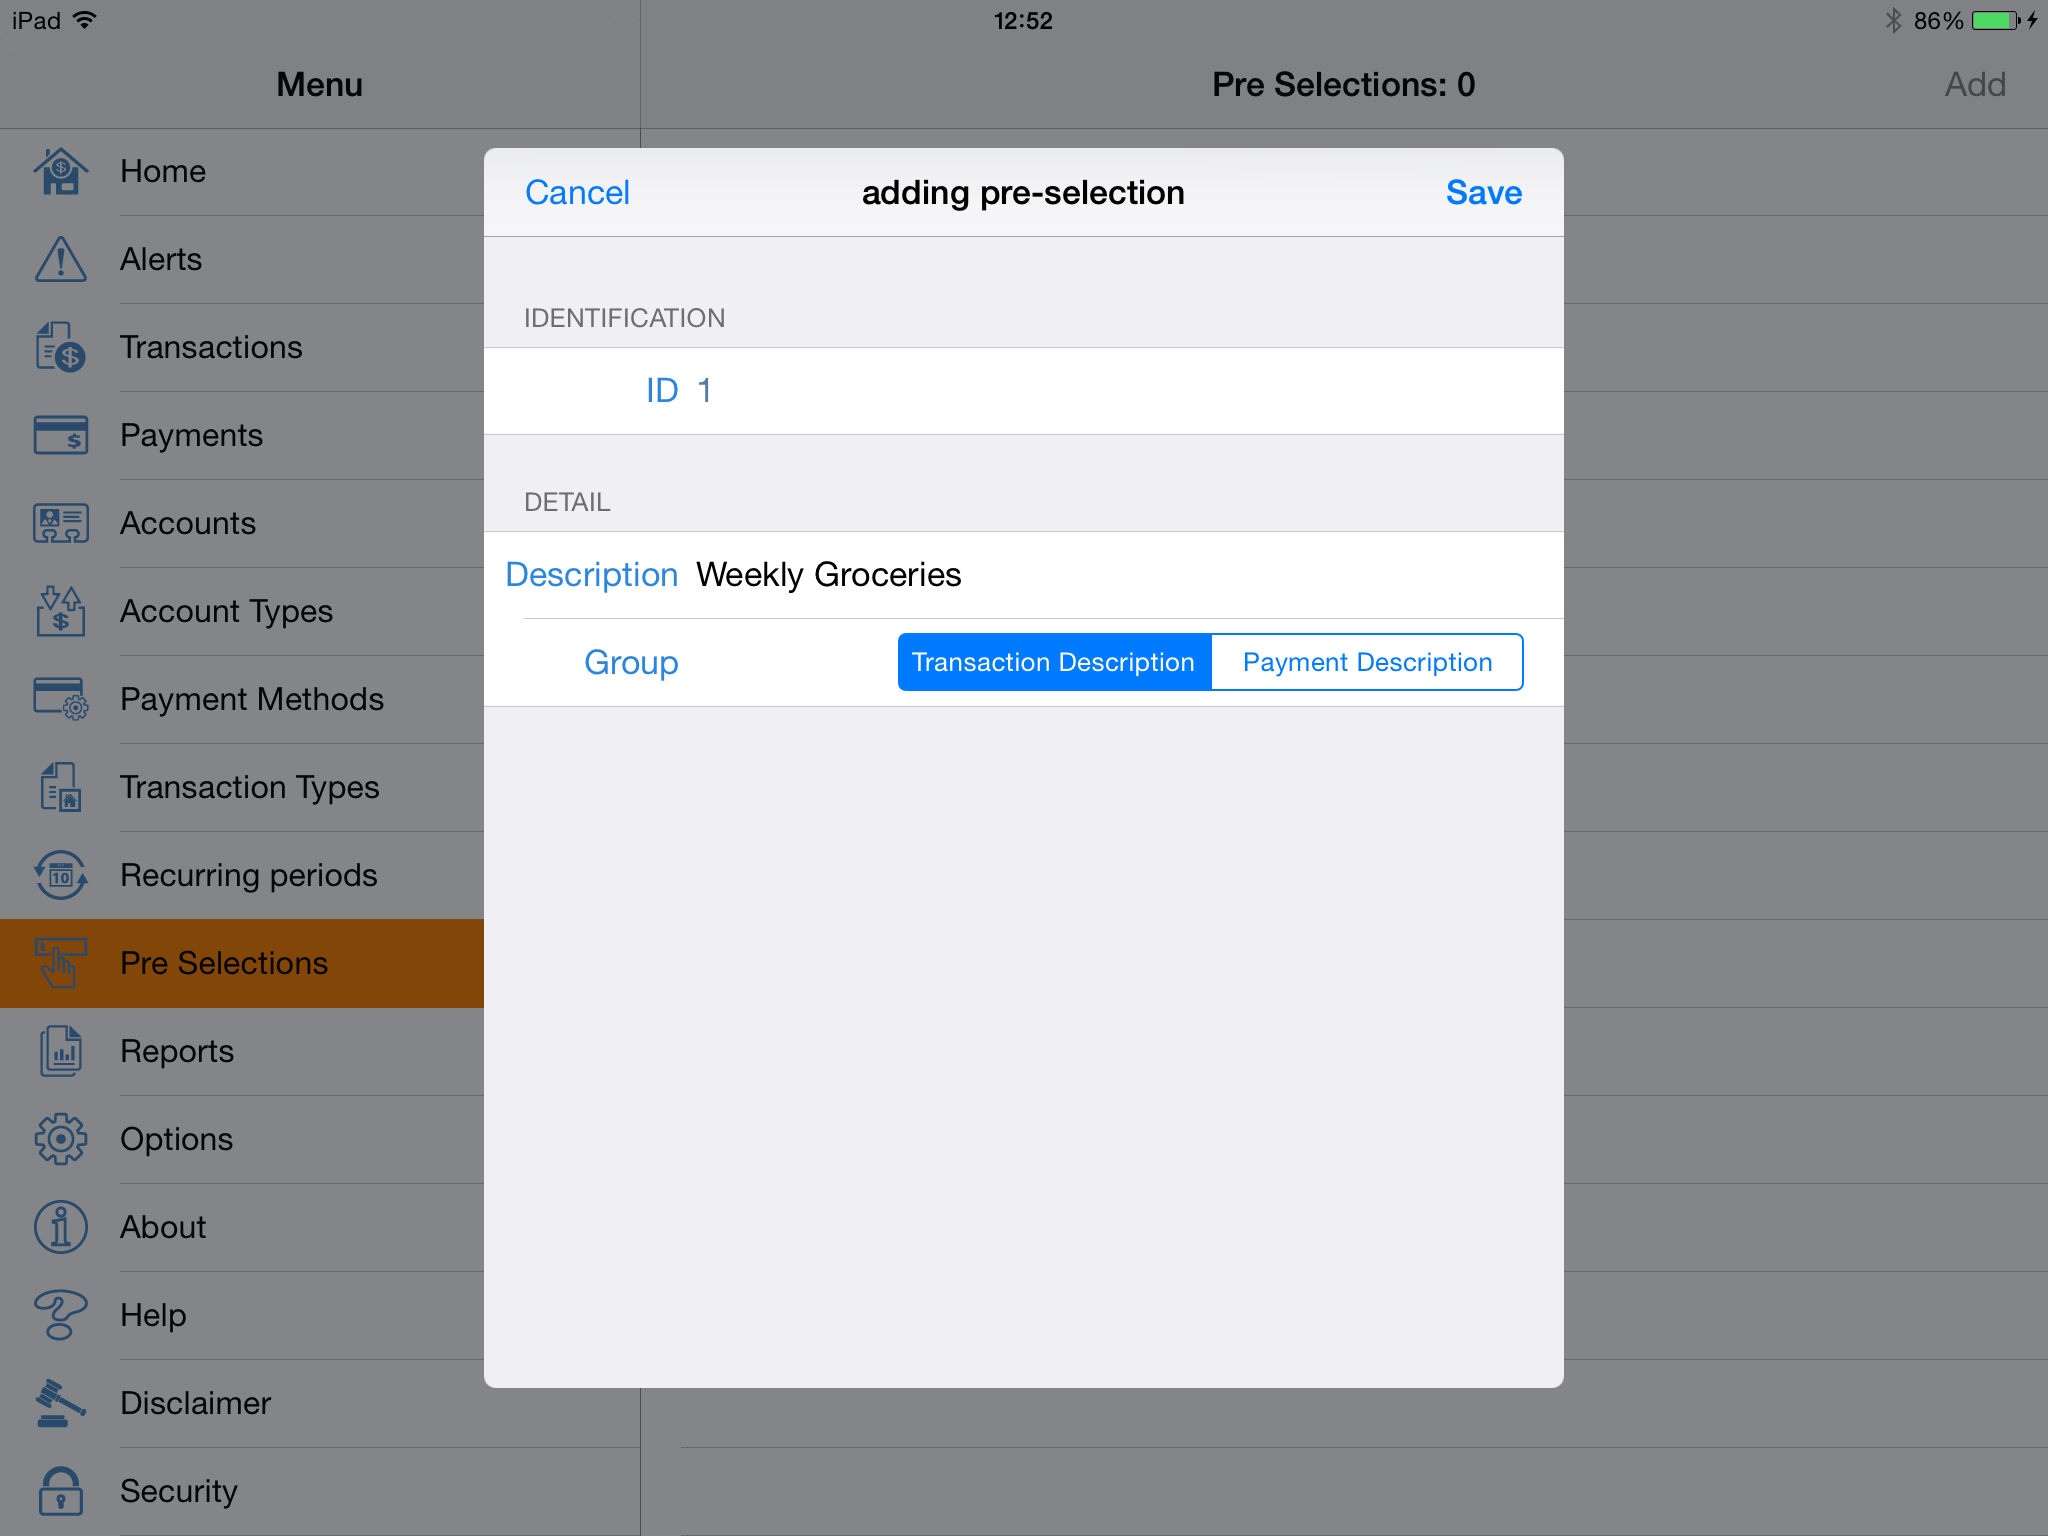
Preselections are used to help prevent repetitive typing descriptions.
Important: Transactions and Payments require a description.
Example you have every week a docket for petrol for your car X. You could create a pre selection text: 'petrol car X litres: ' (note don't type in the quotes). If you now add a new transaction for your petrol bill, you can select this text when you have to provide the transaction description.
In this image a preselection 'Weekly Groceries' has been added.
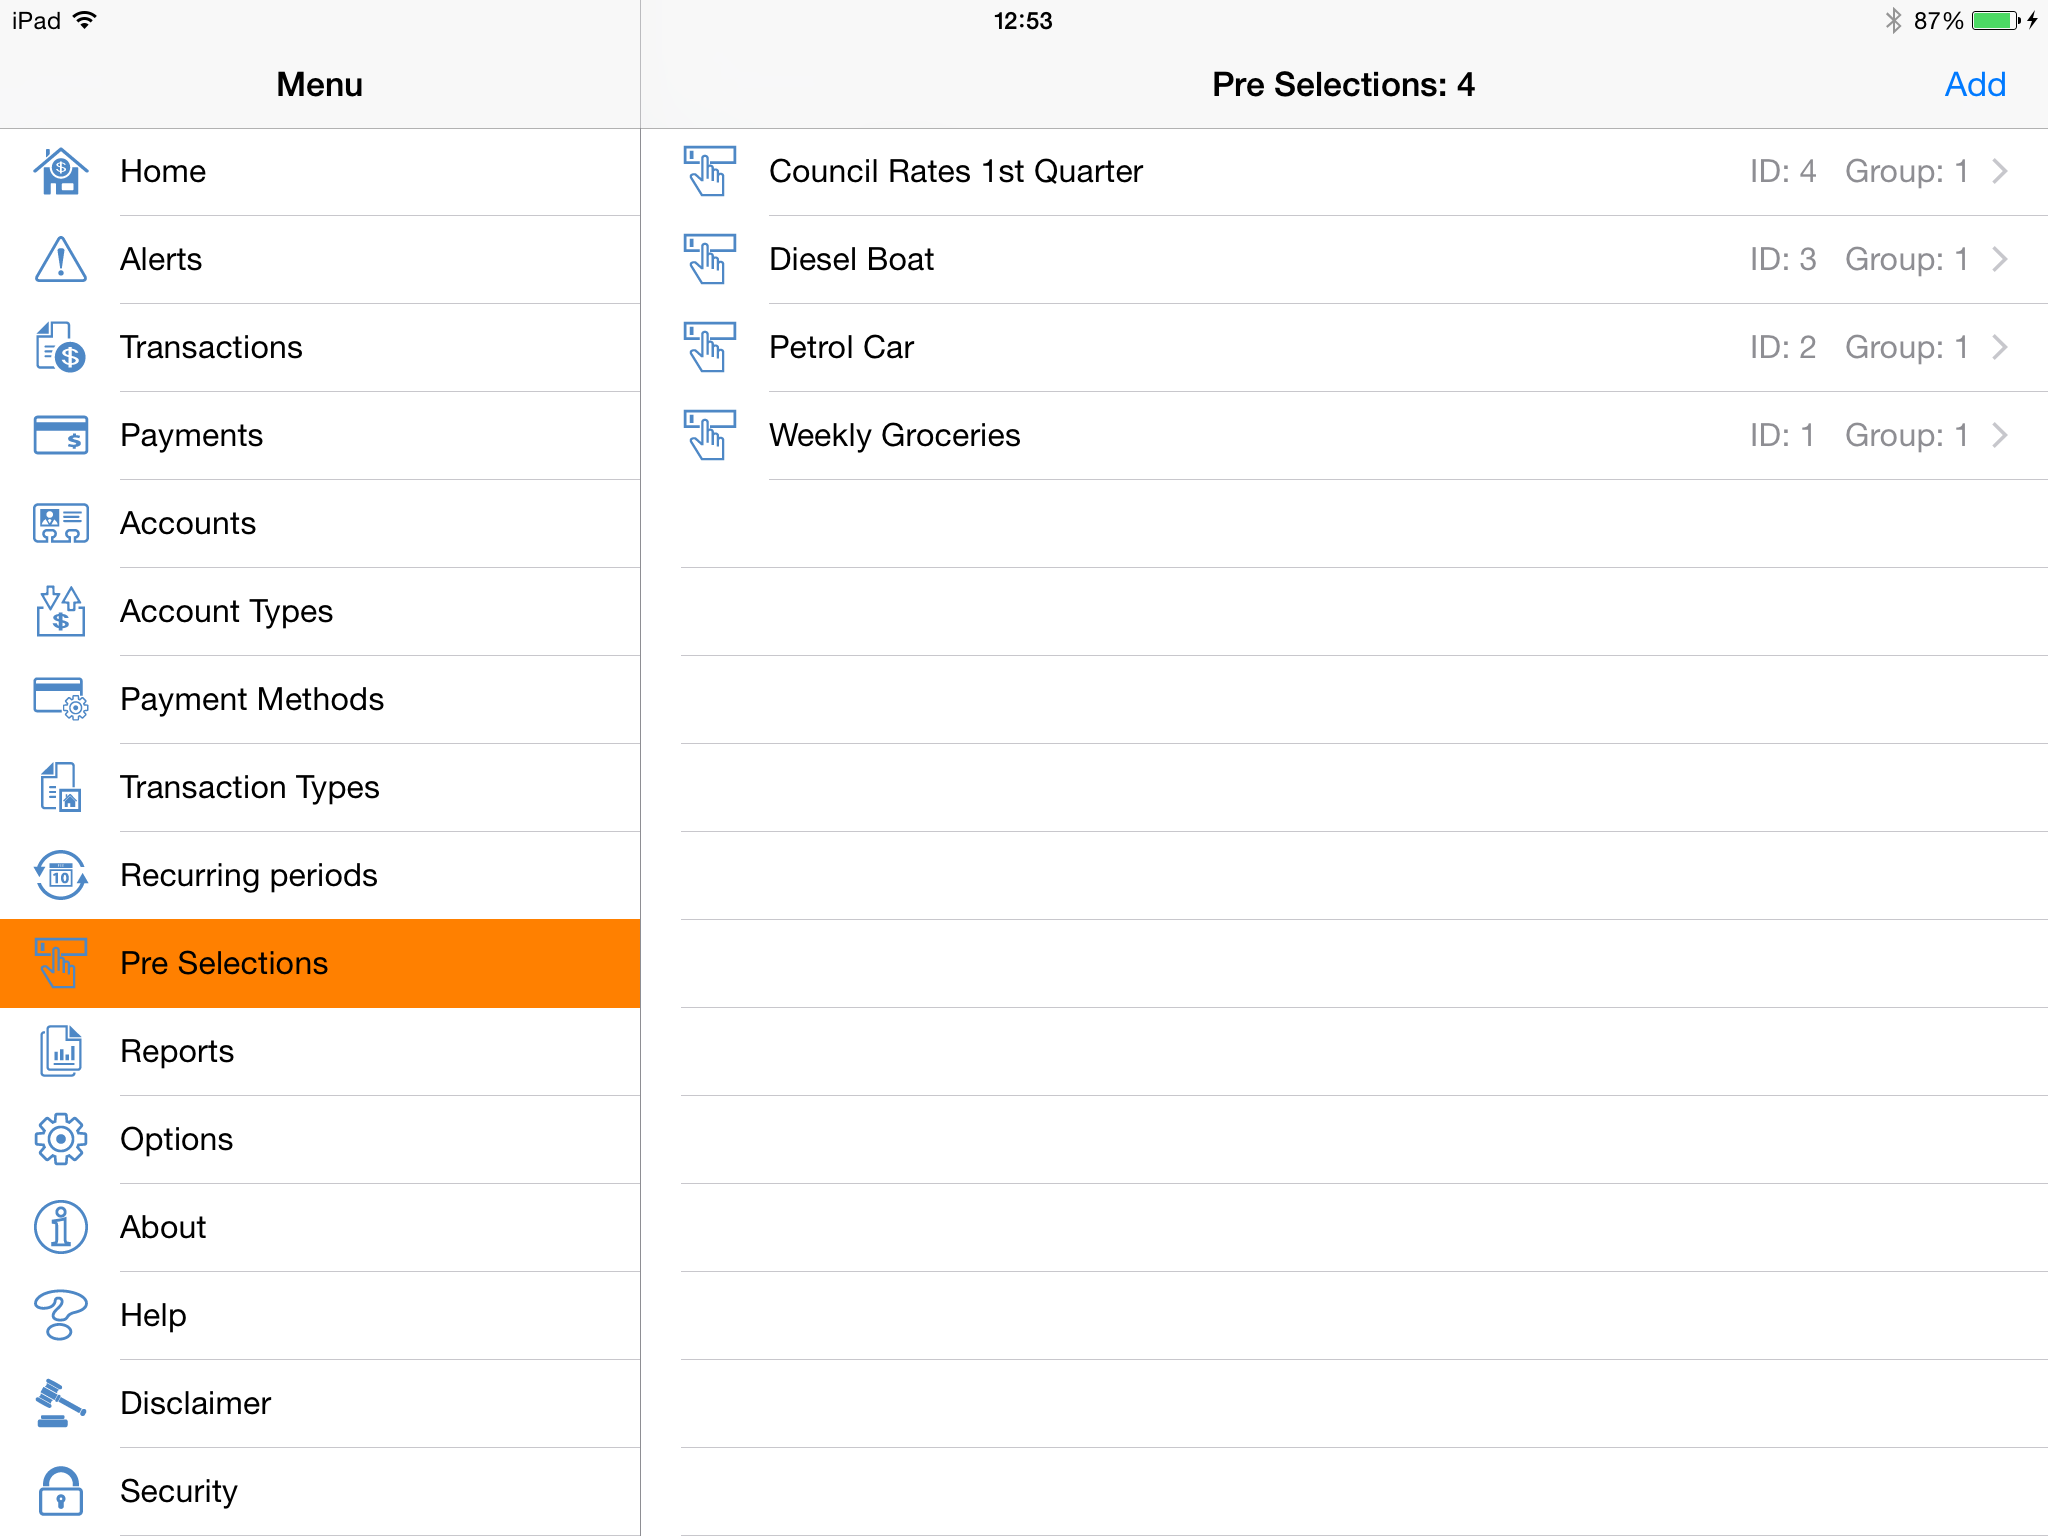
A couple of pre selection examples.
Important: pre selections are grouped by Transaction Pre Selections and Payment Pre Selections.
Here the pre selections belong all to the group Transaction Pre Selections